- Overview
- Step 1: Connect data sources
- Step 2: Create segments for plays
- Step 3: Custom views and notifications
- Step 4: Streamline prospecting
- Wrapping up
Turn buyer intelligence into pipeline with AI.
Request demoOverview
Sales teams are drowning in salestech that doesn’t do them much good.
Instead of knocking on more doors and booking more meetings, reps are struggling with siloed point solutions and overly complex workflows.
Wouldn’t it be nice if SDRs had one user-friendly interface to help them hit their numbers instead of tabbing back and forth between tools? Well, now they do.
In this playbook, we’ll show you how to create an SDR command center that will help reps discover, research, and action on leads all from one place.
Let’s get this party started 🥳
What you’ll need:
Step 1: Connect data sources
Common Room helps reps uncover opportunities they would otherwise miss by providing full visibility into hard-to-see buyer signals across digital channels.
In this example we’ll connect LinkedIn, Twitter, and Slack to Common Room, but keep in mind that the more data sources you connect, the more buyer identity, intent, and context you’ll uncover.
Log in to Common Room, click on Settings in the left sidebar (the little ⚙️ icon at the bottom), and navigate to Sources.
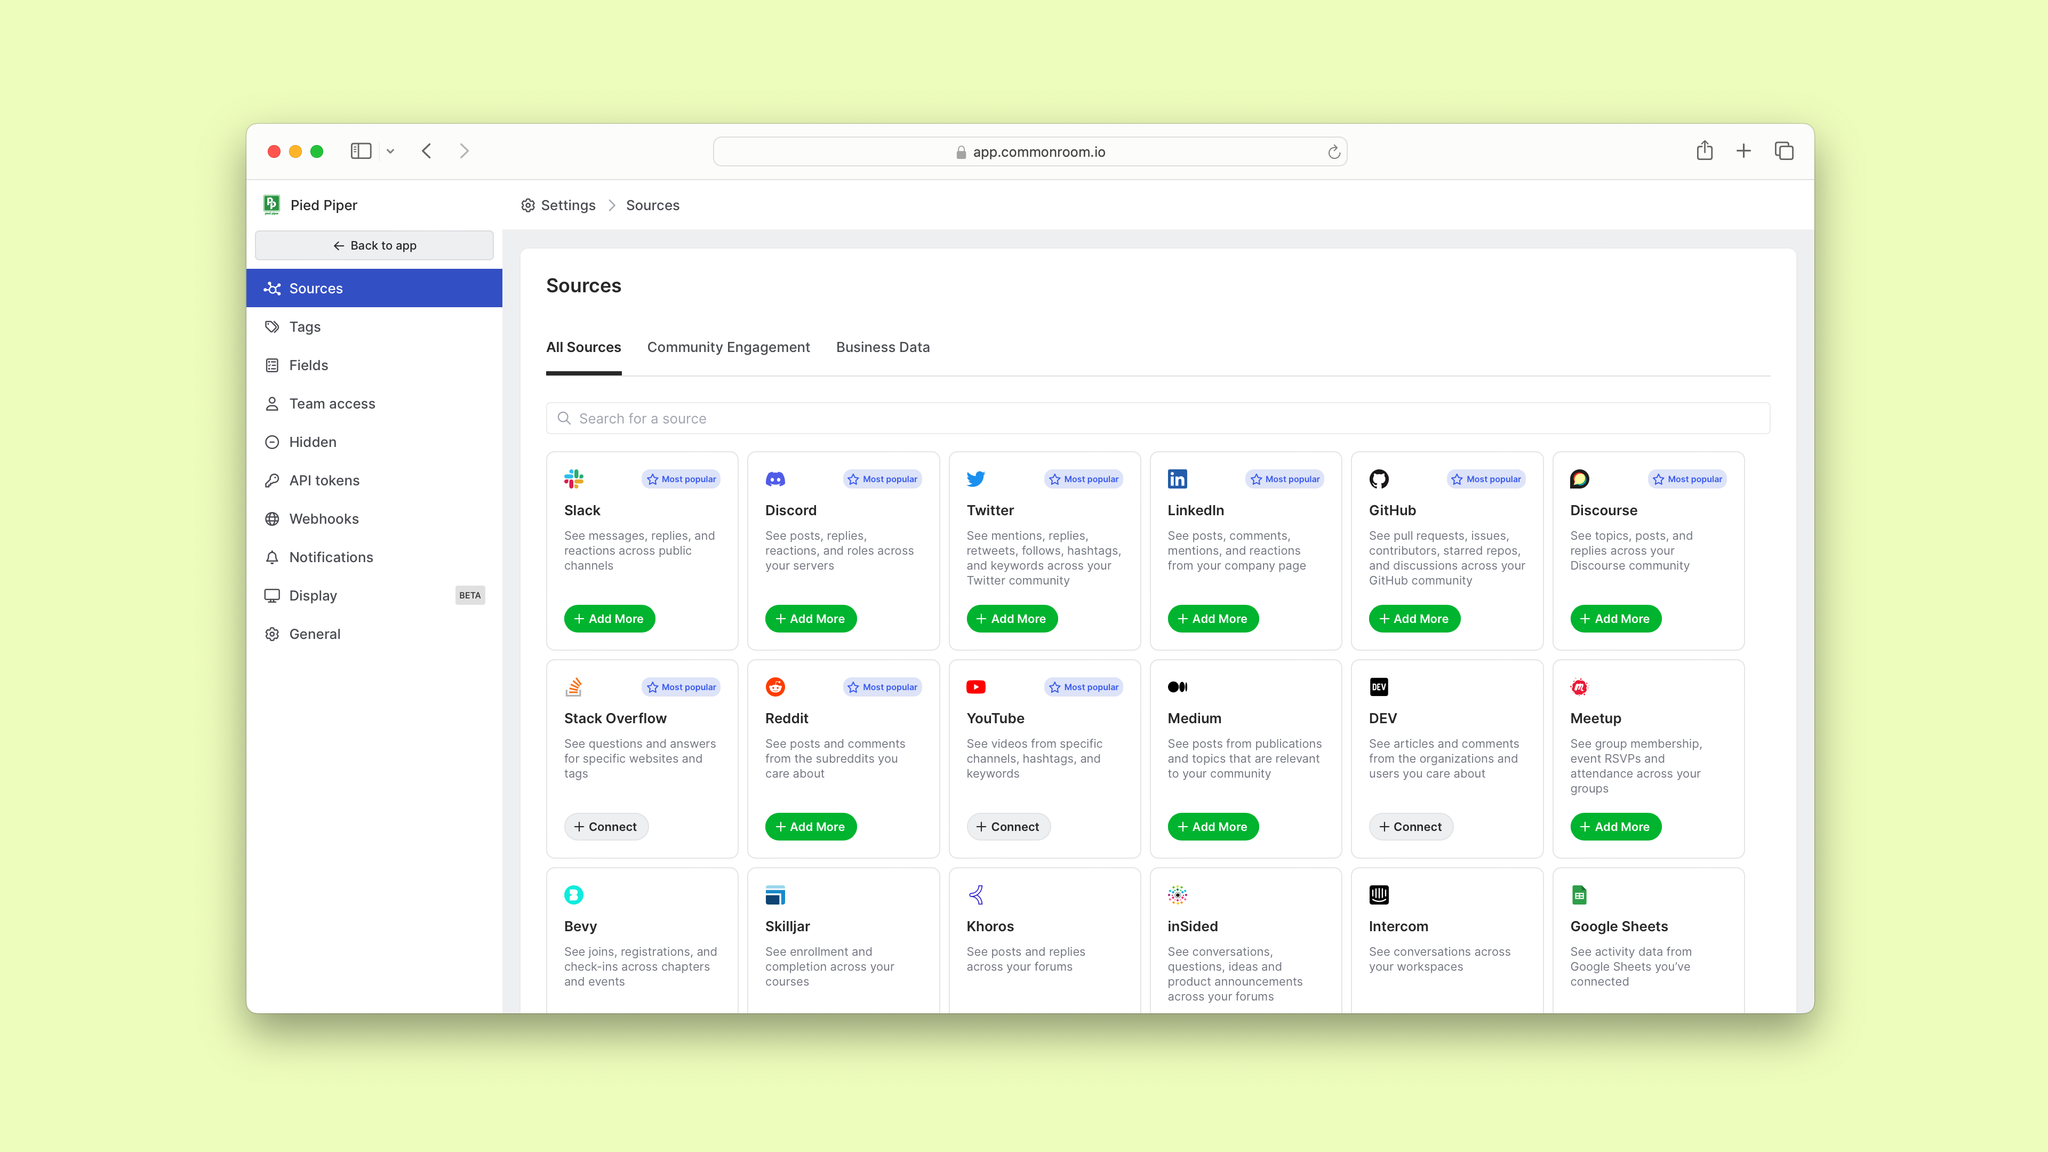
Select LinkedIn.
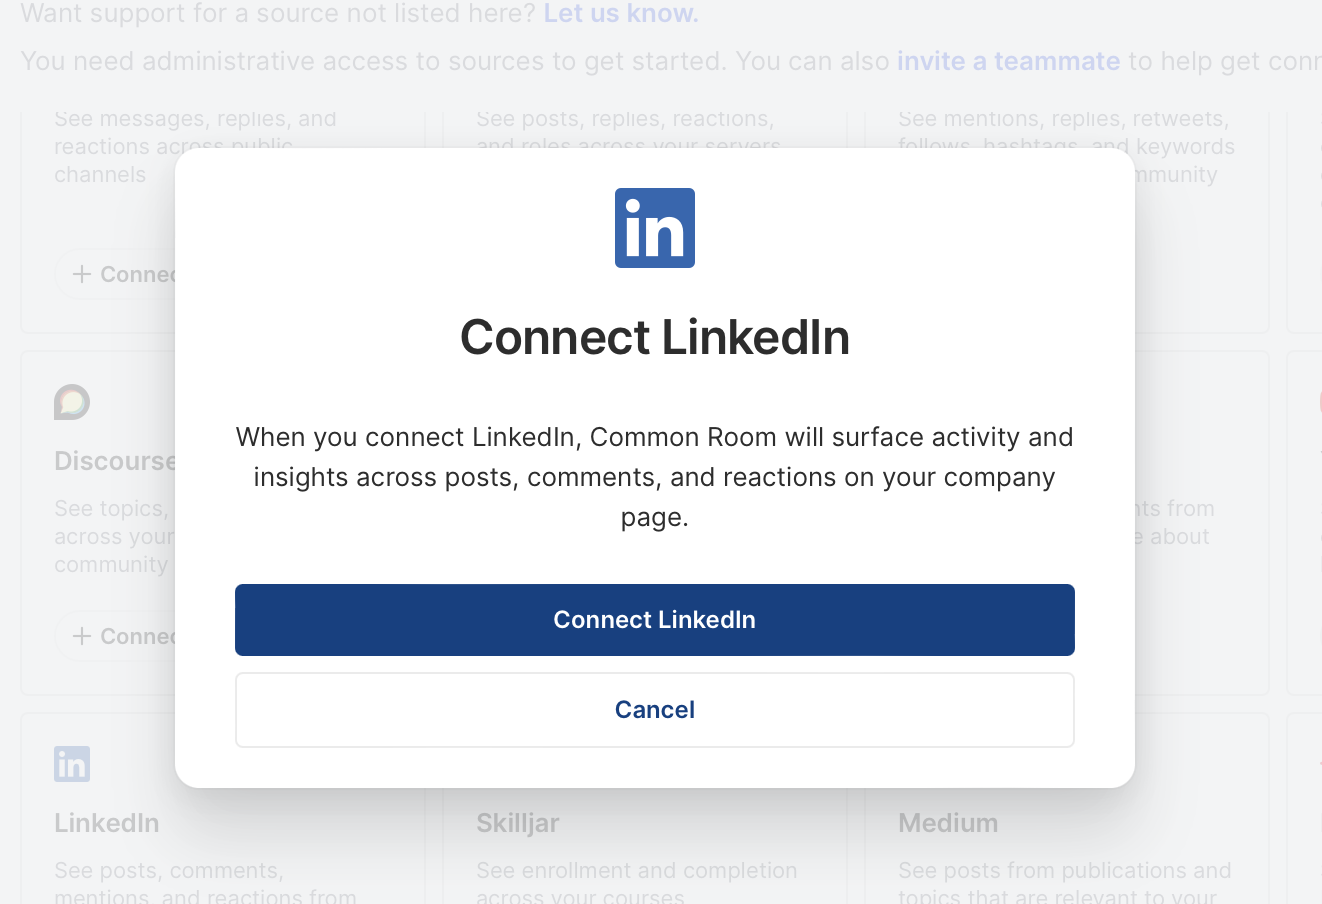
Once you hit Connect LinkedIn and authenticate your account, you’re all set. Data will start flowing into Common Room 😎
We’d follow the same general process for Twitter and Slack.
Okay, now let’s put this data to work.
Step 2: Create segments for different sales plays
Click Back to app to leave the Settings menu, then click on Segments in the left sidebar.
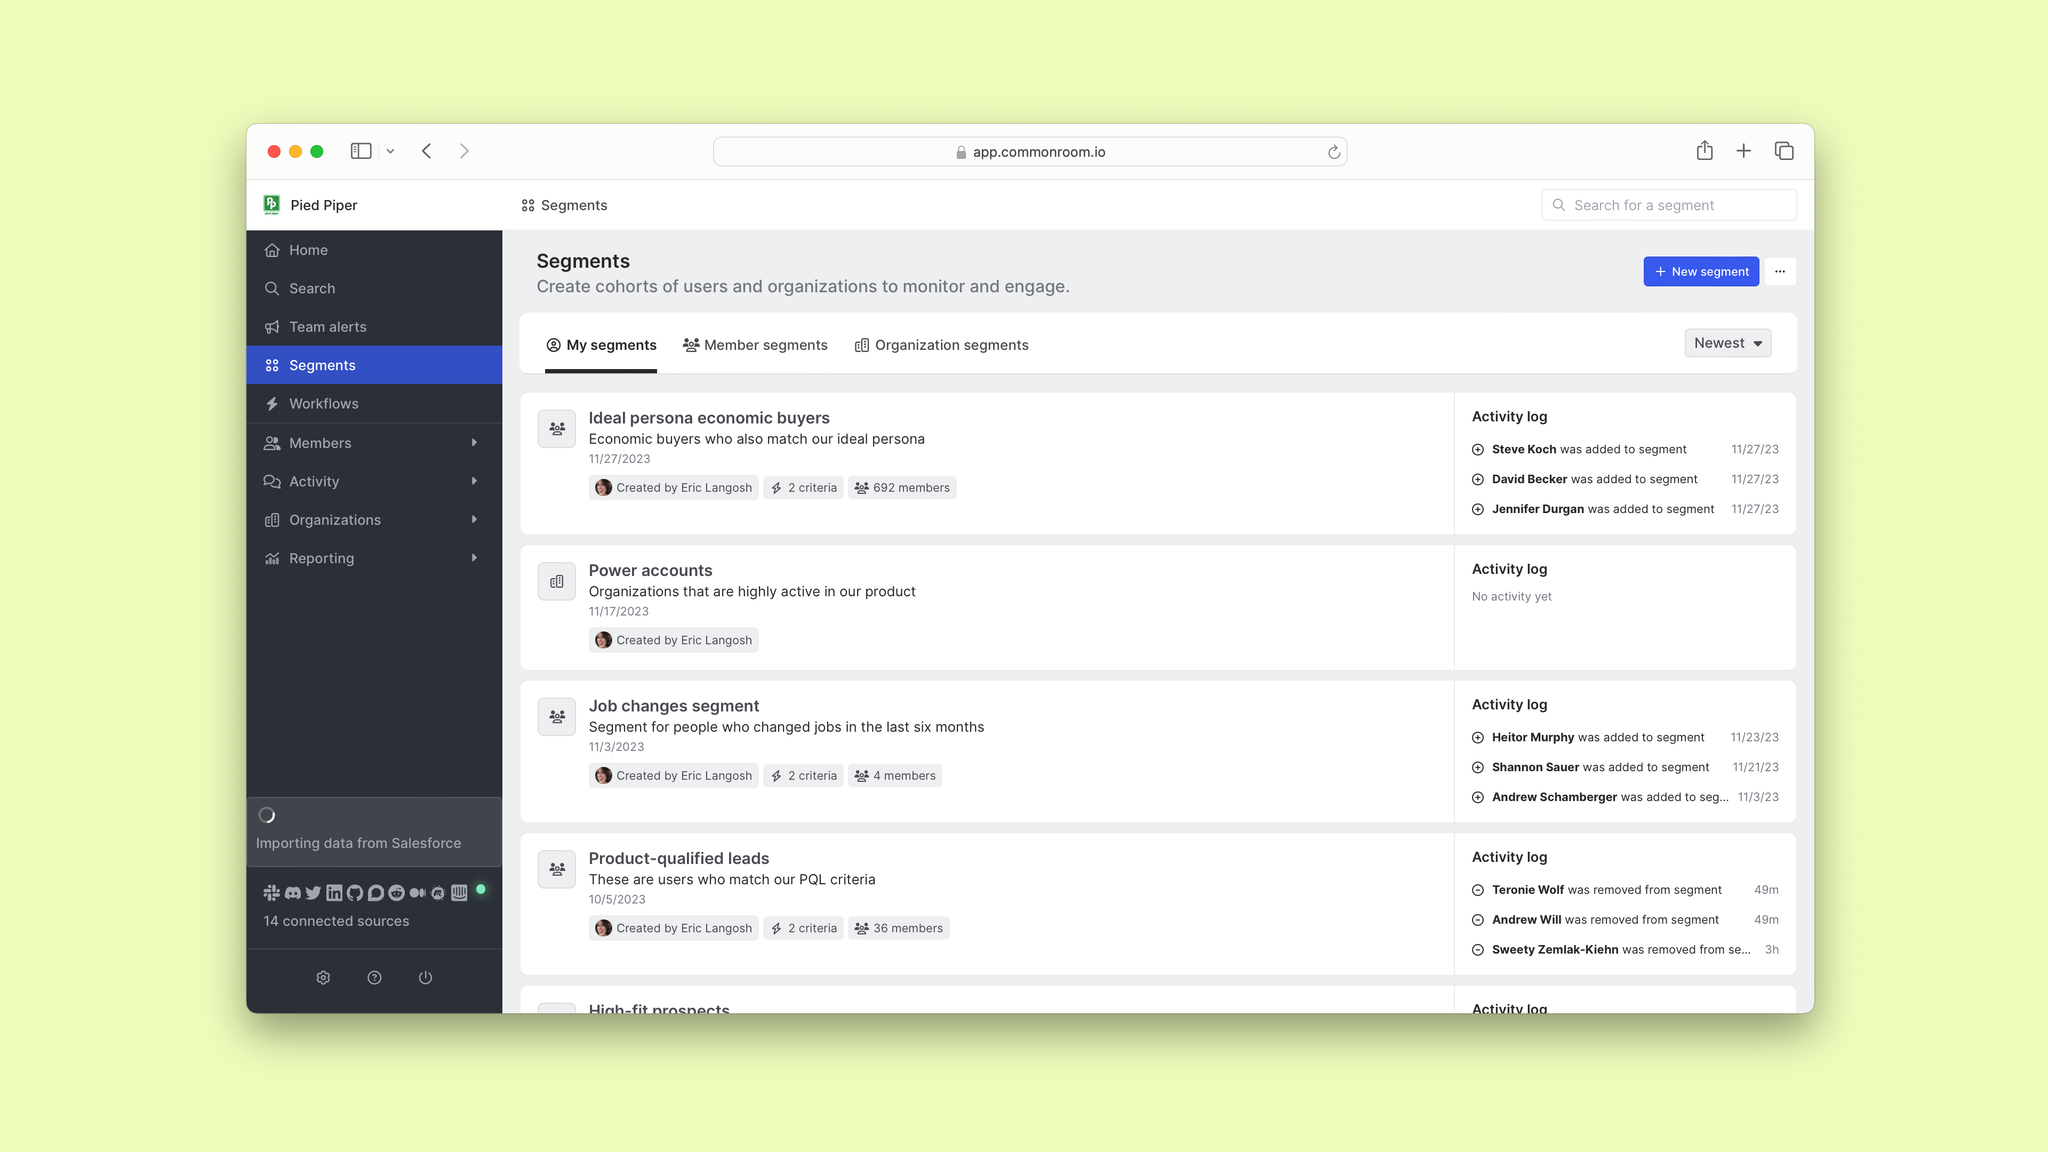
We can create automated segments for both leads and accounts, making them as broad or as granular as we want. This allows us to automatically surface and sort people and organizations for different sales plays.
For instance, we could quickly create segments for product-qualified leads from enterprise organizations.
Or we could build segments for people with certain job titles who work in particular industries.
We could even create a segment for companies that meet a predetermined annual revenue threshold and have specific tools in their tech stacks.
The possibilities are endless.
In this case, we’ll start with a segment for economic buyers who match our ideal persona and recently changed jobs.
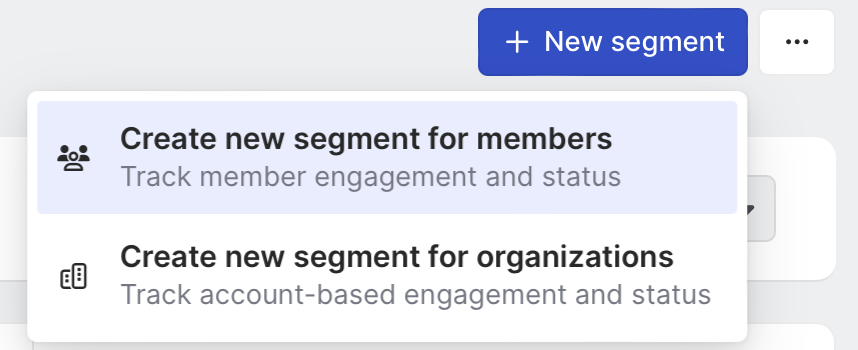
Hit New segment and select Create new segment for contacts.
We’ll give our segment a name and short description, then click Set up management rules.

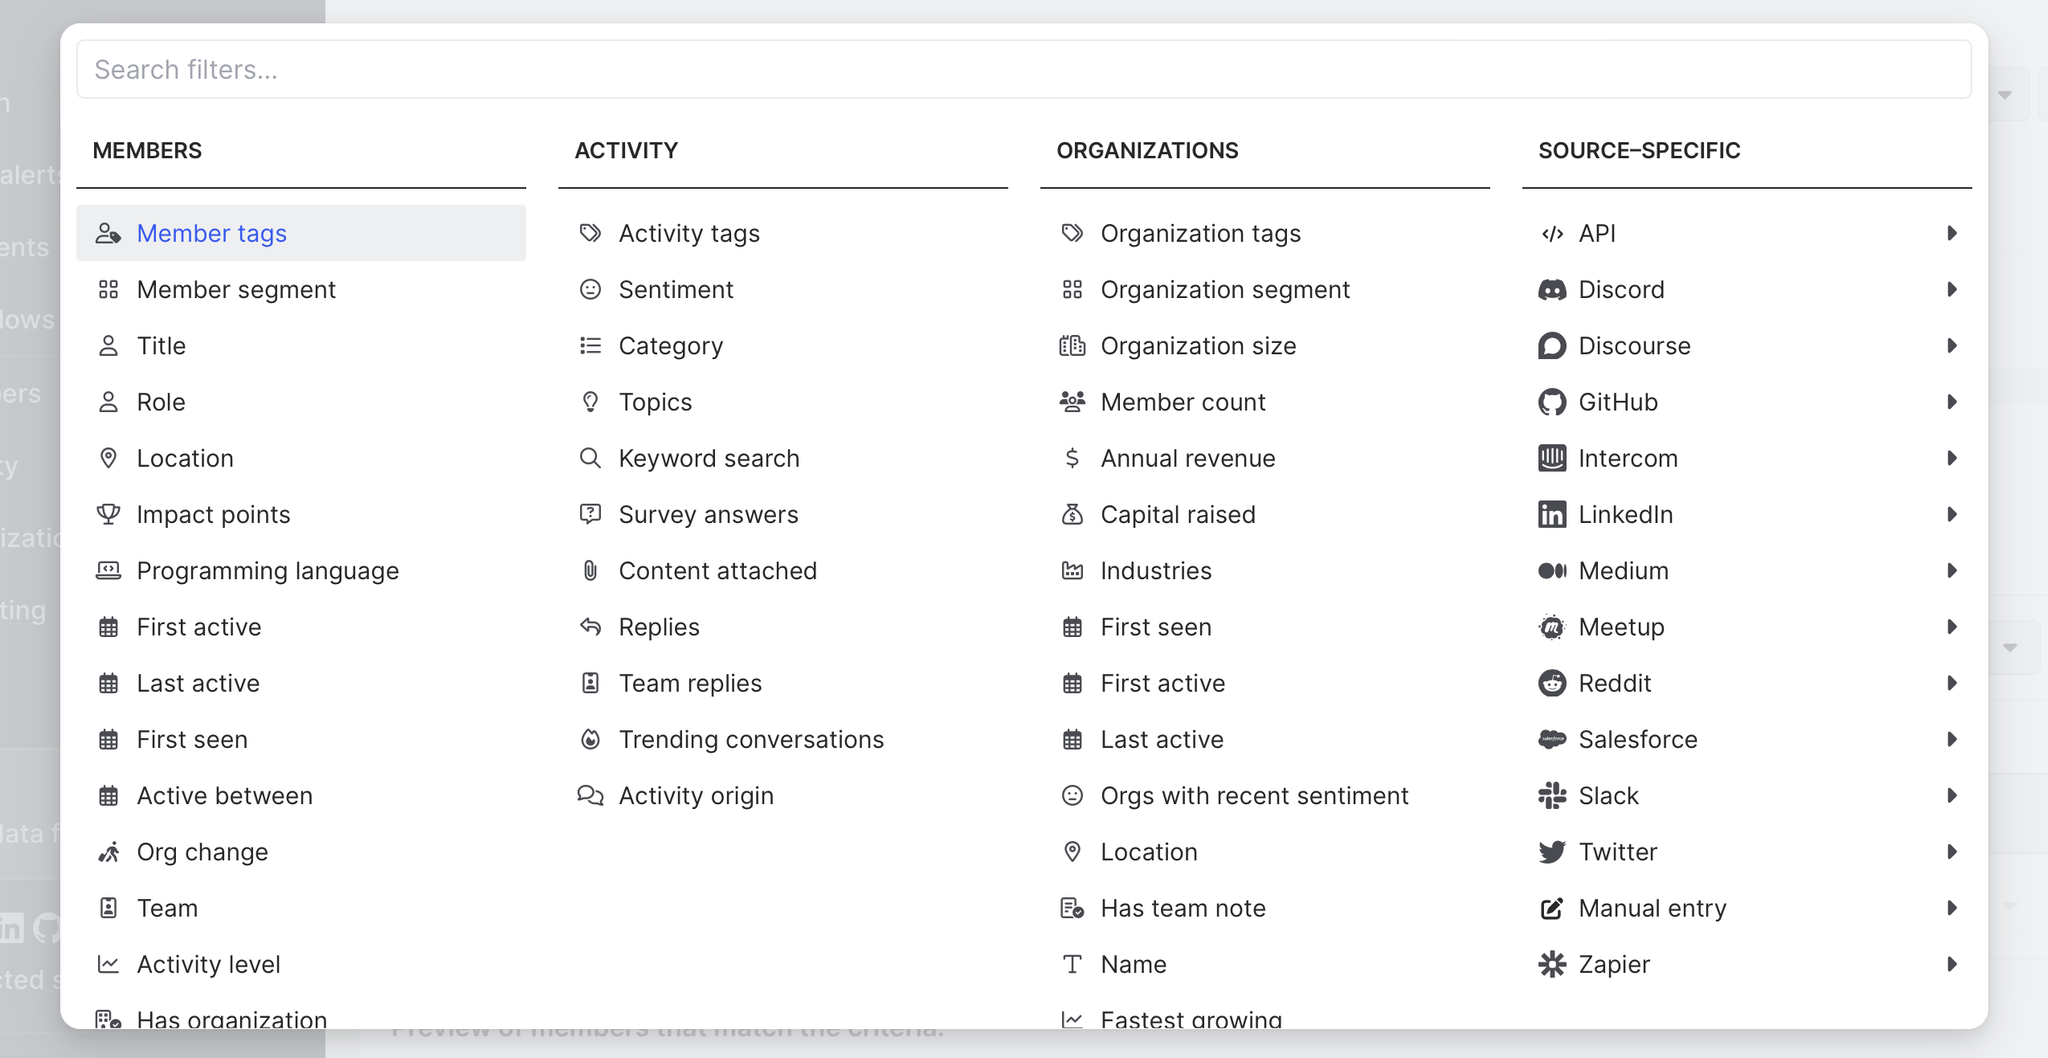
Now we’ll hit Set criteria and configure our segment. Click Add filter and choose Contact tags.
Select Economic buyers from the dropdown list.
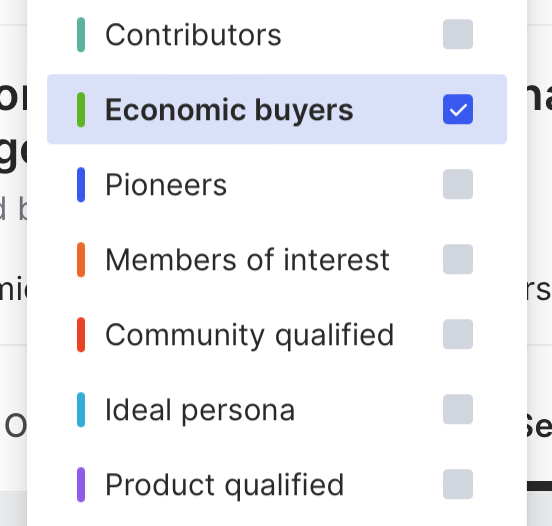
Boom, now anyone with head of, director, VP, president, chief, CFO, CTO, CPO, CMO, COO, or CEO in their job title will automatically be added to this segment 🙌
But we don’t just want decision-makers—we want people who match our criteria for ideal buyers.
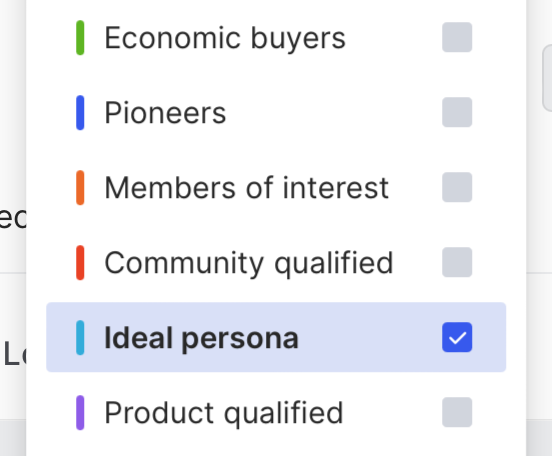
Let’s say we’ve already configured our ideal persona tag (you can learn more about creating and customizing tags here). We’ll hit Add filter and choose Contact tags once again. Then we’ll select Ideal persona from the dropdown list.
Finally, let’s make sure we zero in on individuals who recently changed roles. Click Add filter one more time and choose Org change.
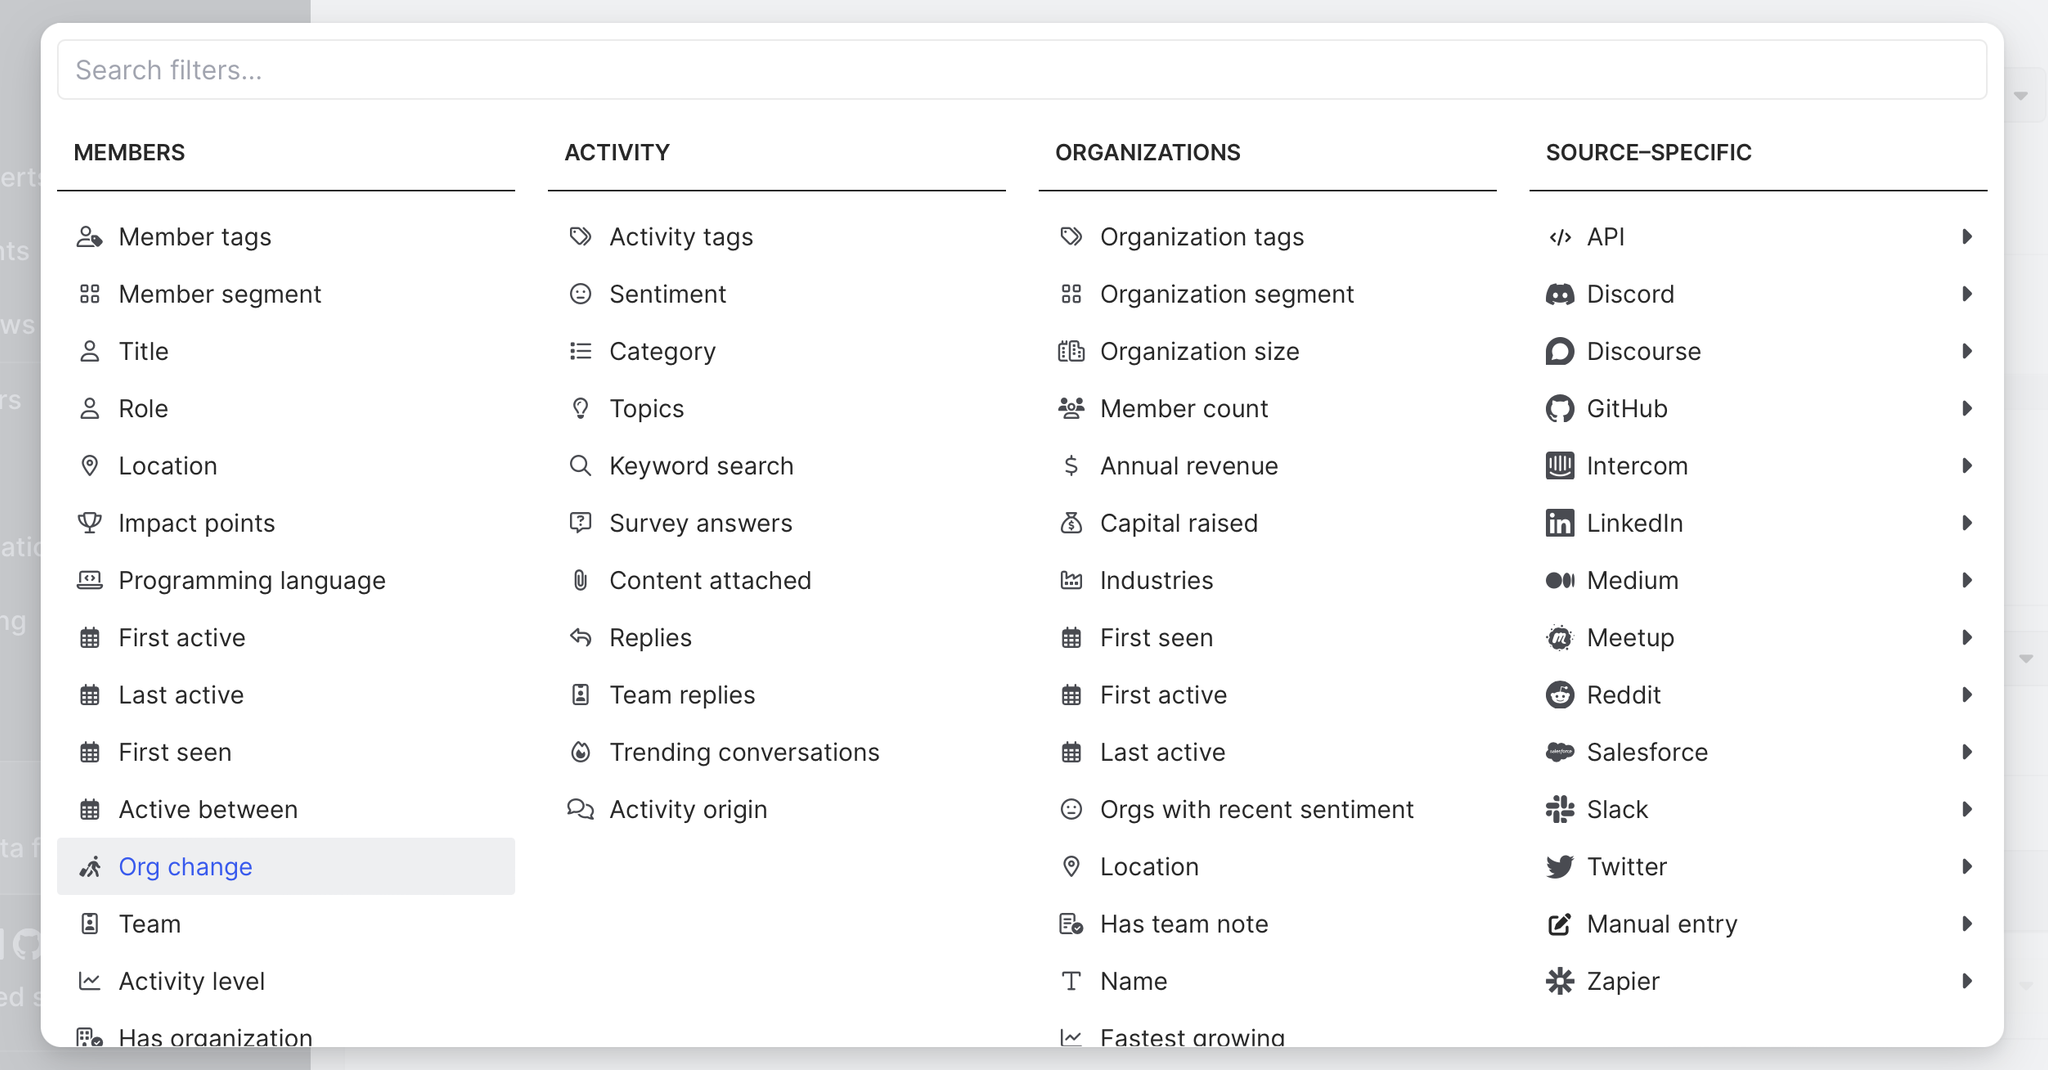
We can click on the filter itself to customize the date range to our liking.
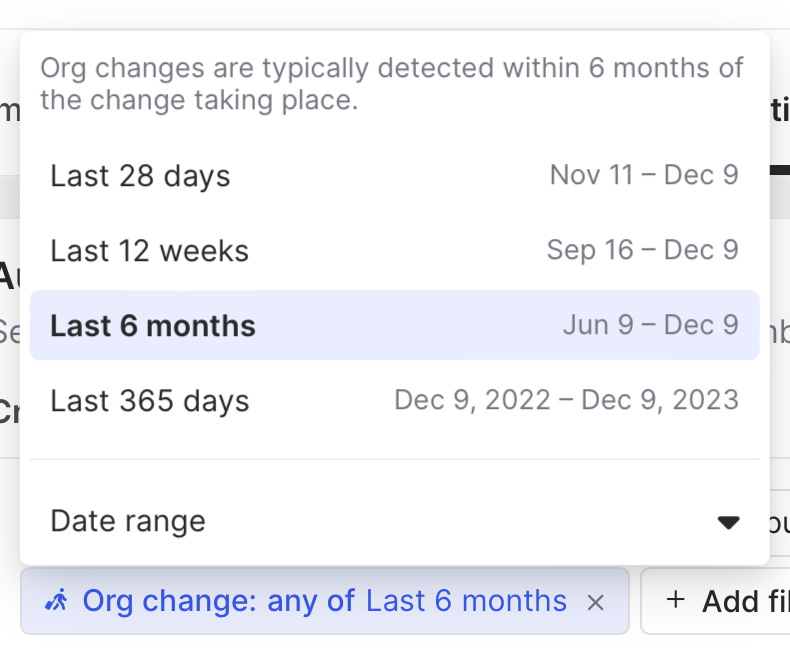
Once we’re done, we’ll click Save. Now every person who matches these filters will be added to this segment automatically.
This makes discovering and researching new leads for different sales plays a breeze.
We can preview or click into any individual to learn more about them, see their recent activities across our connected channels, and monitor their next moves.

If we have lead scoring set up, we can quickly hone in on the people who are most primed to buy and get a peek at the key factors that make them solid opportunities.

But we want to convert prospects, not just research them.
Let’s make our segments truly actionable.
Step 3: Customize segment views and notifications
First let’s add our segments to the Home screen so they’re always the first thing we see when we log in.
Click the three-dot (…) icon for any segment and choose Add to Home.
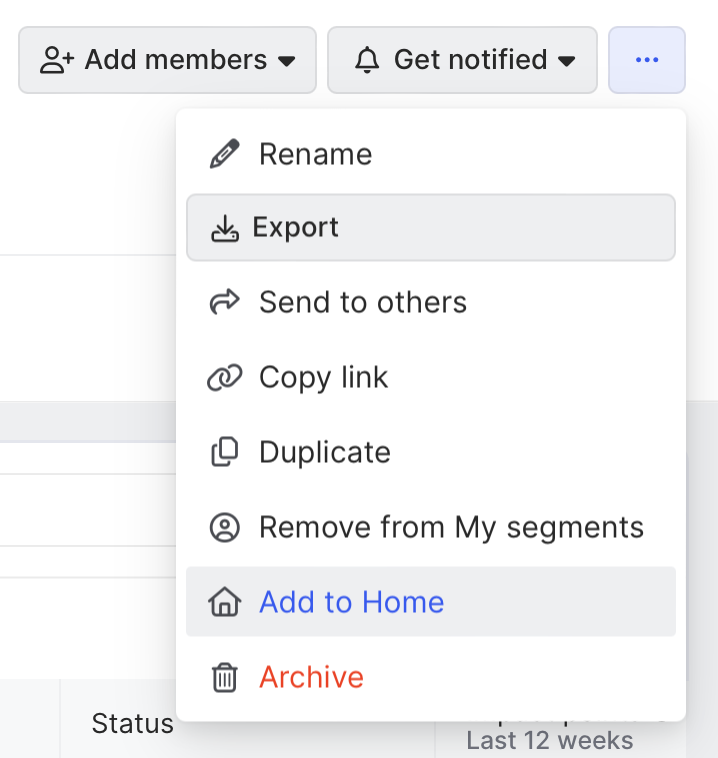
Once we’ve added all our segments, we’ll click Home in the left sidebar. Voilà—now all our segments are in one easily accessible location.
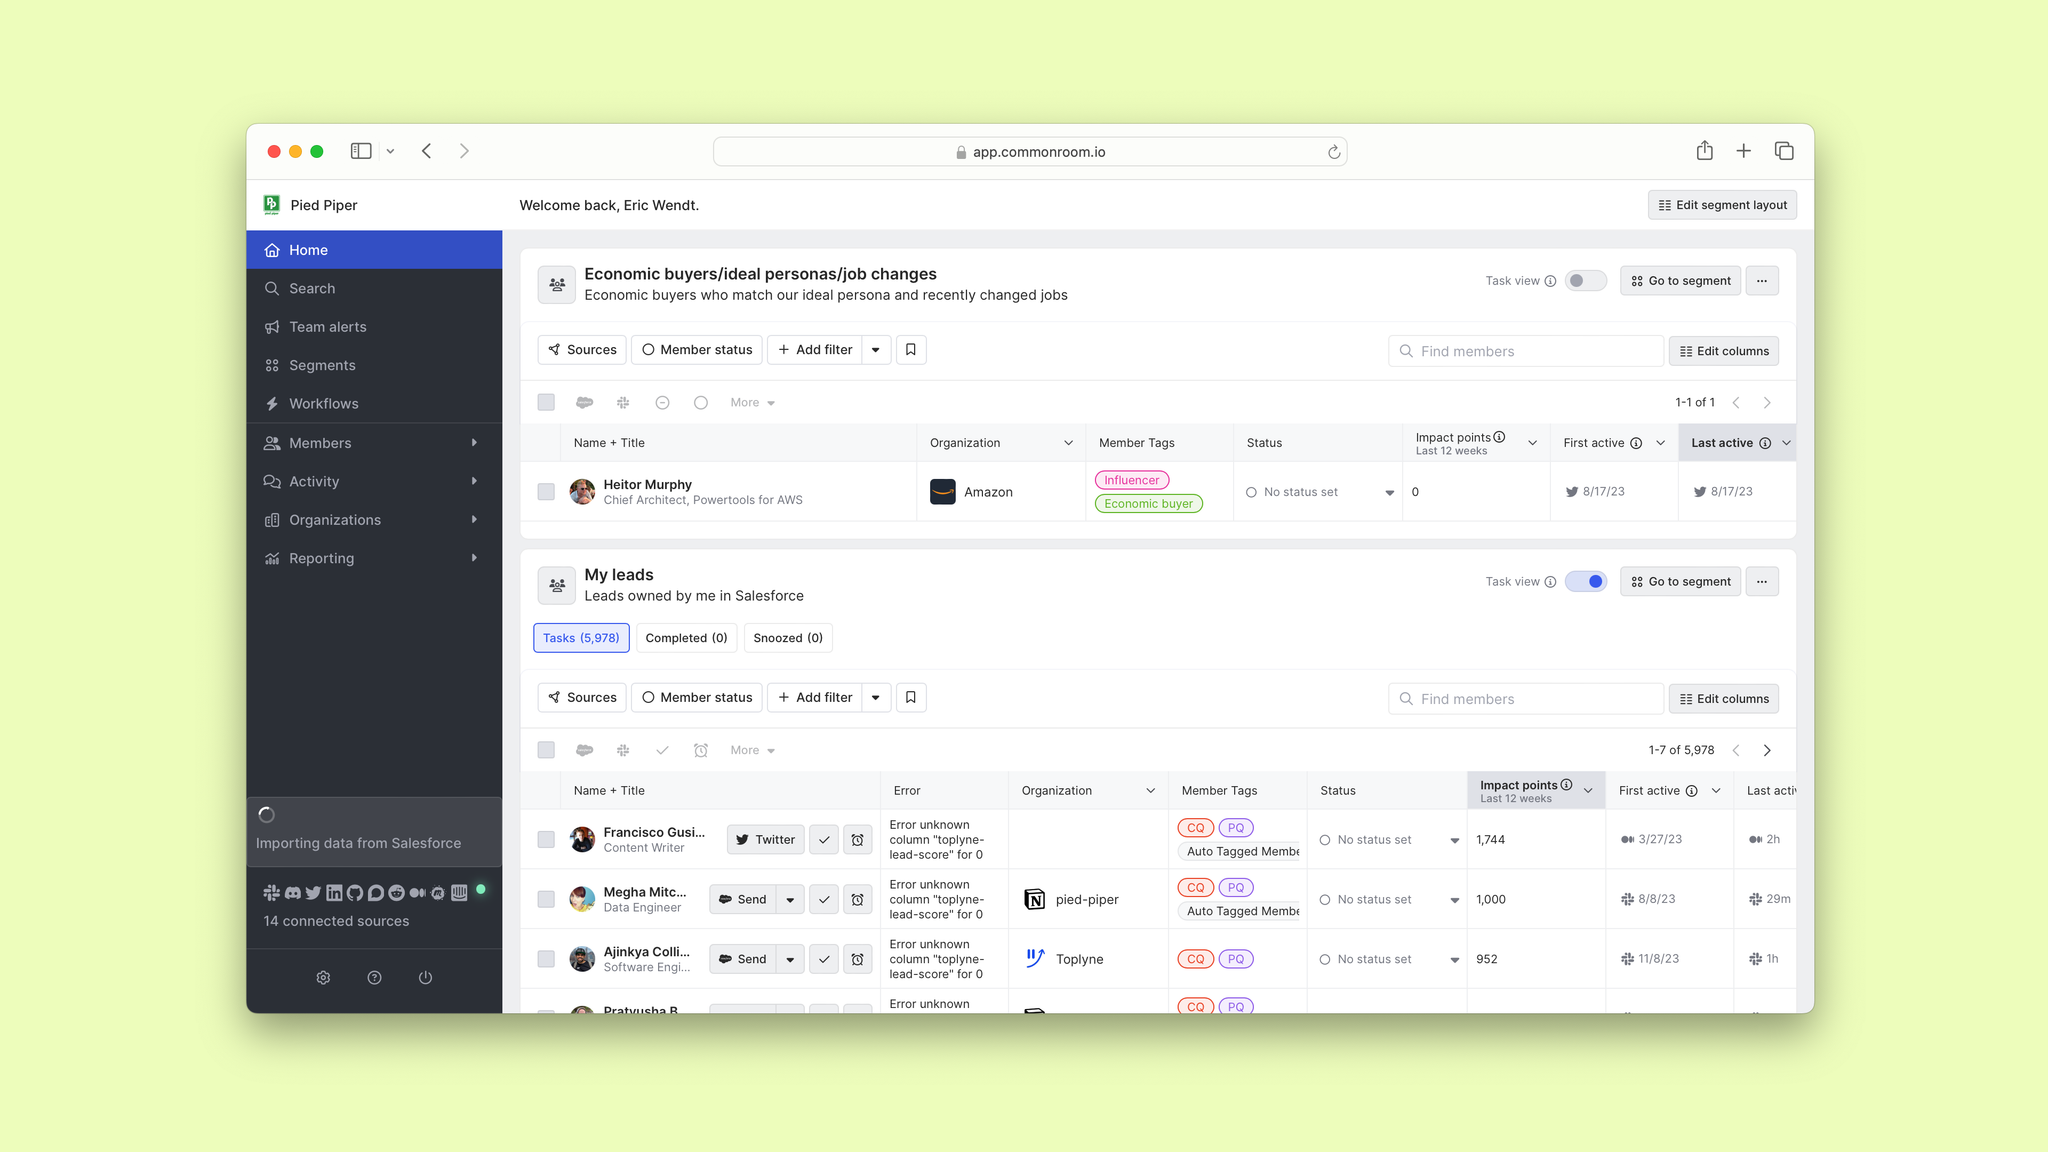
We can customize the layout however we want. We’d just hit Edit segment layout and drag and drop until we're satisfied.
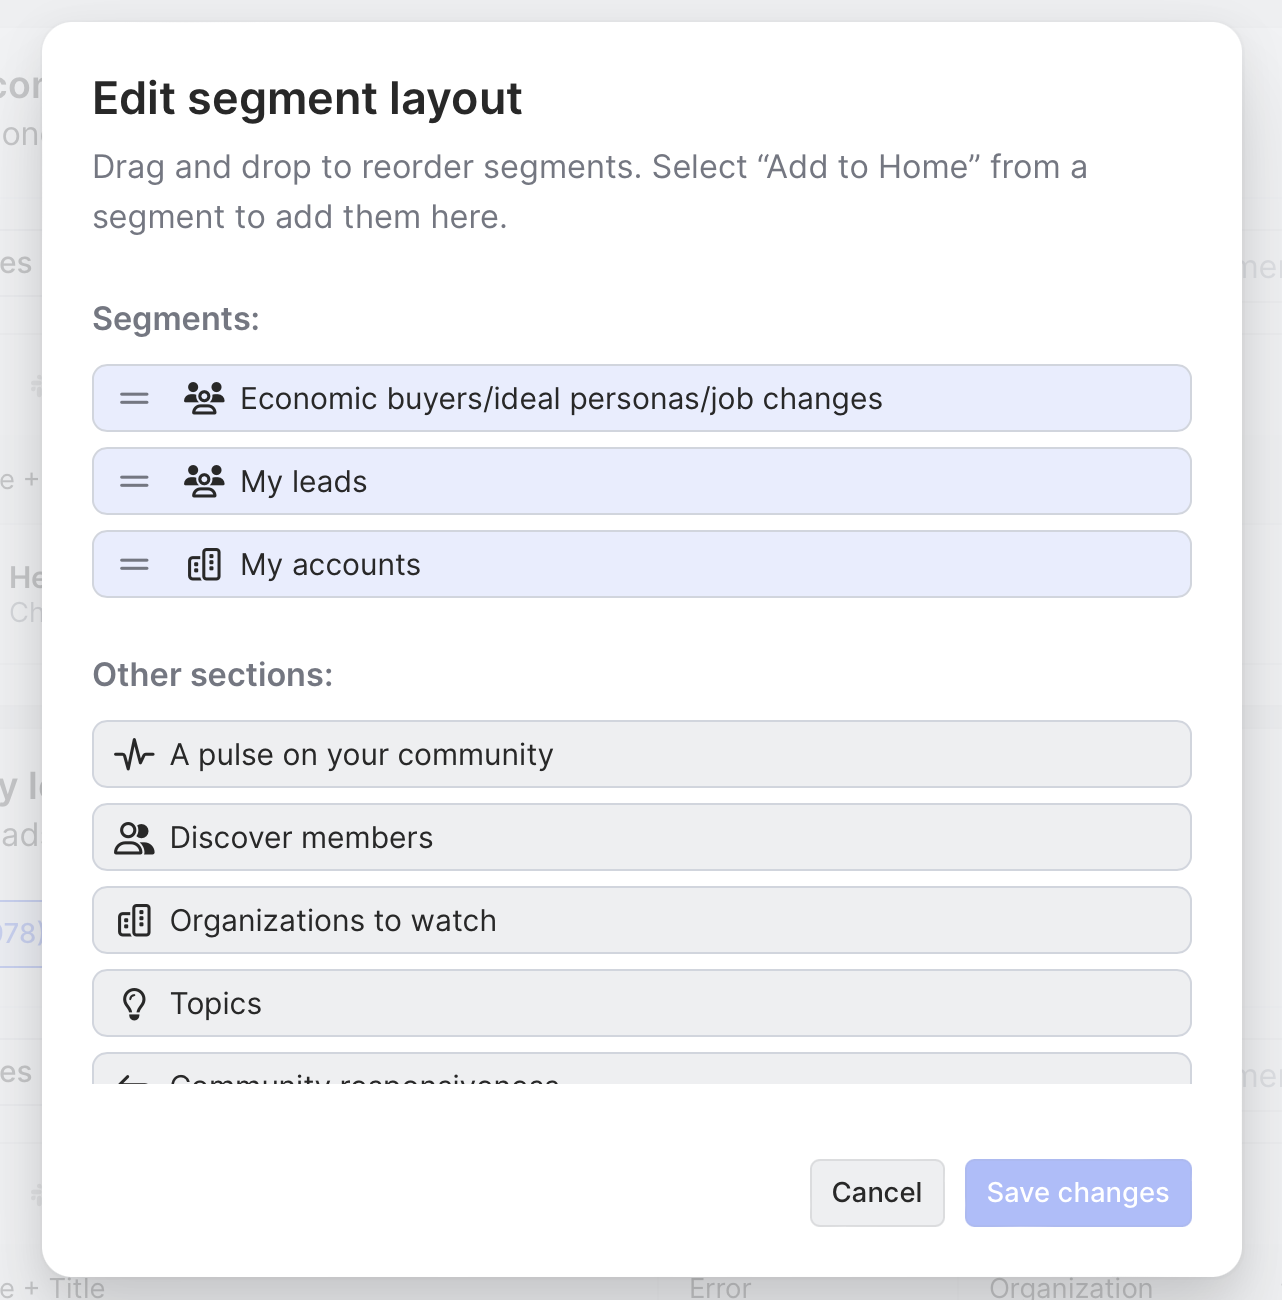
Now comes the fun part. Click into any segment and toggle on Task view.
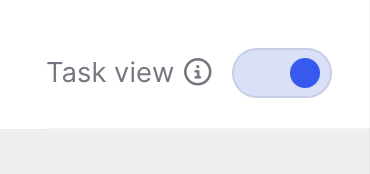
This turns the segment into an interactive burn-down list you can work your way through.
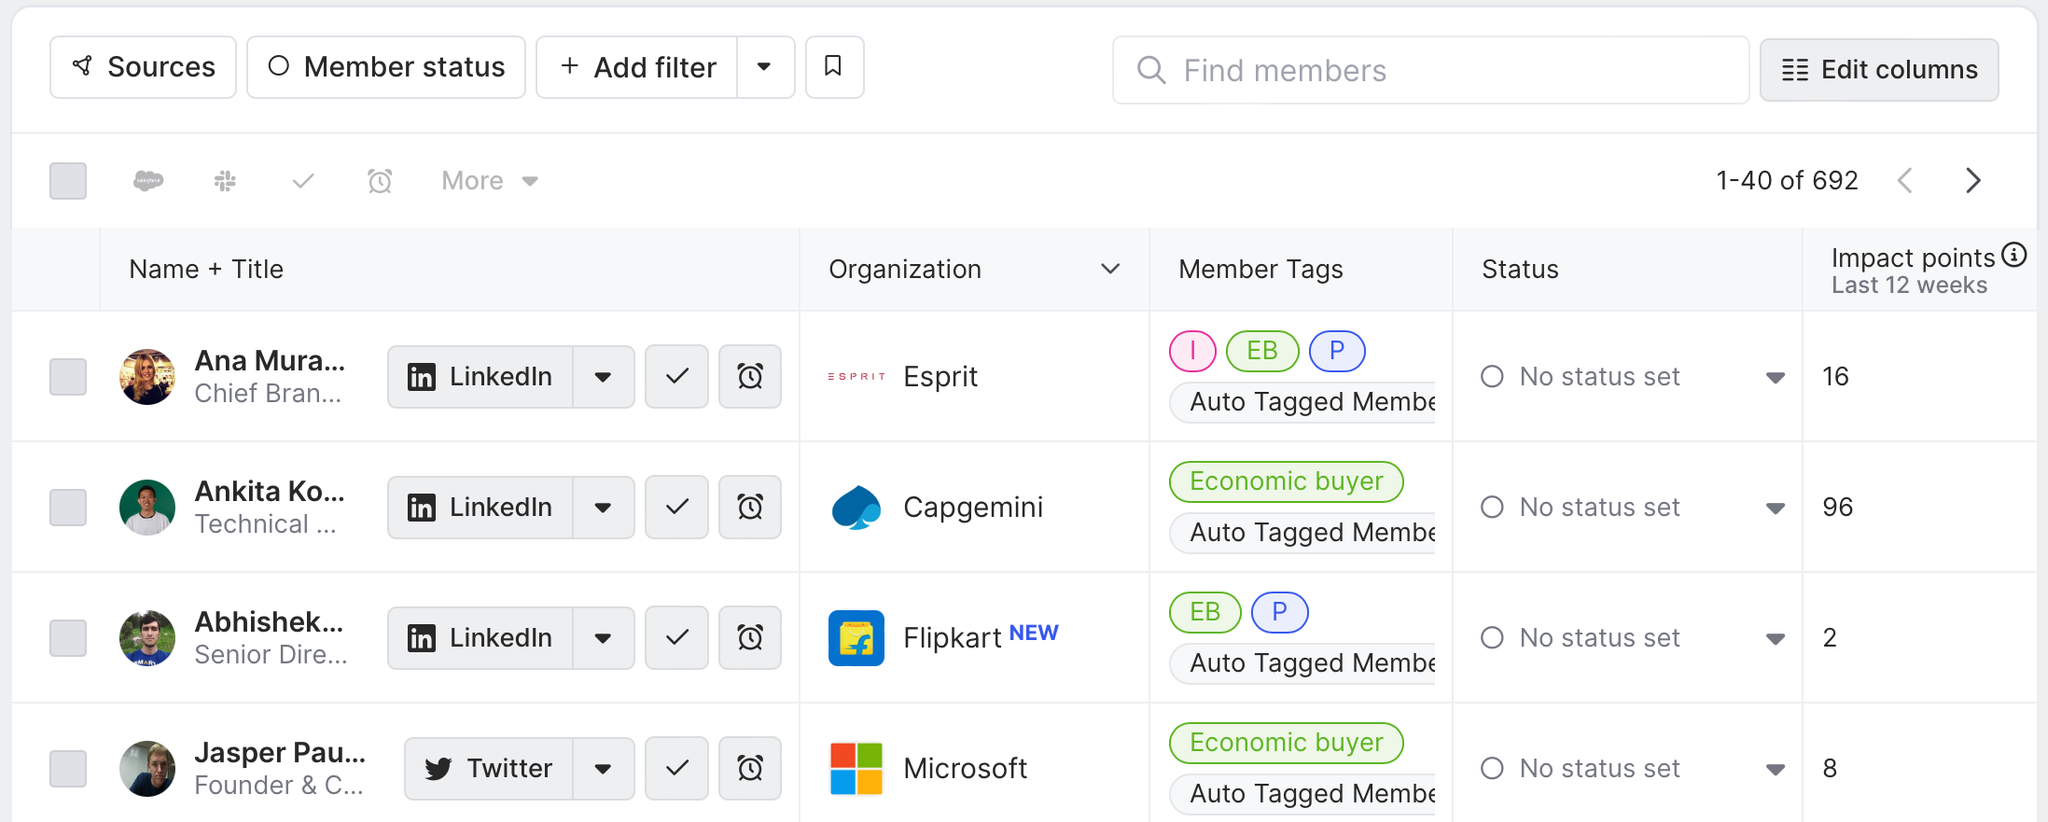
Each person (or account) in a segment is now either part of a Tasks, Completed, or Snoozed list.
Simply hit the check mark icon (✔️) on the people you’ve followed up with in the Tasks list to move them to the Completed list or snooze them (the clock icon) so they’re added to the Snoozed list for a set period of time before being moved back to your pending tasks.

We can also manually move people back to our Tasks list from our Completed list if we need to.
The Task view option gives us lots of ways to action on leads and accounts, but first let’s make sure we’re always up to date on activity in our segments.
Click the Get notified button for any segment. This will open up a dropdown menu where we can customize how we’re alerted to activity.
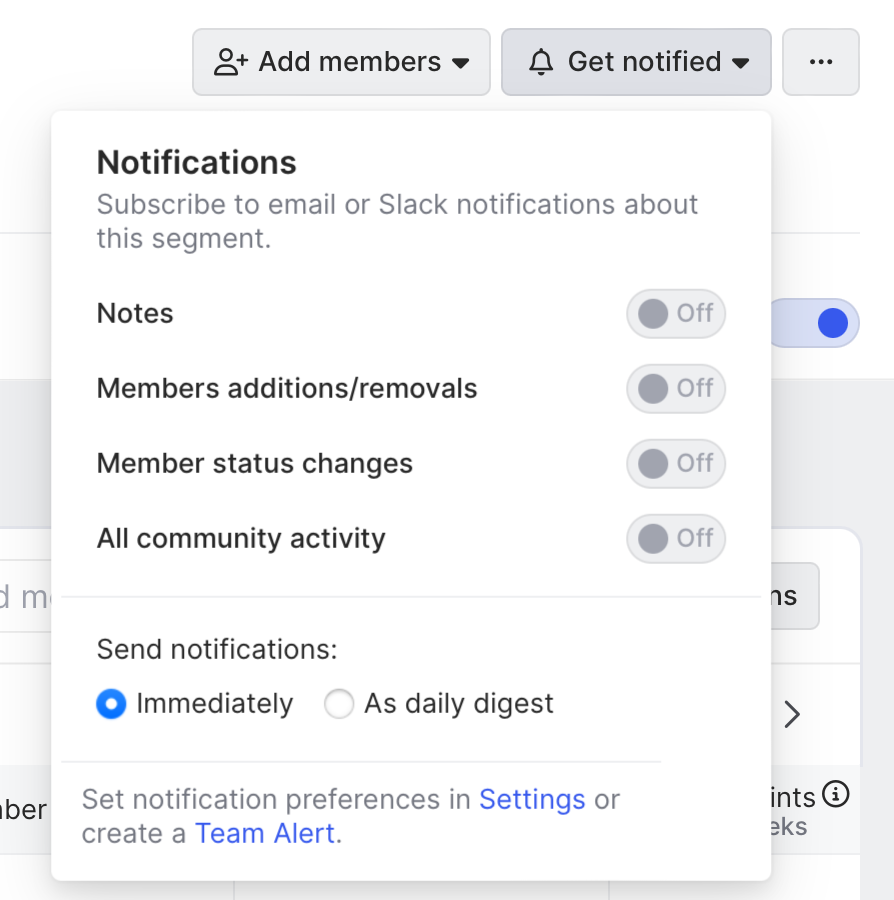
Let’s say we want to instantly know whenever a new individual is added to or removed from one of our segments. We’d toggle on Contact additions/removals and choose Immediately.
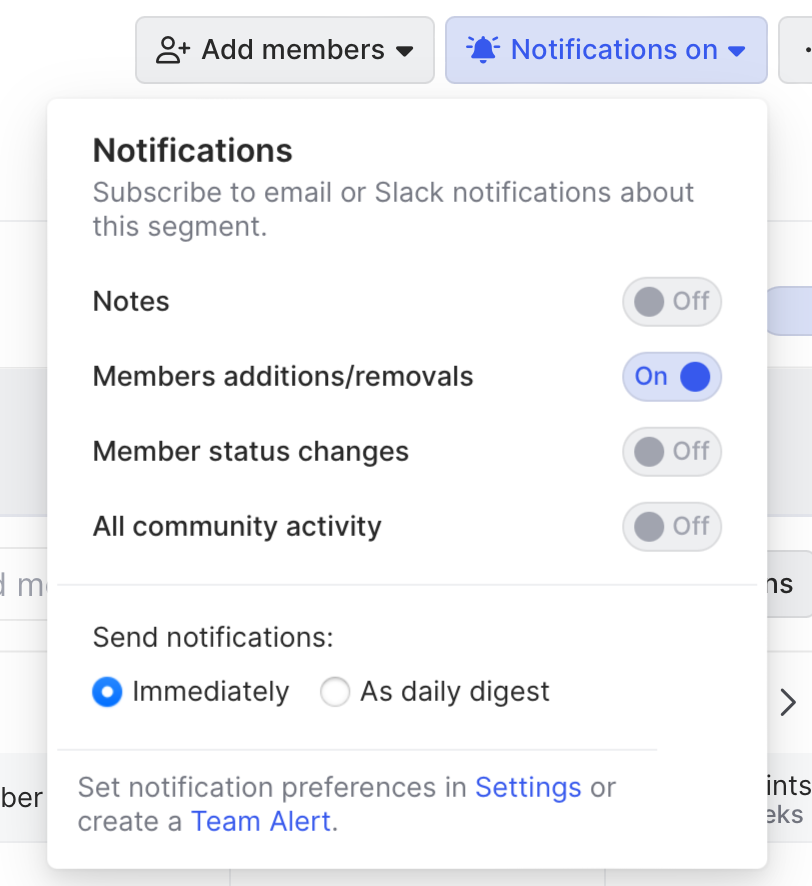
Now we’ll never miss out on any activity we want to know about ⏰
All right. Each of our segments is now an interactive dashboard we can use to engage prospects.
Let’s get to it.
Step 4: Streamline prospecting
Click into any segment and make sure Task view is toggled on.
Now click the dropdown arrow over any individual in the segment to open up your list of options.
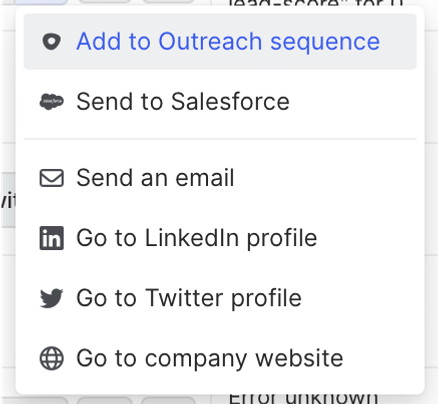
Depending on which integrations we have set up and where buyers are active, we can add people to personalized Outreach sequences, send them Slack DMs, visit their LinkedIn profiles, sync their records with Salesforce, and more—all from the same place 😍
Once we’re satisfied with whatever action we take, we can mark the person as complete or snooze them to remove them from our task list.
Let’s say we have a preprogrammed email sequence for leads who recently switched jobs.
We’ll navigate to a lead in our segment, click the dropdown menu arrow, and select Add to Outreach sequence.
We’d then choose which sequence we want to add them to and which email address we want the message to come from.
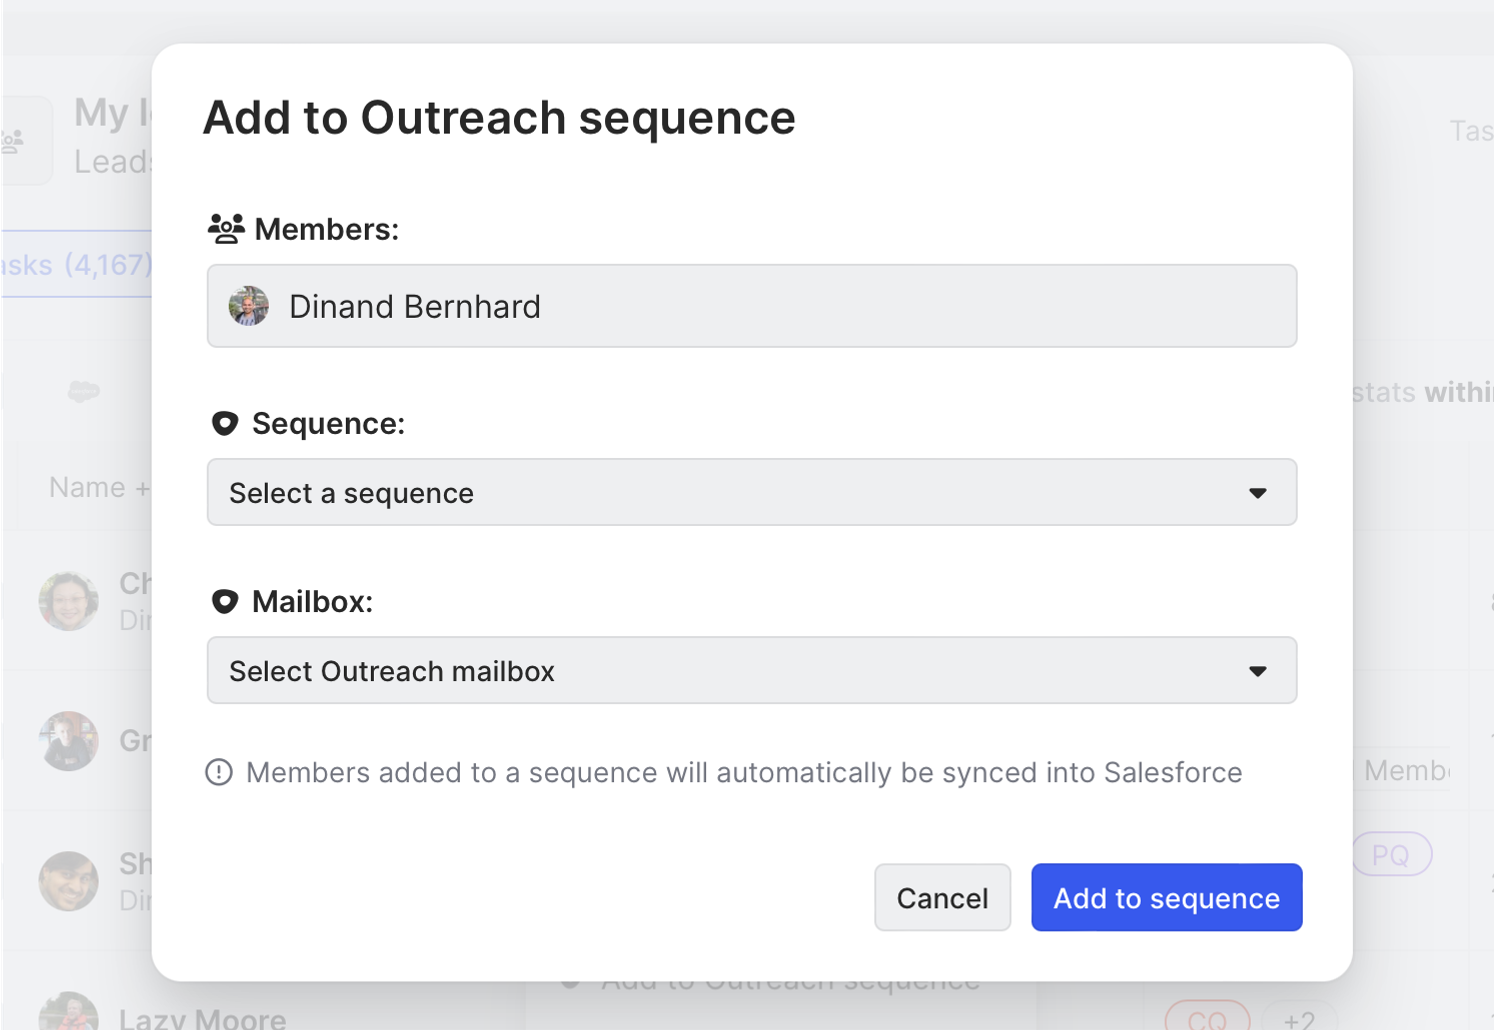
Then click Add to sequence and you’re good to go.
You can also add people to Outreach sequences in bulk. At any rate, Common Room will remember your last entry so you don’t have to reselect the same sequence every time.
Prospecting just went from painful to painless.
Wrapping up
And there you have it—a quick, easy way to create an SDR command center for each and every sales play.
Empowering reps to go for the gold has never been easier 🥇
Looking for a different playbook? Let us know. And if you haven’t already, try Common Room yourself for free.