Onboard and verify new members in your Discord server
Personalize your Discord community experience while de-anonymizing members.
Overview
Onboarding members to your Discord community is more complex than it should to be.
You need to establish roles, verify members, and add them to relevant channels to ensure your server doesn’t dissolve into a chaotic mess.
While Discord gives you a ton of flexibility for doing the above, it doesn’t make it easy to do so.
If you want to simplify Discord onboarding, we’ve got you covered with this playbook.
We’ll show you an easy path to onboarding Discord members to your community using Common Room. By the end, you'll have an Discord onboarding flow that will:
- Send an custom automated welcome message
- De-anonymize Discord members via email verification
- Assign roles and unlock relevant channels based on member preferences
What you’ll need
Step 1: Connect your Discord server to Common Room
We’ll want to connect your Discord server to Common Room if you haven't done it already.
Connecting to Common Room allows us to authenticate with our Discord server and set up an onboarding workflow.
Head over to the Settings menu, choose + Connect on the Discord card, and click the Connect button.
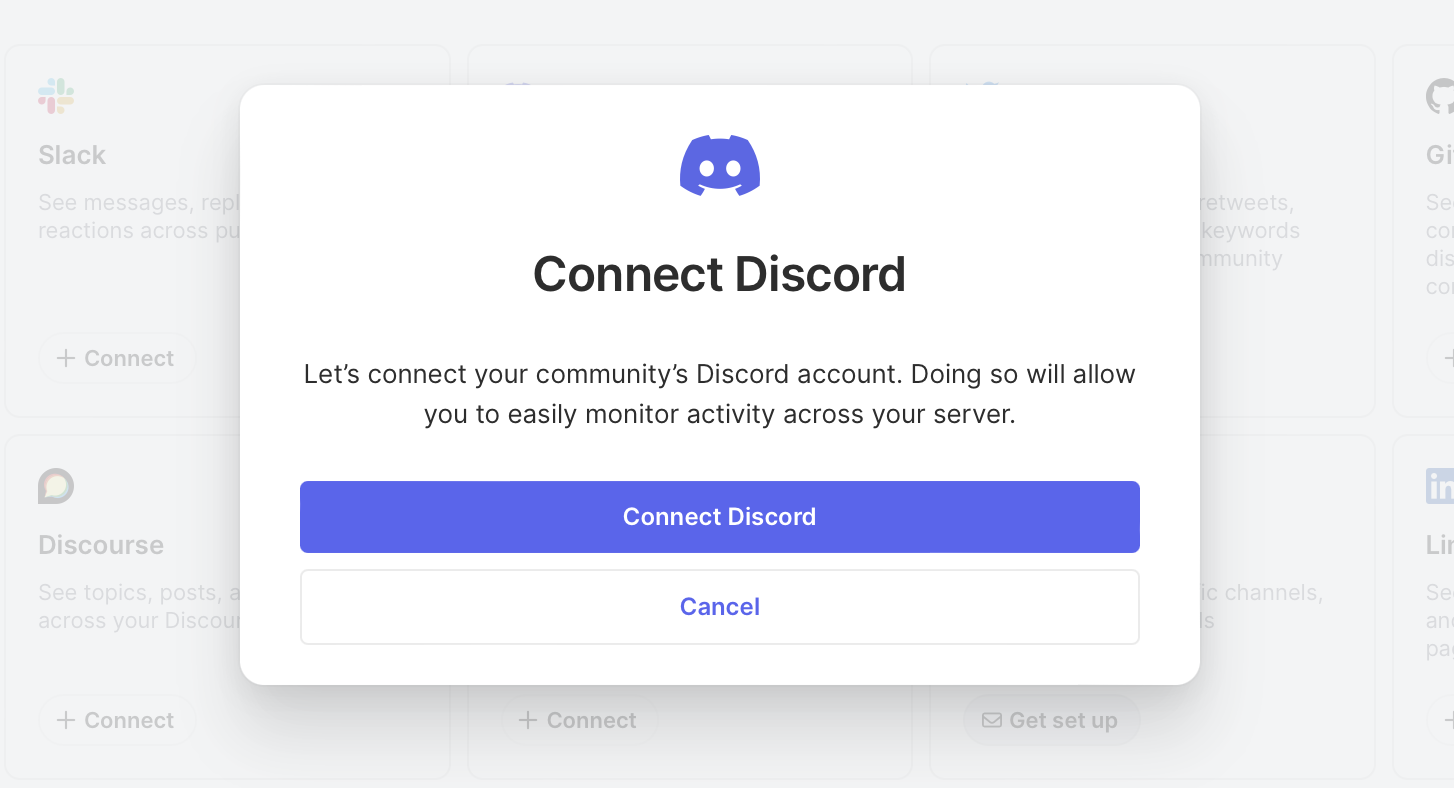
You’ll then be prompted to select a Discord server and authorize the Common Room bot.
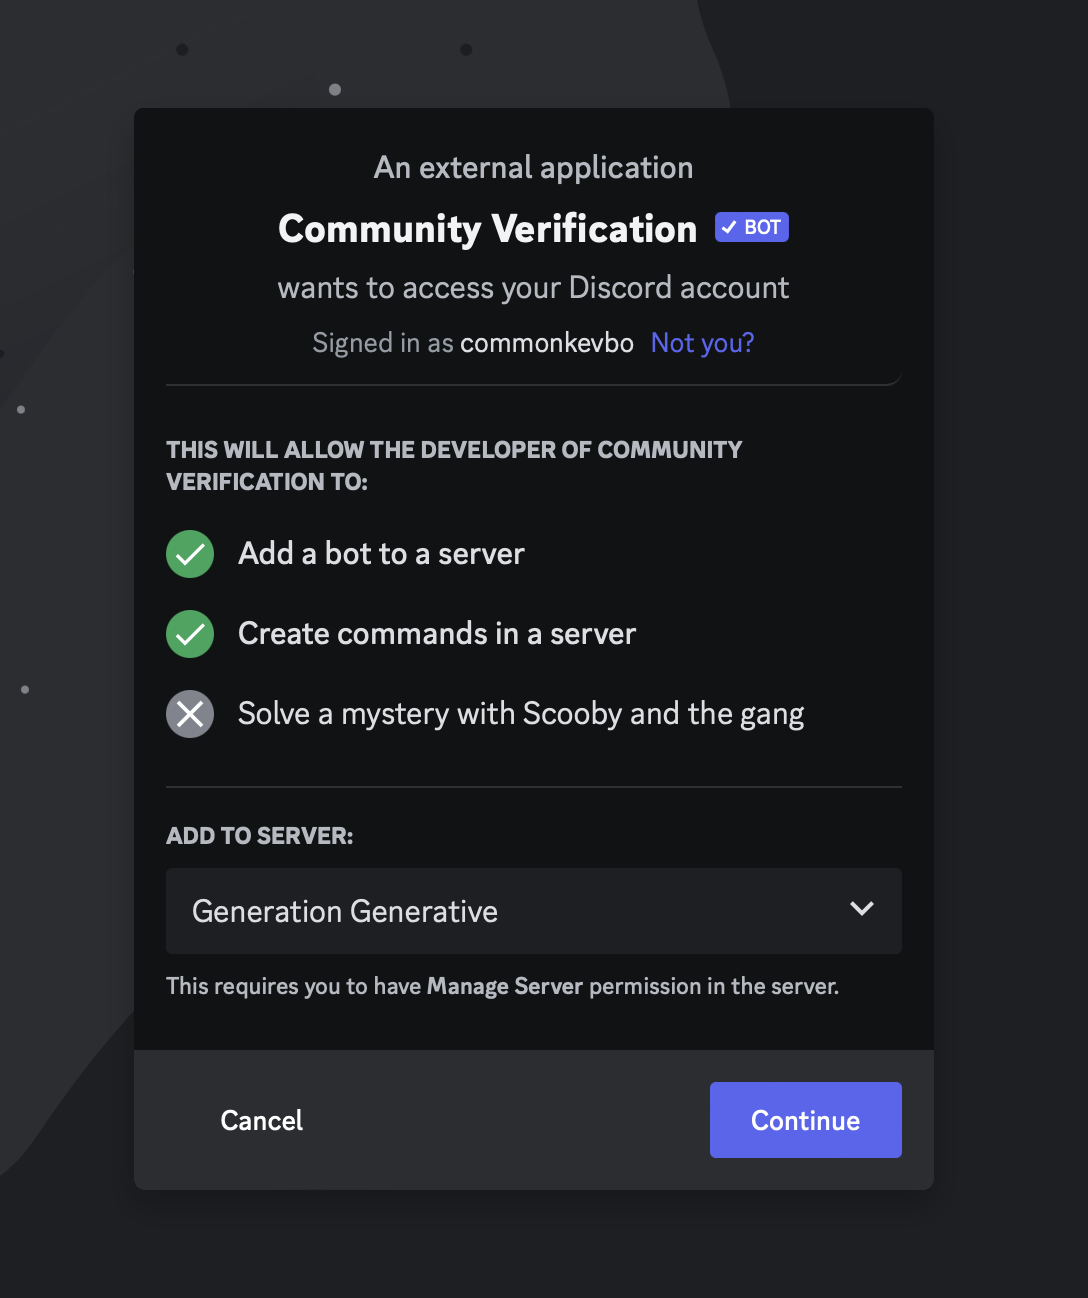
You’ll see a notification in your Discord server immediately after authentication.

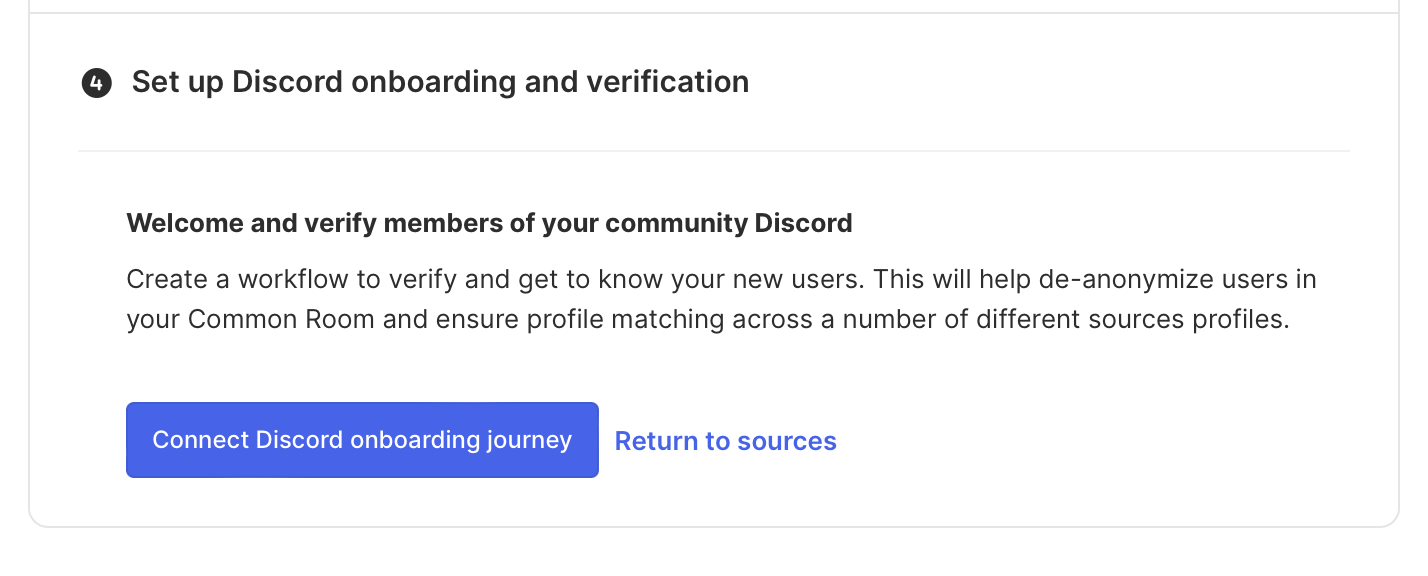
After authenticating, we’ll be placed back into Common Room and given the option to Set up Discord onboarding and verification. That’s exactly what we want to do, so we’ll click the Connect Discord onboarding journey button.
Step 2: Configure Discord member identity verification
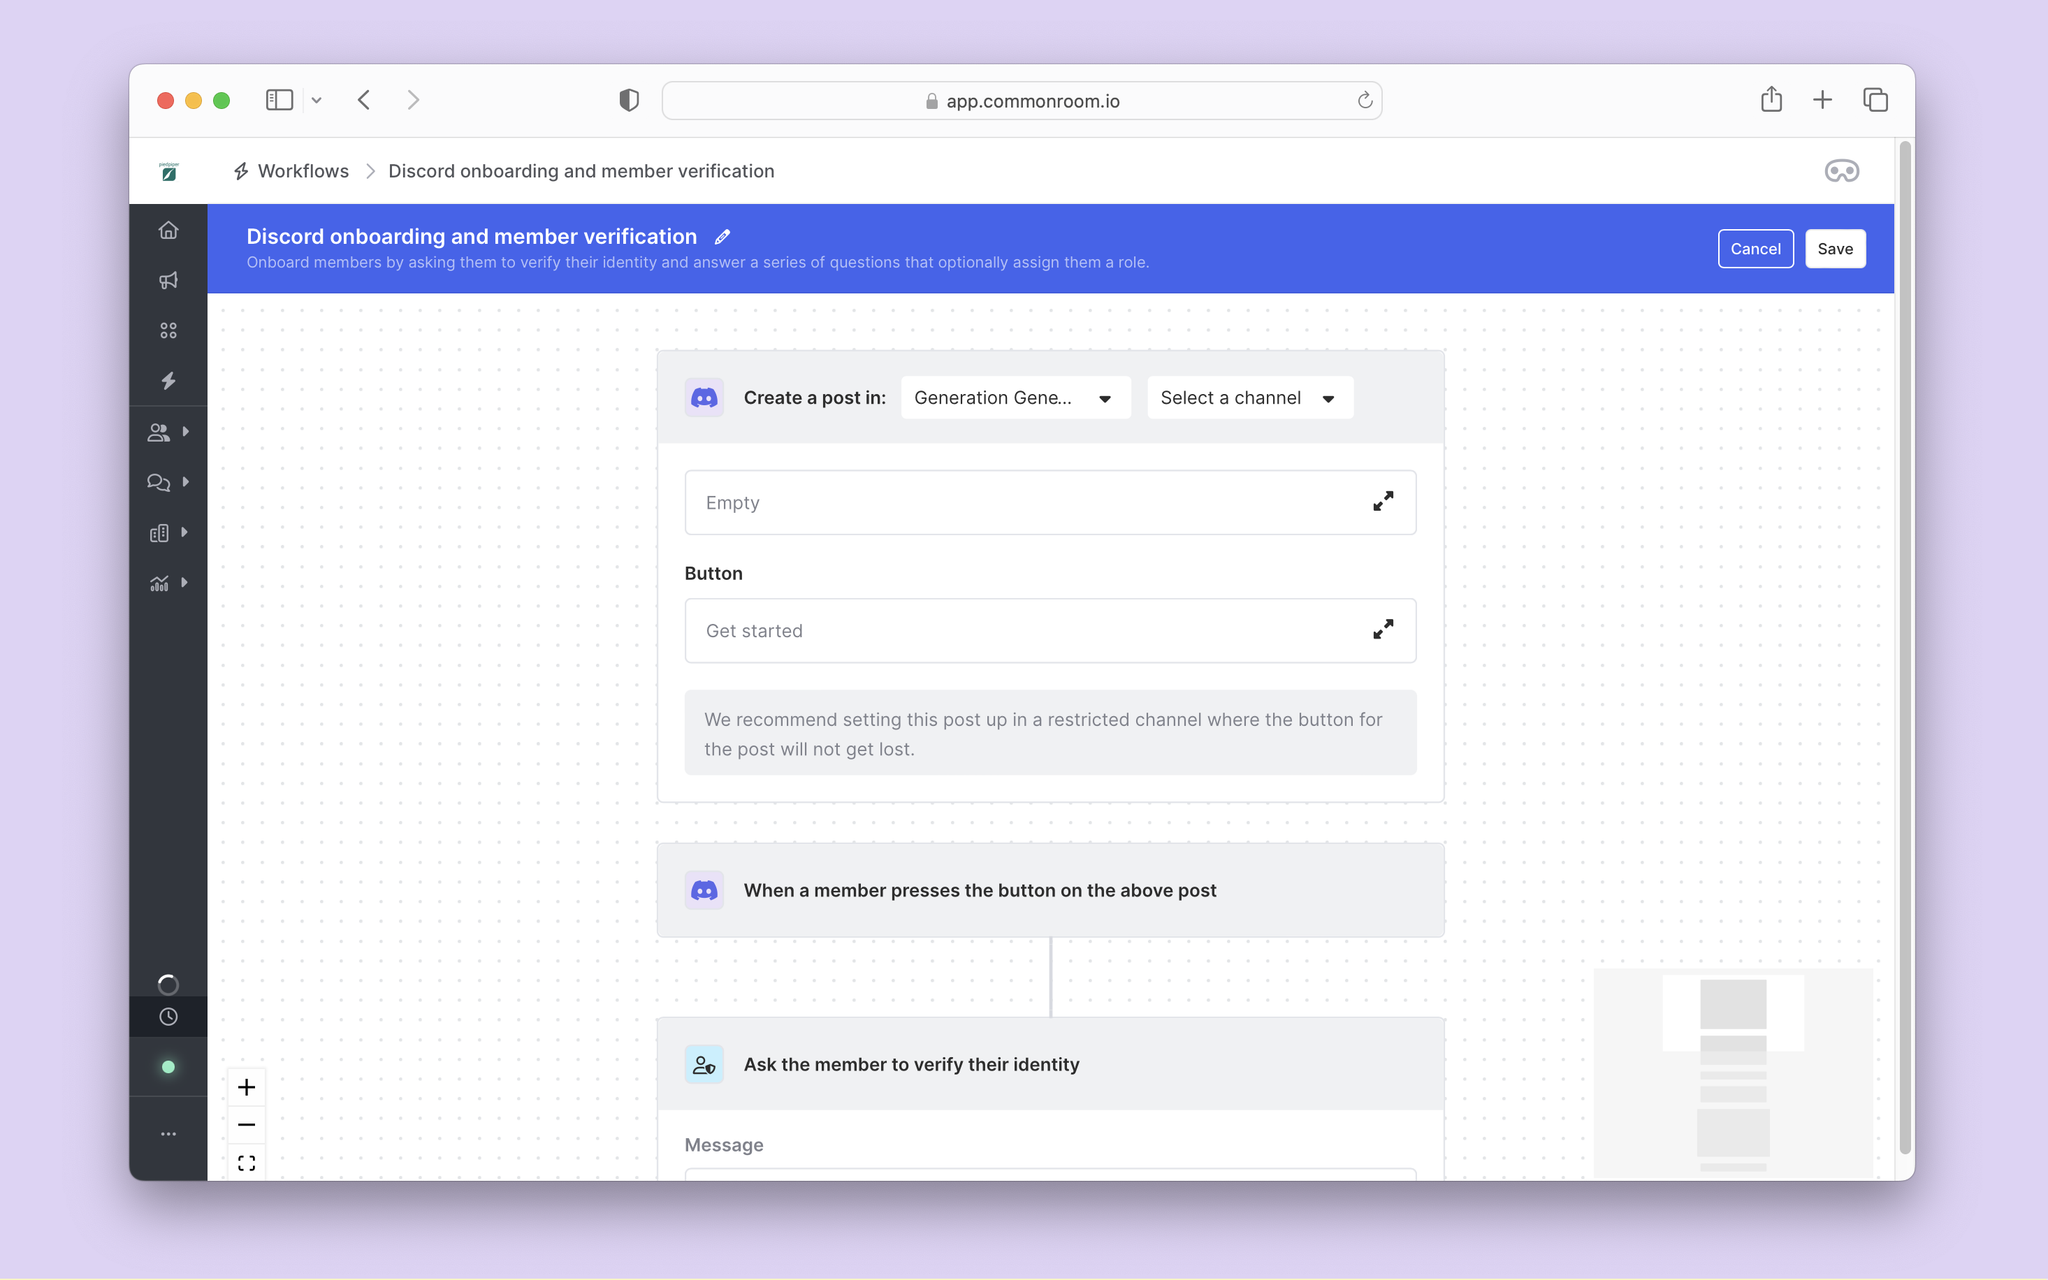
After clicking the button to create a Discord onboarding journey, we’ll be placed into a workflow canvas. This is where we’ll set up our onboarding steps.
For this, you'll probably want to create a bespoke channel and name it something like “Verify.”
Back to our canvas, we’ll need to select the Discord channel we want to use for verification. This requires additional permissions to enable automated verification.
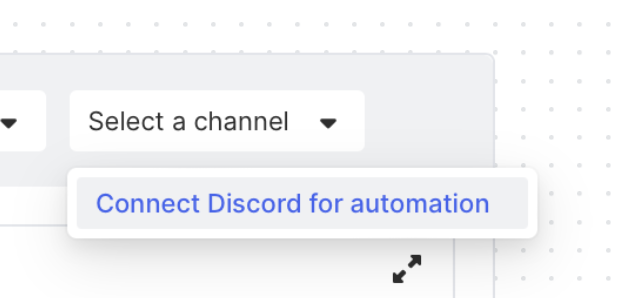
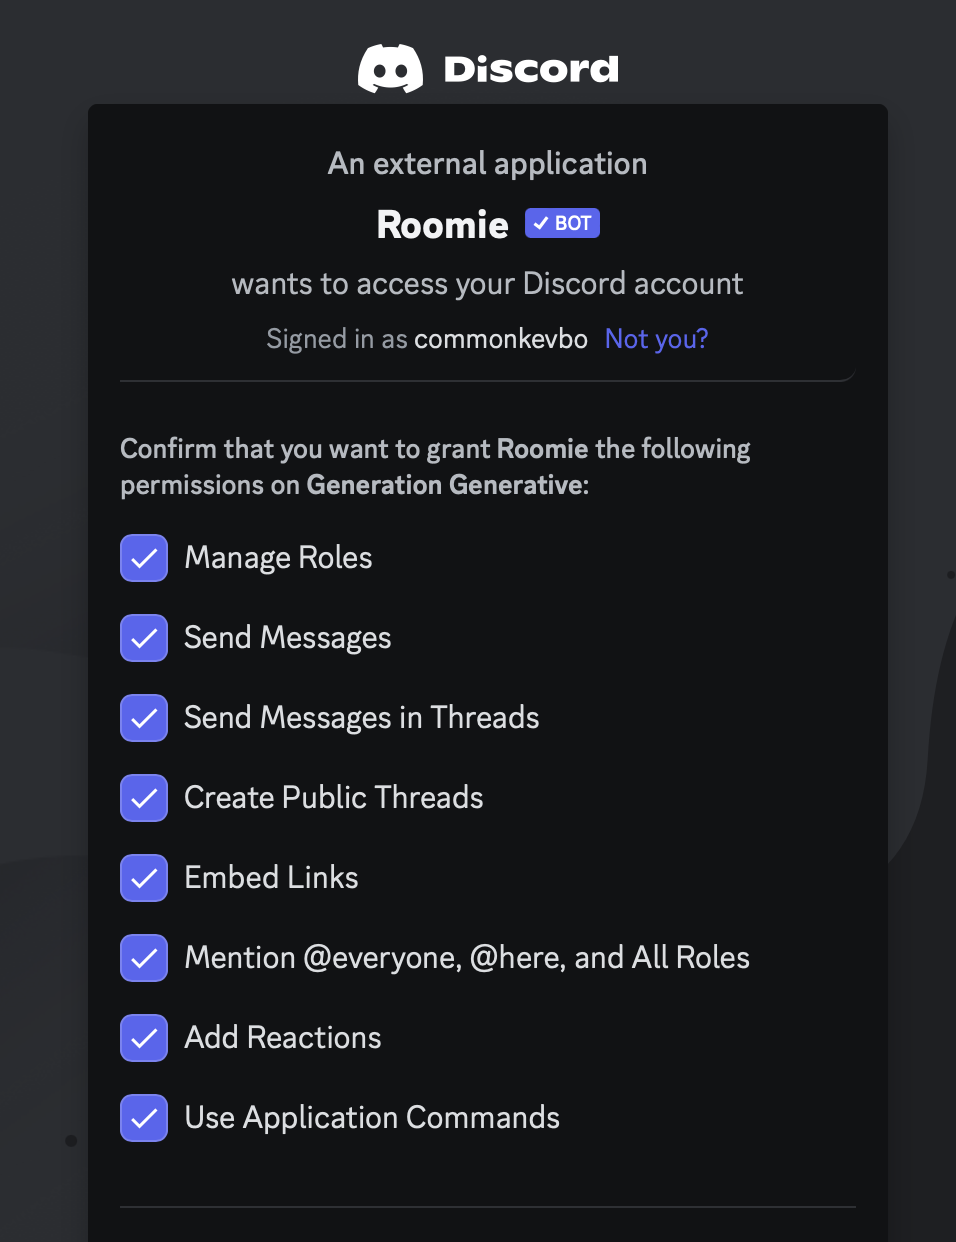
After clicking to connect a channel, you’ll need to grant Roomie bot (our automation bot that works with Discord) the following permissions:
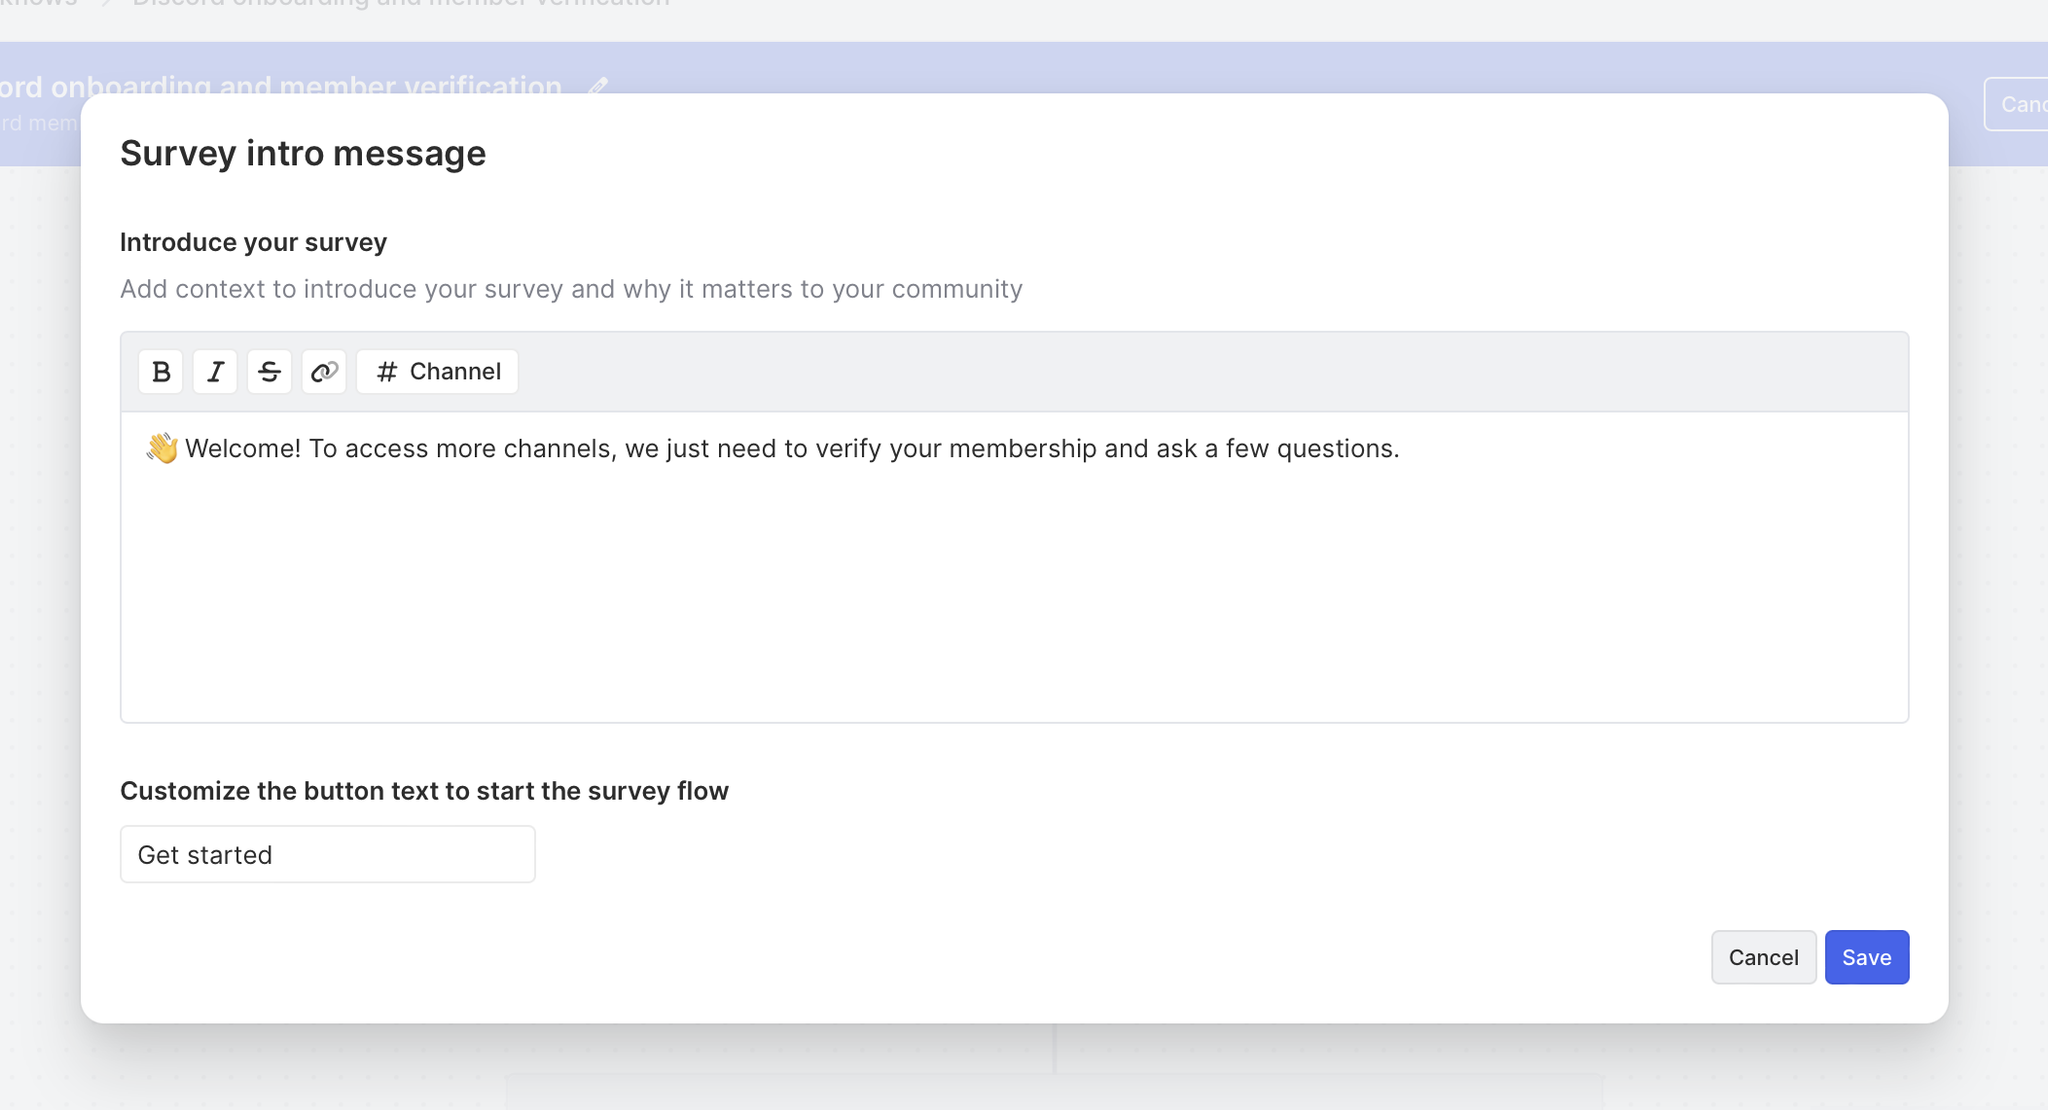
We’ll next set a welcome message to kick off the onboarding workflow for new members.
From here, we can type an intro message and set our button text for members to start onboarding. And our message can be customized with emojis, rich text, and channel mentions.
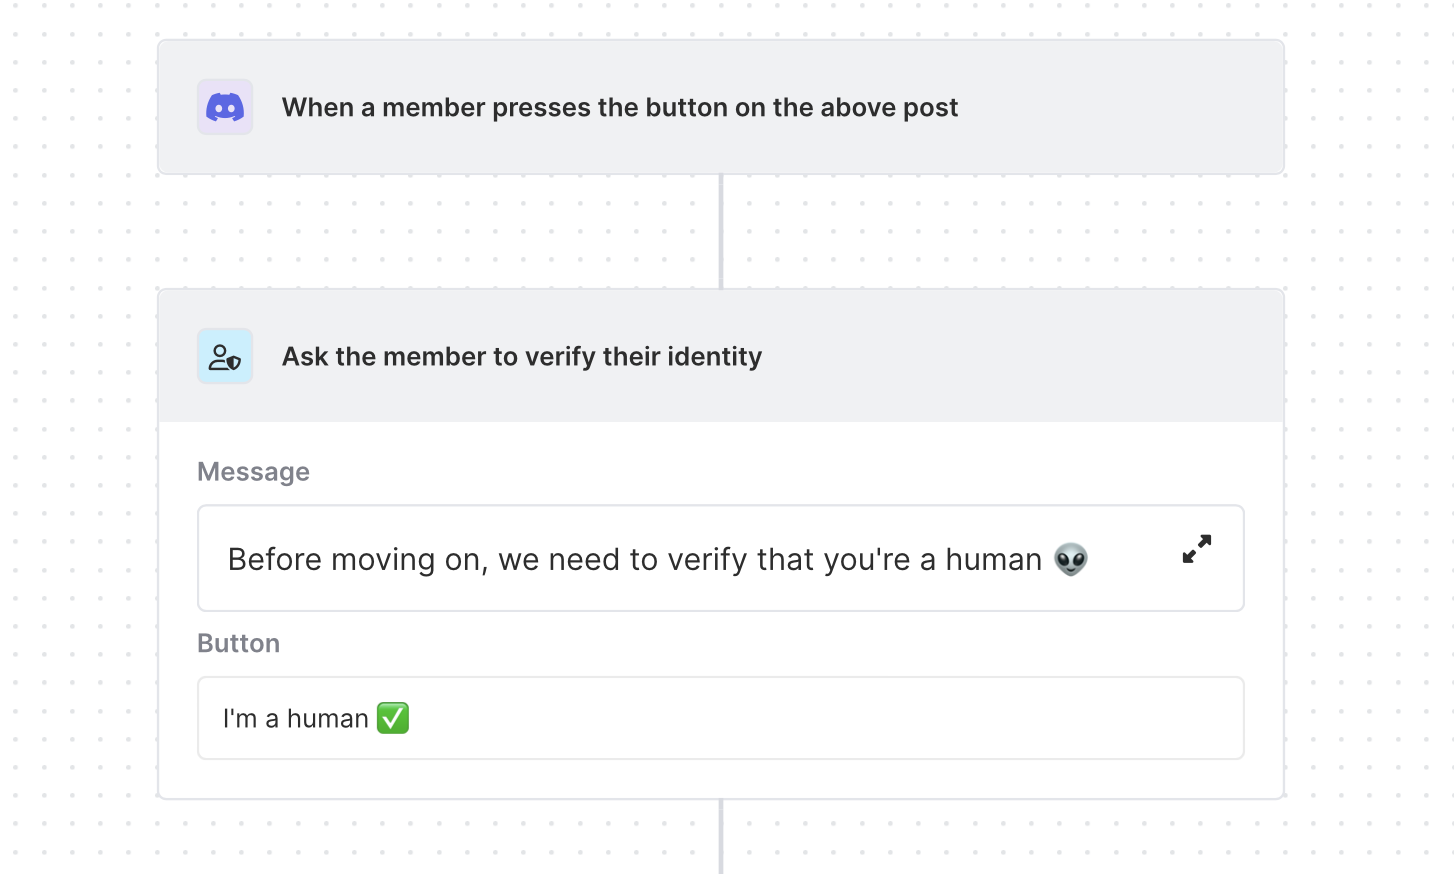
Once the member clicks to start the survey flow, they’ll be asked to verify their identity to move on to further steps.
We can follow a similar process and add a verification message and button to verify members.
And finally, we’ll assign a Discord member role. For this, we suggest setting up a role that clarifies ID verification (something like “verified,” for example).

That’s all we’ll need to set up the verification portion of onboarding.
From a user experience, new members will see a verification message like this:

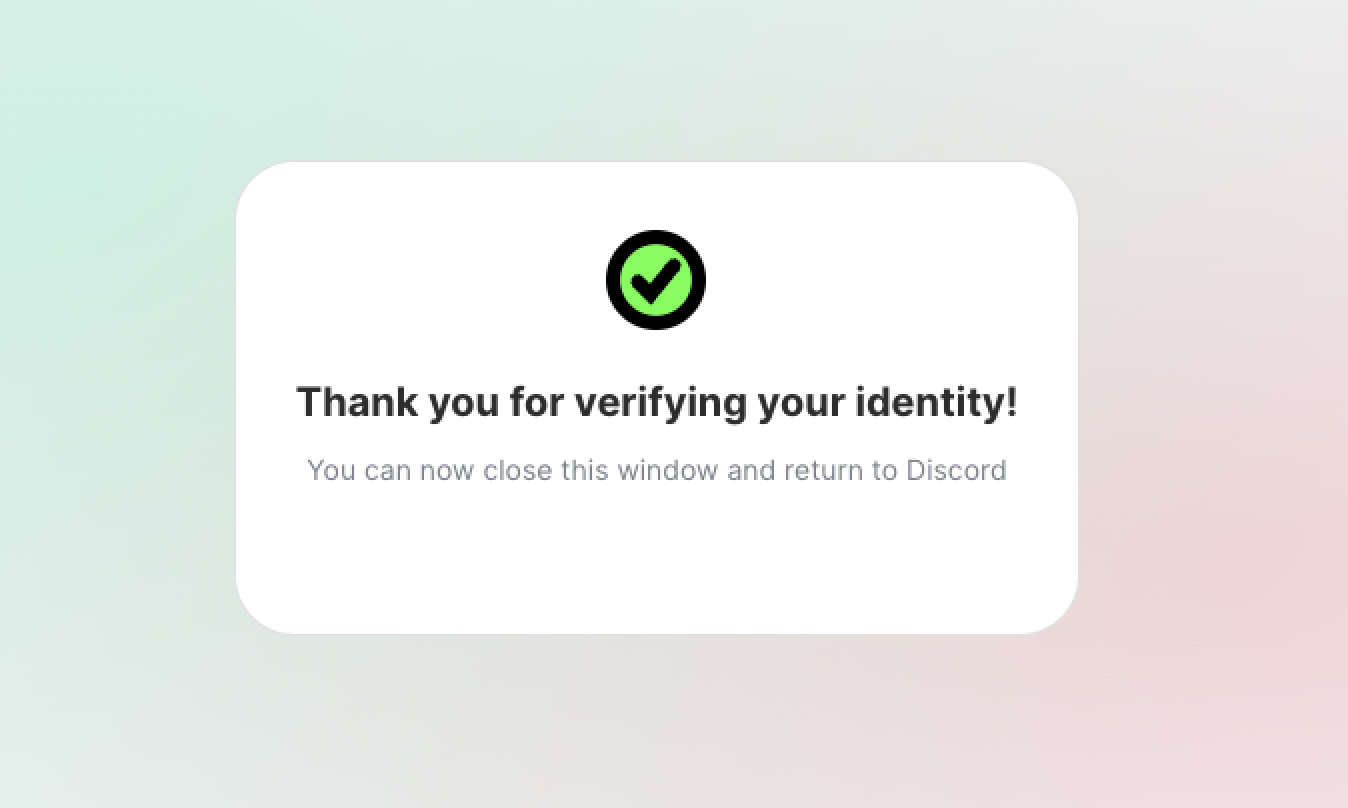
When members click the Verify button, they’ll be taken to a confirmation page and able to close the tab to return to onboarding.
Step 3: Survey new members and assign roles
With members verified, we’ll want also to ask them a few questions to route them to relevant channels across our server.
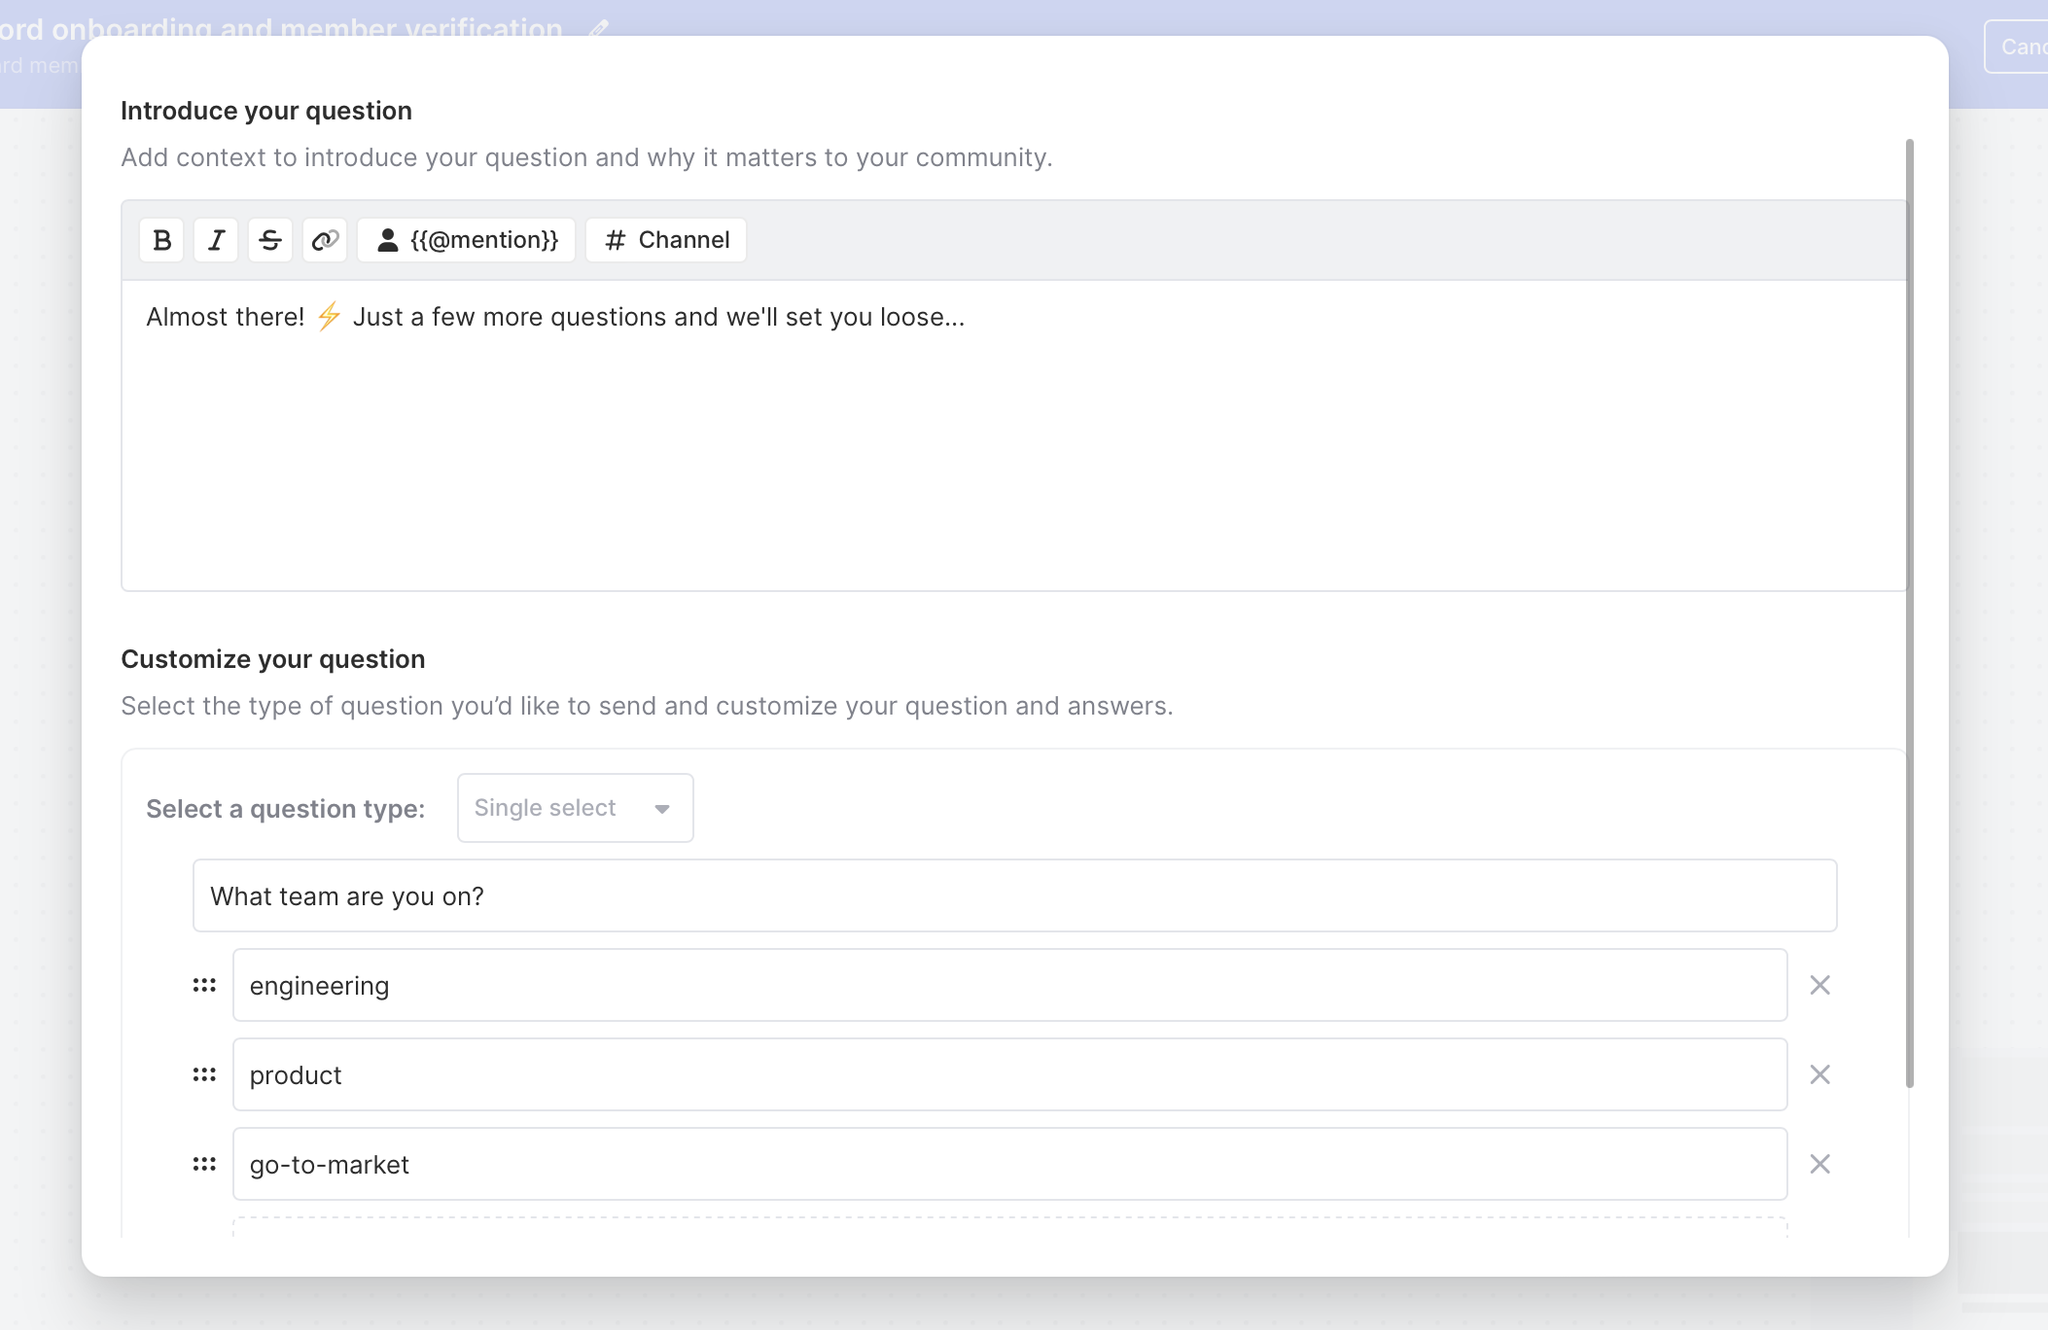
For example, imagine that our server offers resources based on a member's job role. To add them to relevant channels, we can simply ask what role they’re in during onboarding.
Clicking into the next step (Send a survey question to the member), we can add a message and ask a single or multi-select question.
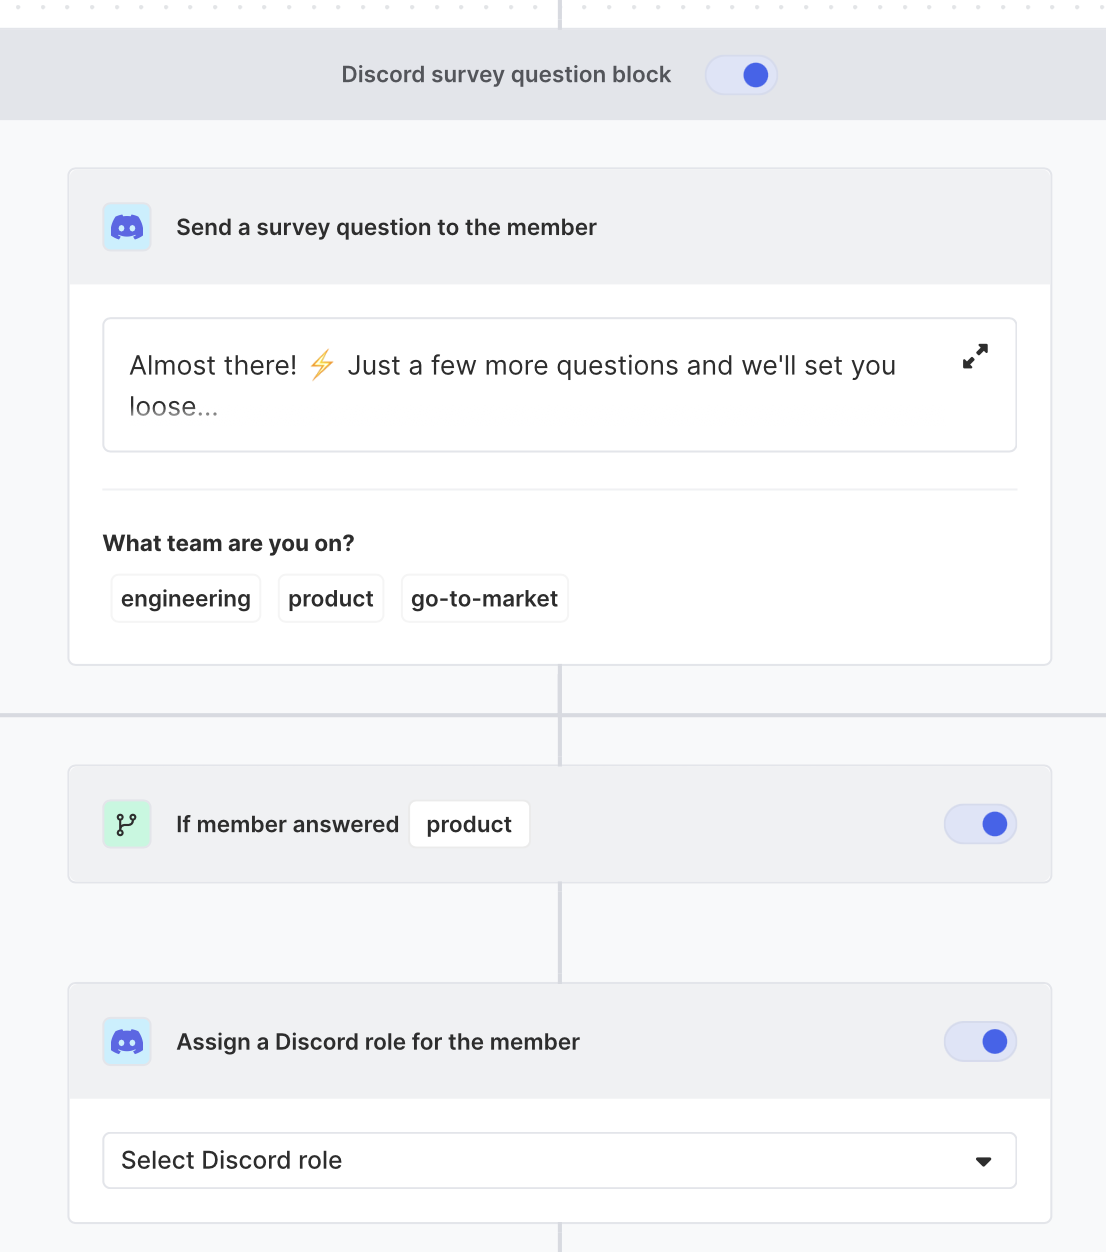
After clicking save, we’ll see a decision tree to change user roles and segments based on their selected answers.
Let’s walk through the member workflow if Engineering is selected.
We’ll assign engineering responders to the “engineer” Discord role.
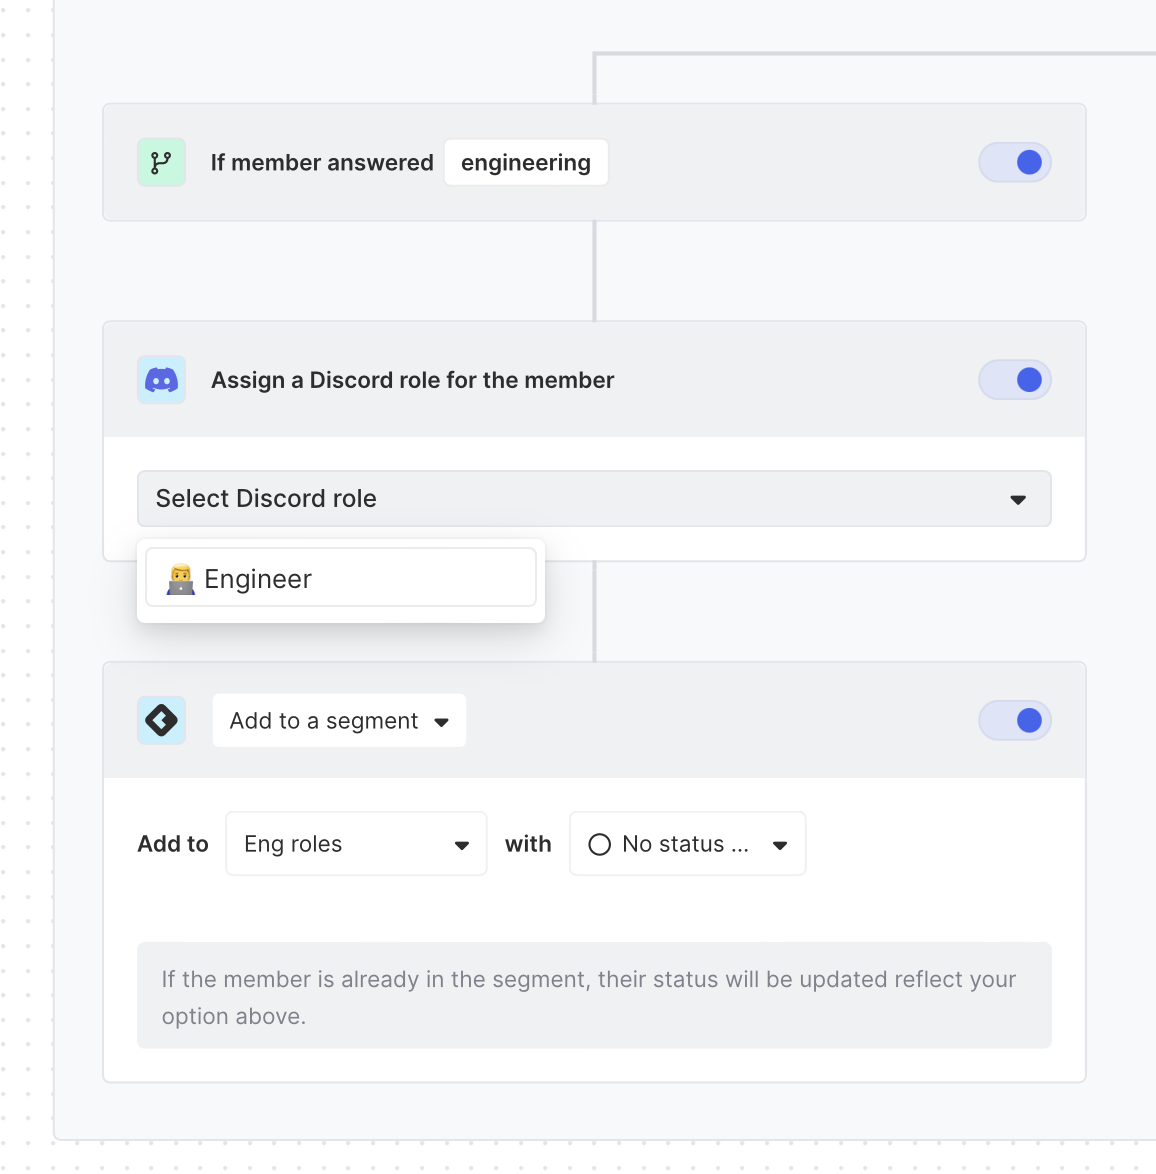
And we can also add these responders to a Common Room segment.
With all our responses accounted for, we can then click Save or repeat the same process by adding a new survey question.

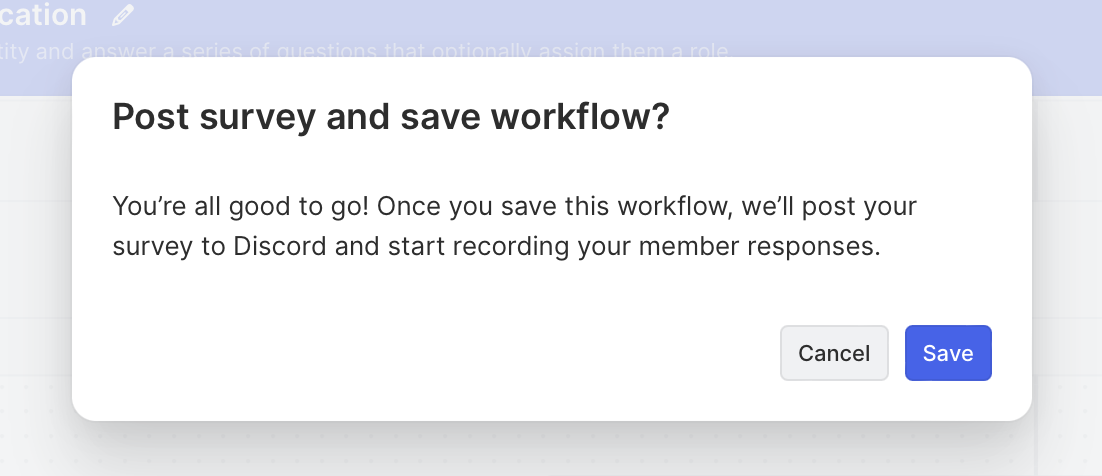
For the sake of brevity, we’ll just keep it to one question and click Save. This will prompt a confirmation message which we can also click Save.
Step 4: Test out the user experience for yourself
Now that our onboarding verification and survey are set up, we can test the user experience.
With an invite to the server (and a separate Discord account), we can log into the server and see the welcome message:

When we click Get started, we’re first asked to verify our identity:

Clicking on the verification button, we’re taken to an authentication confirmation:

Then, when we come back to Discord to complete onboarding, we see our first survey question:

We can select and access more channels based on the role we assigned in Common Room.
And that’s pretty much it!
Wrappign up: De-anonymized Discord members
Discord member de-anonymization is not really a step, but it’s a powerful feature of Common Room. When you verify members, you’ll notice that Common Room will automatically fill in the gaps to who they are, where they work, and other publicly available information.
In our example, we started with an anonymous member, kelvar1989. After ID verification, we can now see that user in Common Room is Kevin White (the author of this post).
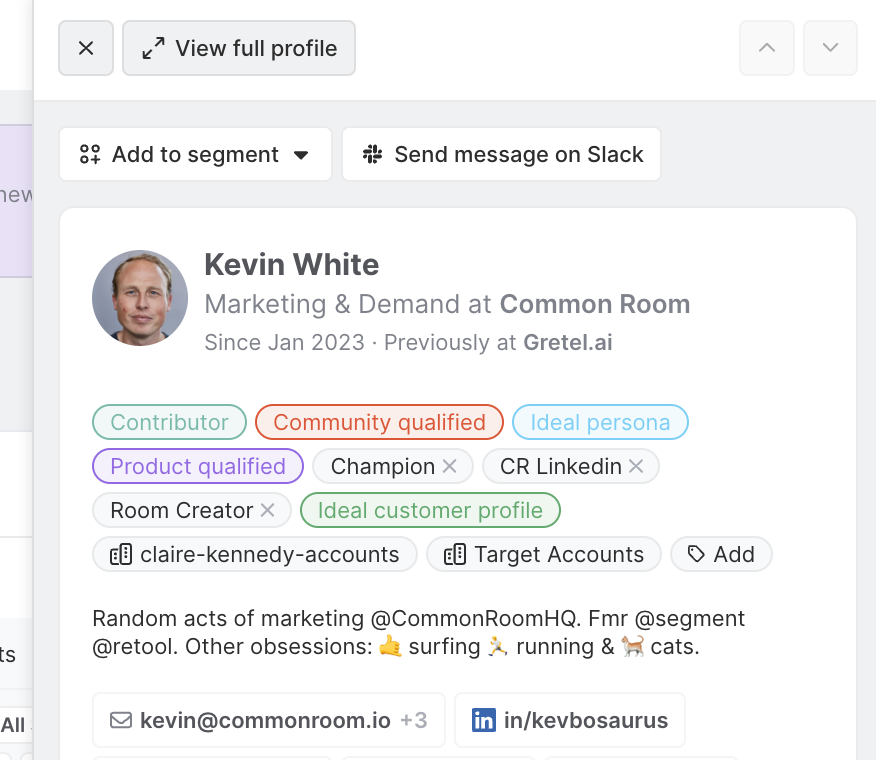
Discord de-anonymization is a pretty powerful concept!
Suppose you’re using Common Room and Discord for community management. You can now unlock all sorts of use cases, like activating top contributors to your community or generating content ideas surfaced from your members.
