- Overview
- Step 1: Connect Snowflake
- Step 2: Connect LinkedIn
- Step 3: Create tag
- Step 4: Create workflow
- Step 5: Create segment
- Wrapping up
Turn buyer intelligence into pipeline with AI.
Book a demoOverview
Product users aren’t always product buyers.
Multiple team members from the same company may sign up for a free trial, but odds are you want to zero in on the people who can make a purchase decision.
Of course, separating your average end user from an economic buyer is easier said than done. Or at least it used to be.
In this playbook, we’ll show you how to spot which accounts are active in your product, drill down into individual users, and transform product usage into sales gold.
Let’s get going 🏁
What you’ll need:
Step 1: Connect Snowflake
We want to hone in on organizations that are active in our product, so our first step is connecting our product usage data to Common Room. We’ll use Snowflake in this example ❄️
Log in to Common Room, click on Settings in the left sidebar (the little ⚙️ icon at the bottom), and go to Sources.
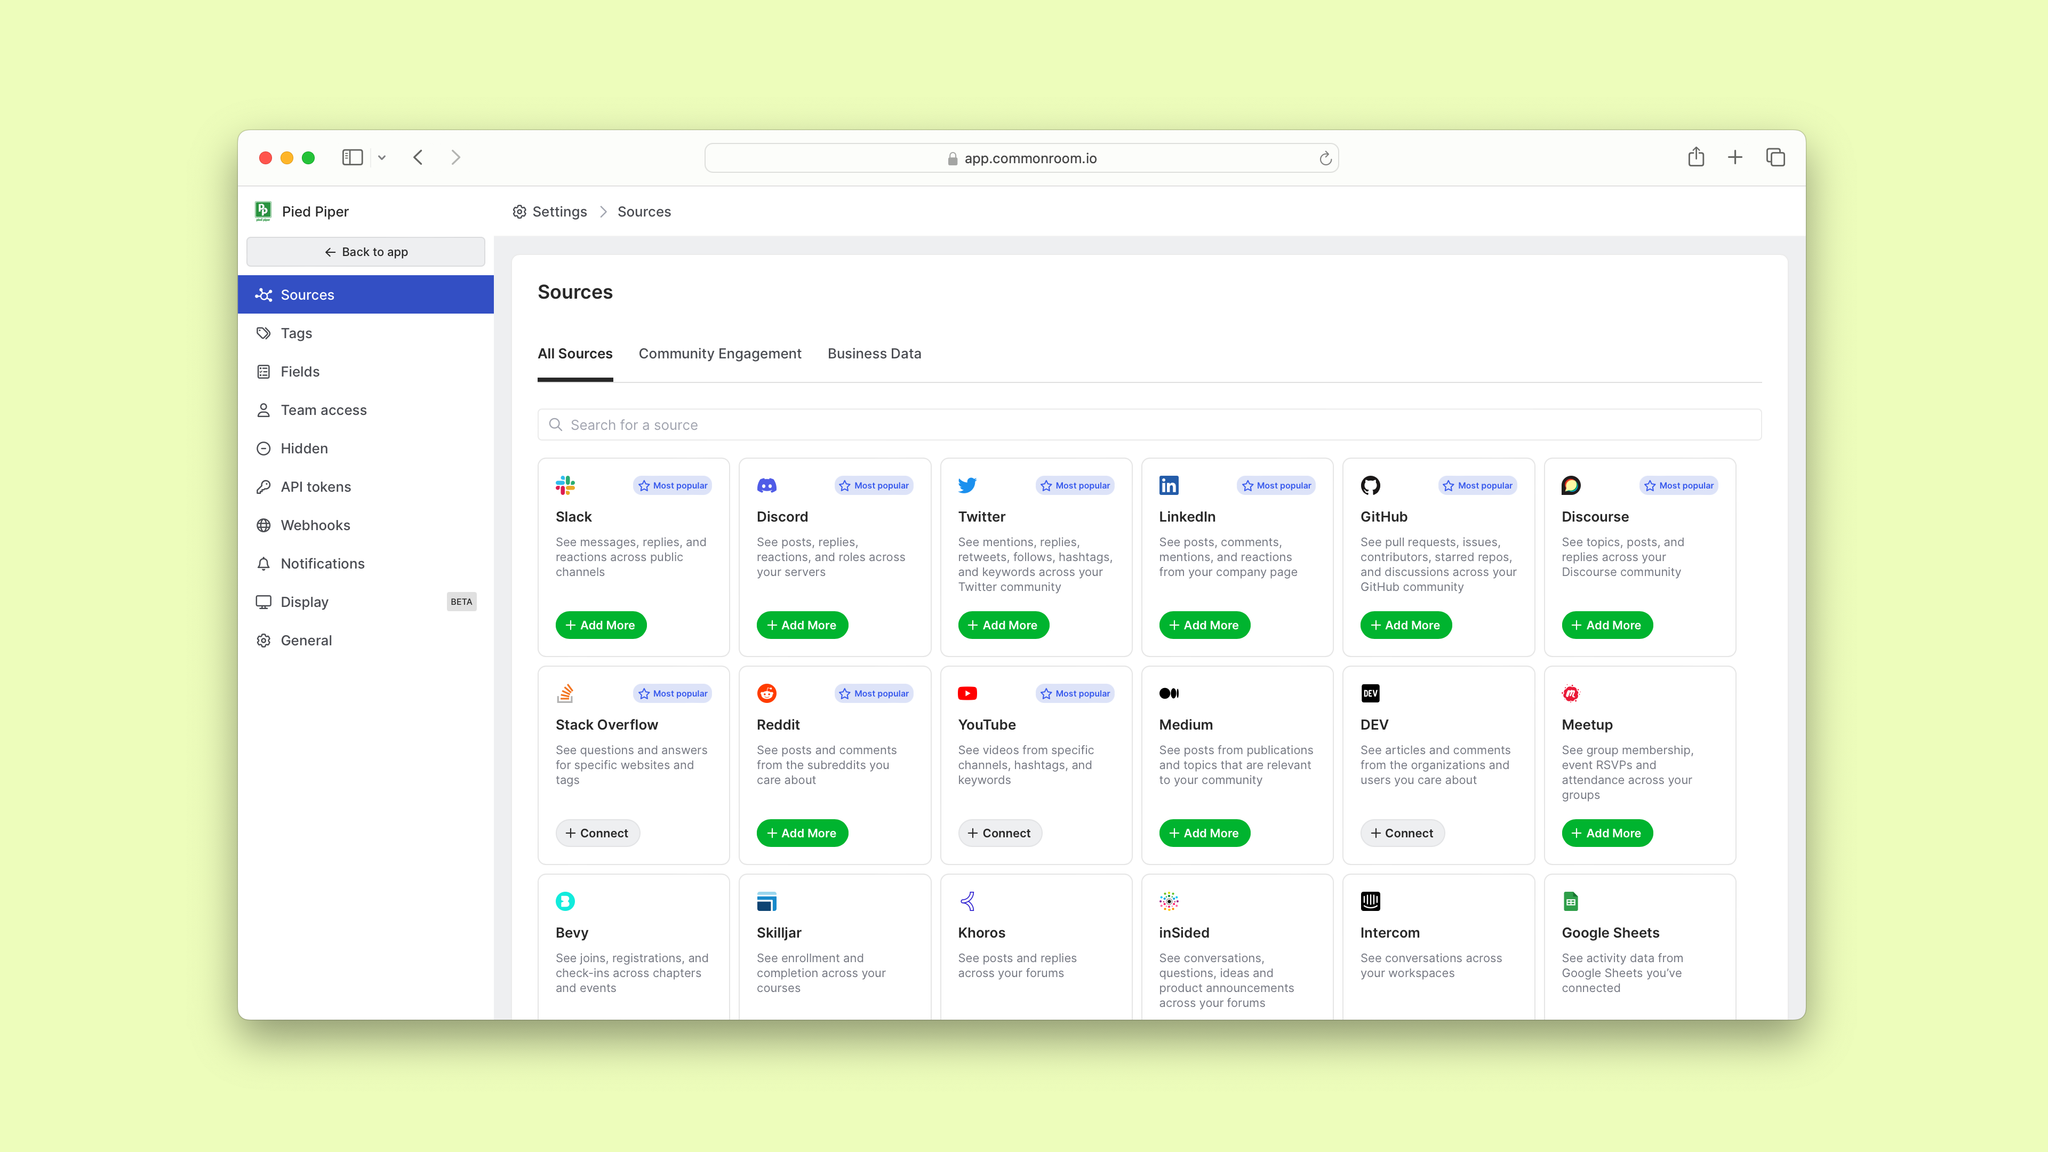
Choose Snowflake from the list of options and click Get set up.
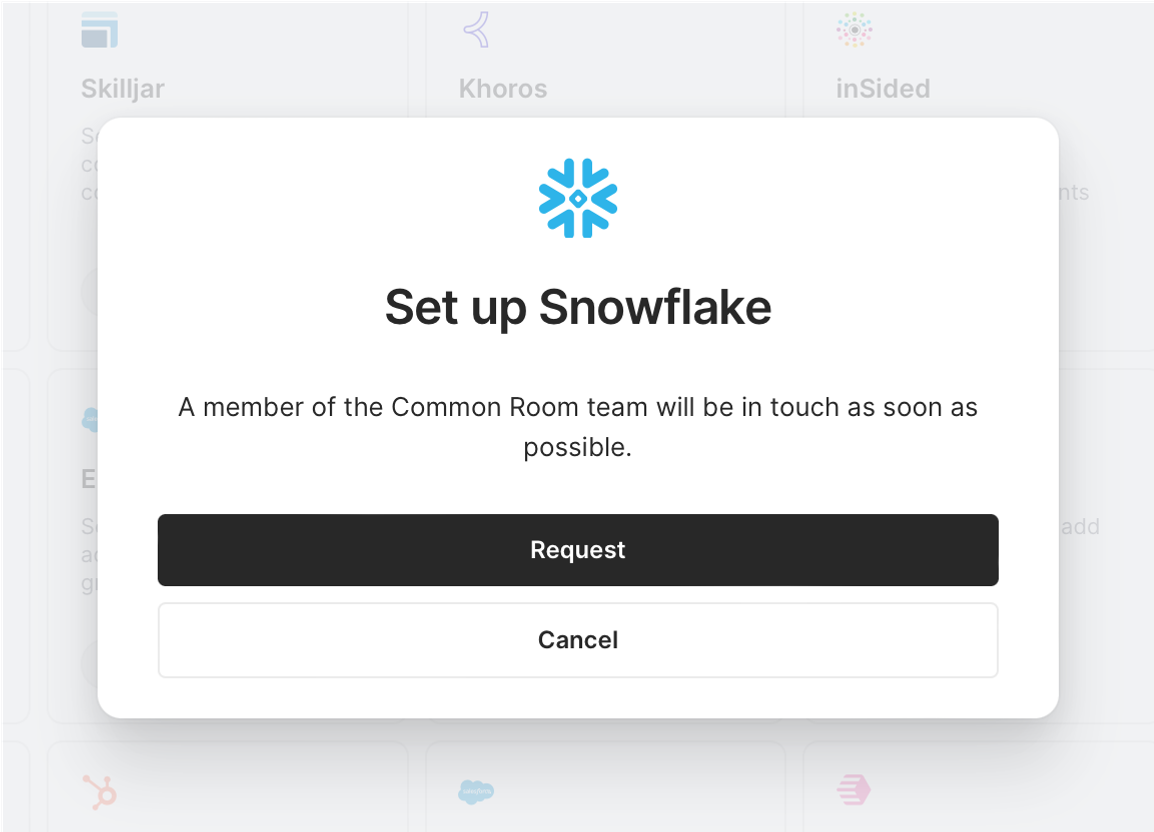
Our team will help you set up your integration and map your product data to fields within Common Room.
In this instance, let’s say we’re a software company with a product that helps organizations create, edit, and share documents.
We want to see which organizations have been active in the past 28 days and how many documents users have edited in that time. This will help us find our power accounts.
But we also want to surface the people in those accounts who have purchase power. Let’s make sure we have a full view of our prospects.
Step 2: Connect LinkedIn
Data from digital sources will help us resolve user identities and create full profiles for our product users. That way we’ll know exactly who they are, where they work, and whether they hold the purse strings 💰
We’ll use LinkedIn for this example, but keep in mind that you’ll uncover more people (and more details) if you connect more data sources.
Choose LinkedIn from the list of sources.
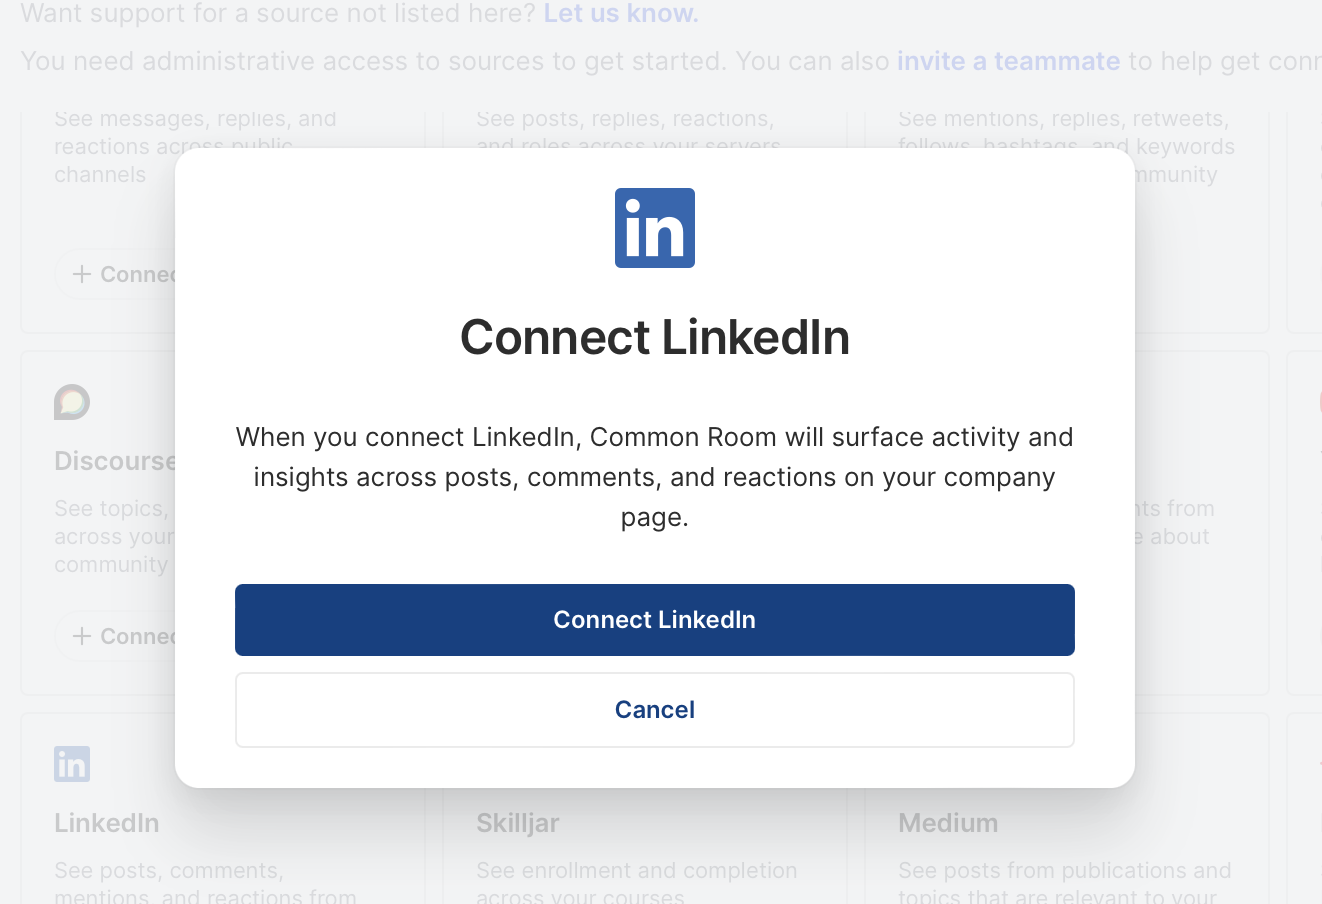
Once we connect and authenticate our account, data from LinkedIn will start flowing into Common Room.
Okay, now it’s time to spotlight our power accounts.
Step 3: Create tag
Click on Tags in the left sidebar.
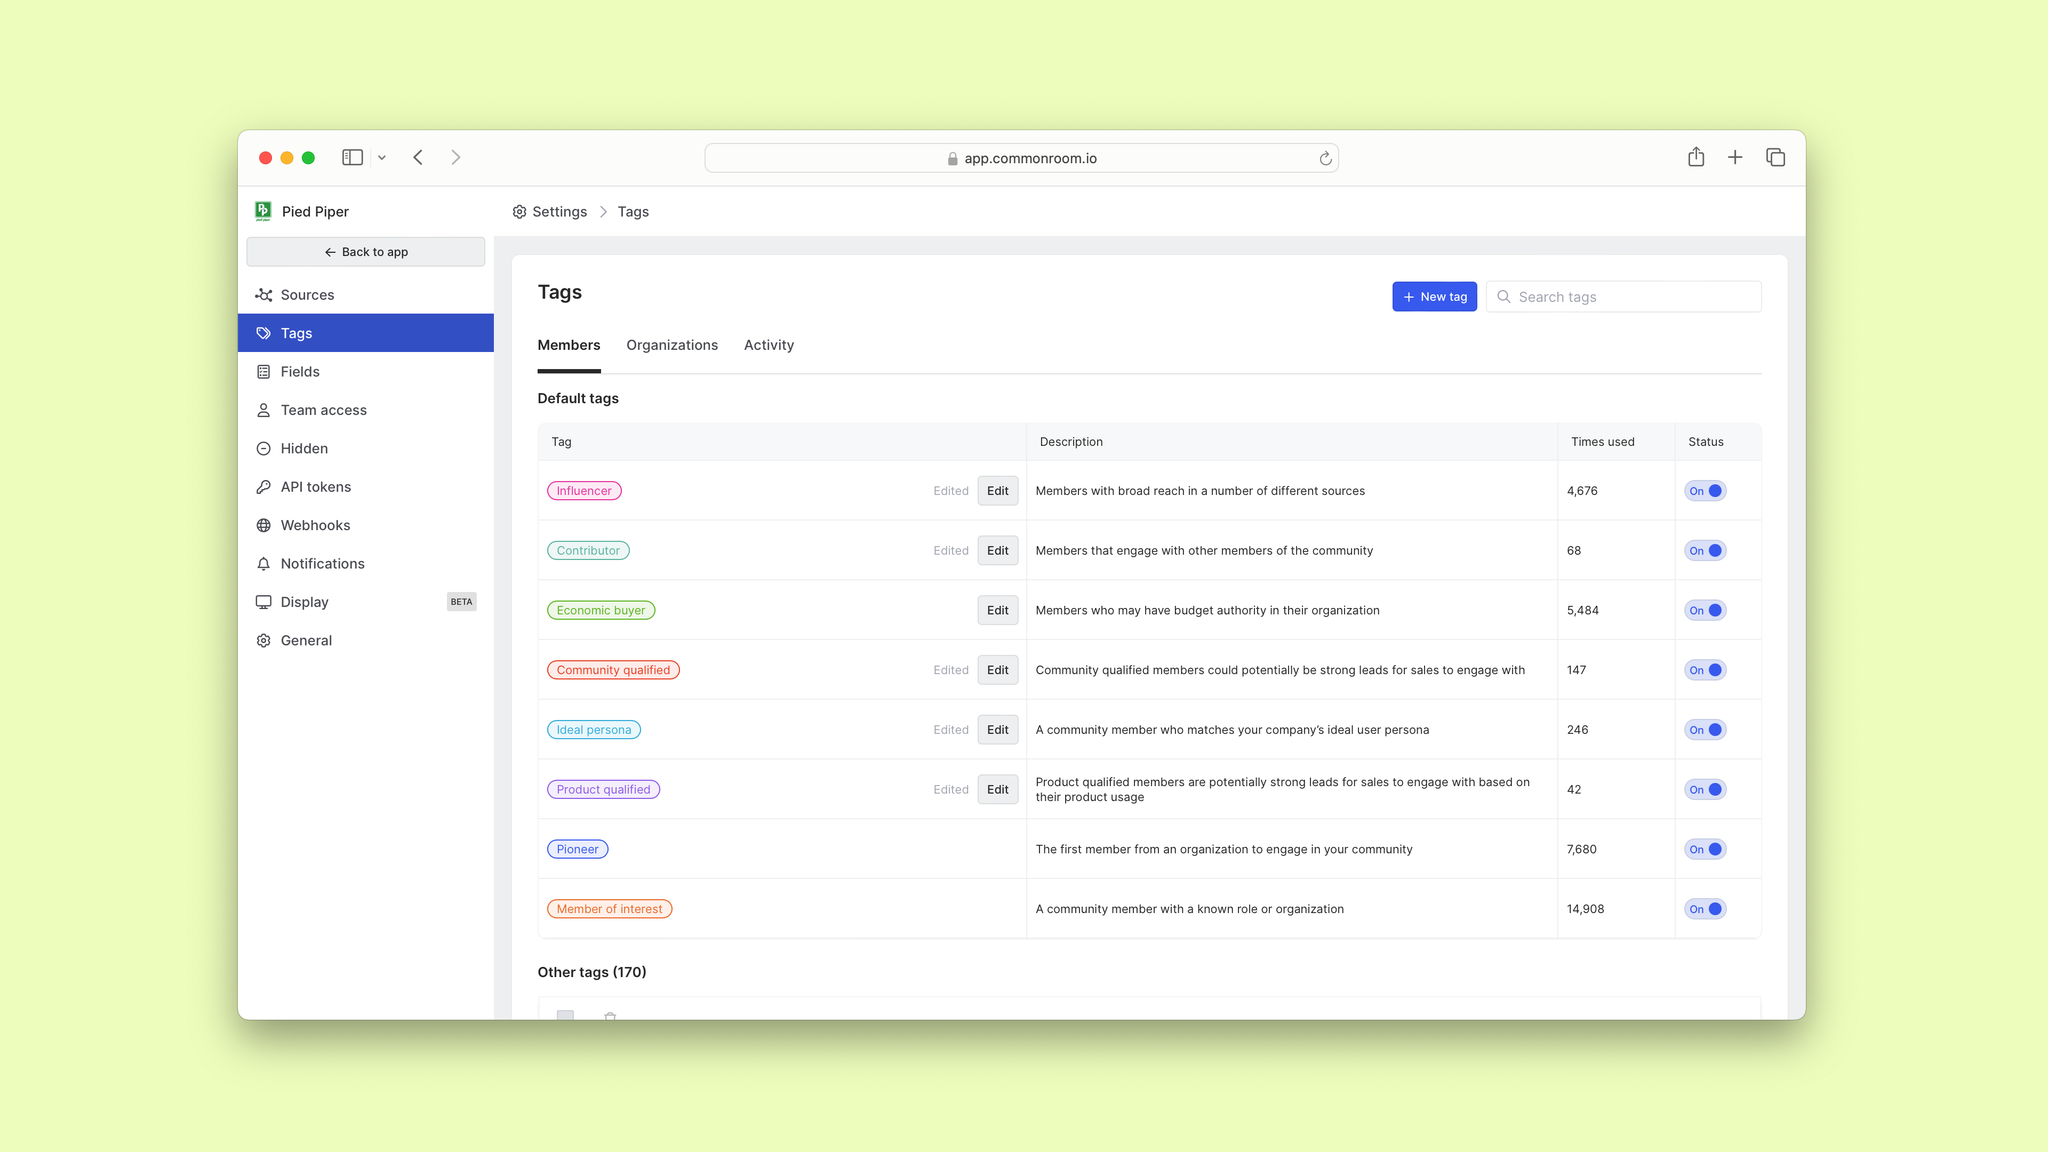
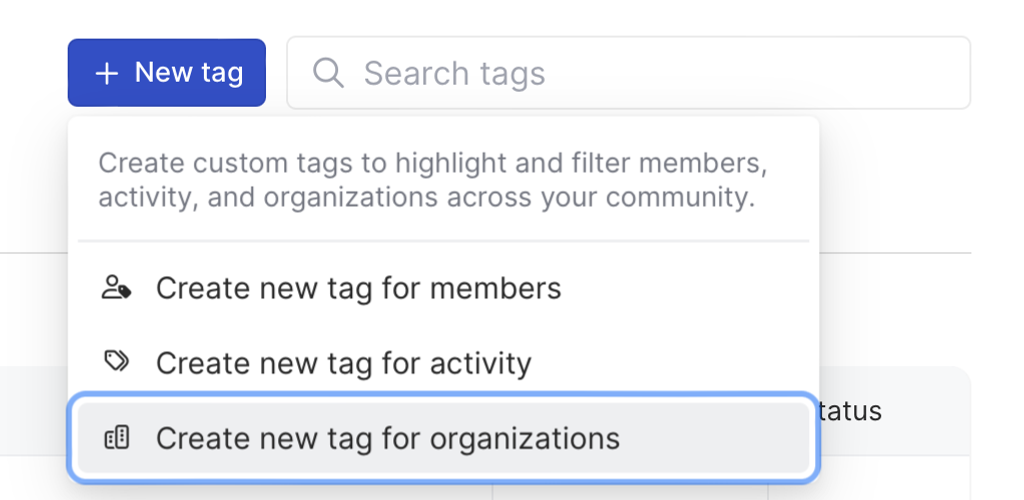
Next, click on New tag and choose Create new tag for organizations.
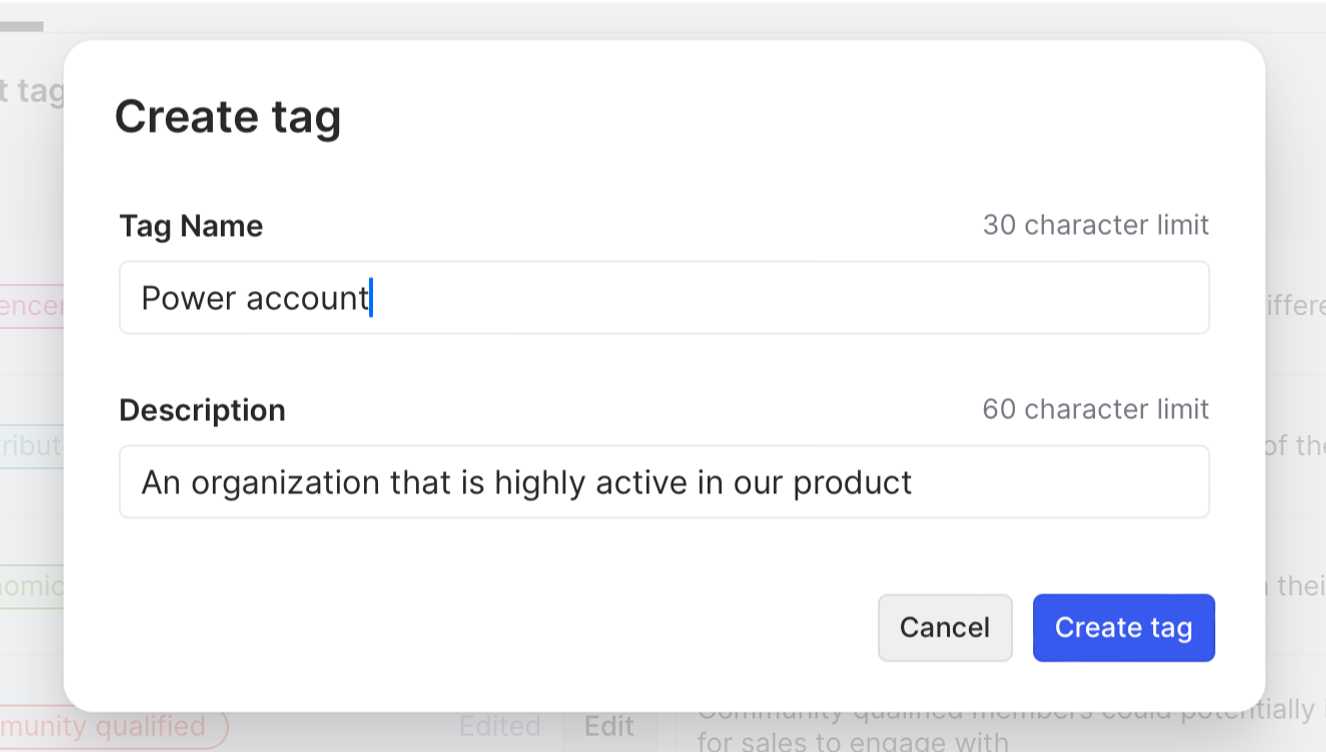
We’ll give our tag a name and description, then hit Create tag.
Now let’s make sure this tag is automatically assigned to the right organizations ✅
Step 4: Create workflow
Click Back to app to leave the Settings menu, then click Workflows in the left sidebar.
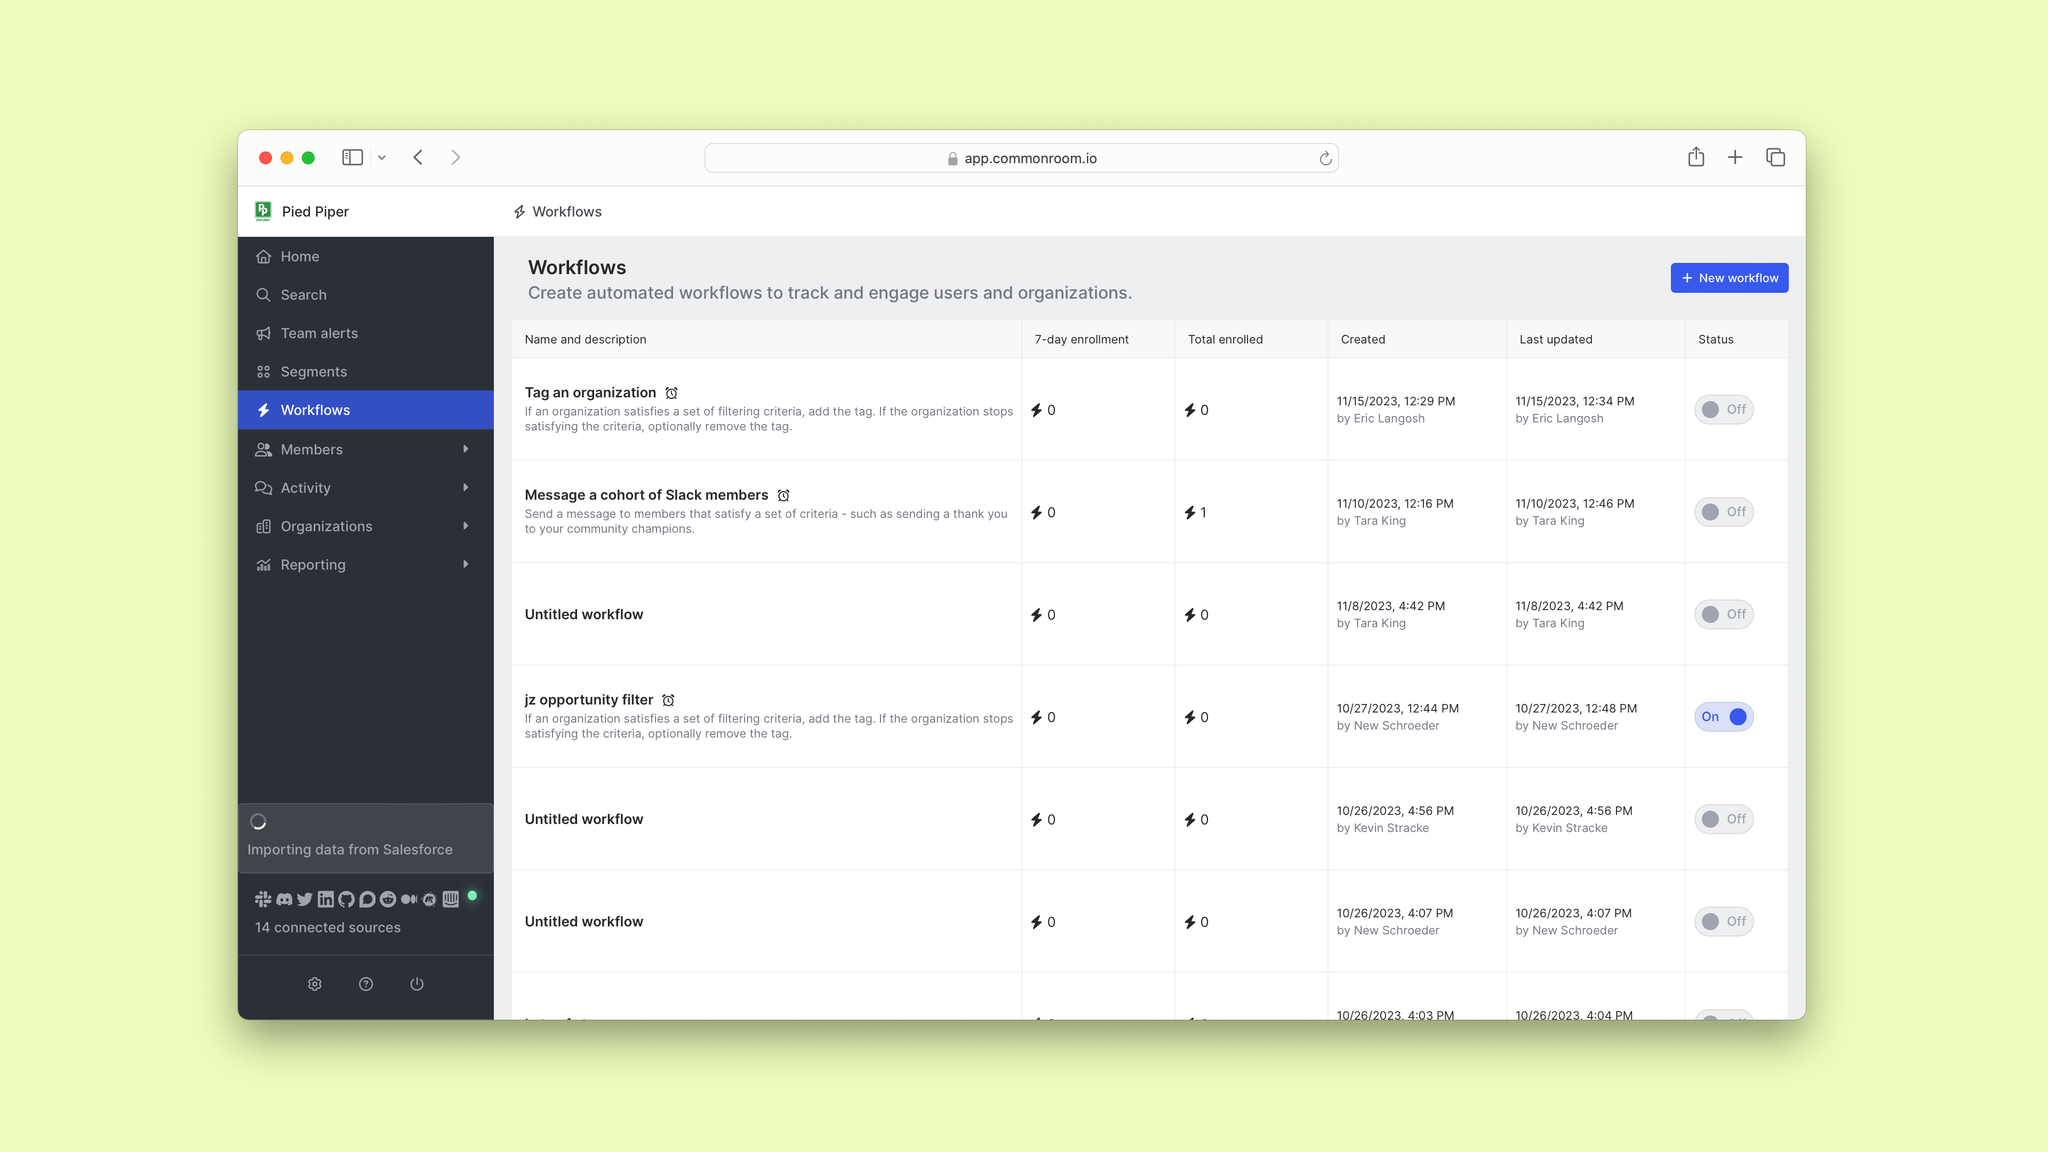
This is where we’ll automate how our tag is assigned so we can easily track power accounts.
Click New workflow and scroll down to Tag an organization.
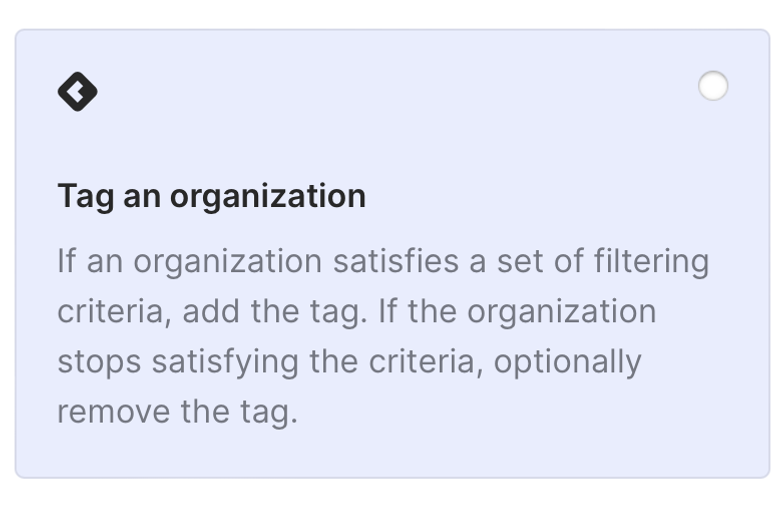
Select this workflow and hit Create.
We’ll give our workflow a name and start to customize it. In this case, we’ll choose product data as our data source and add filters for product usage.
Click Add filter and choose Contacts.
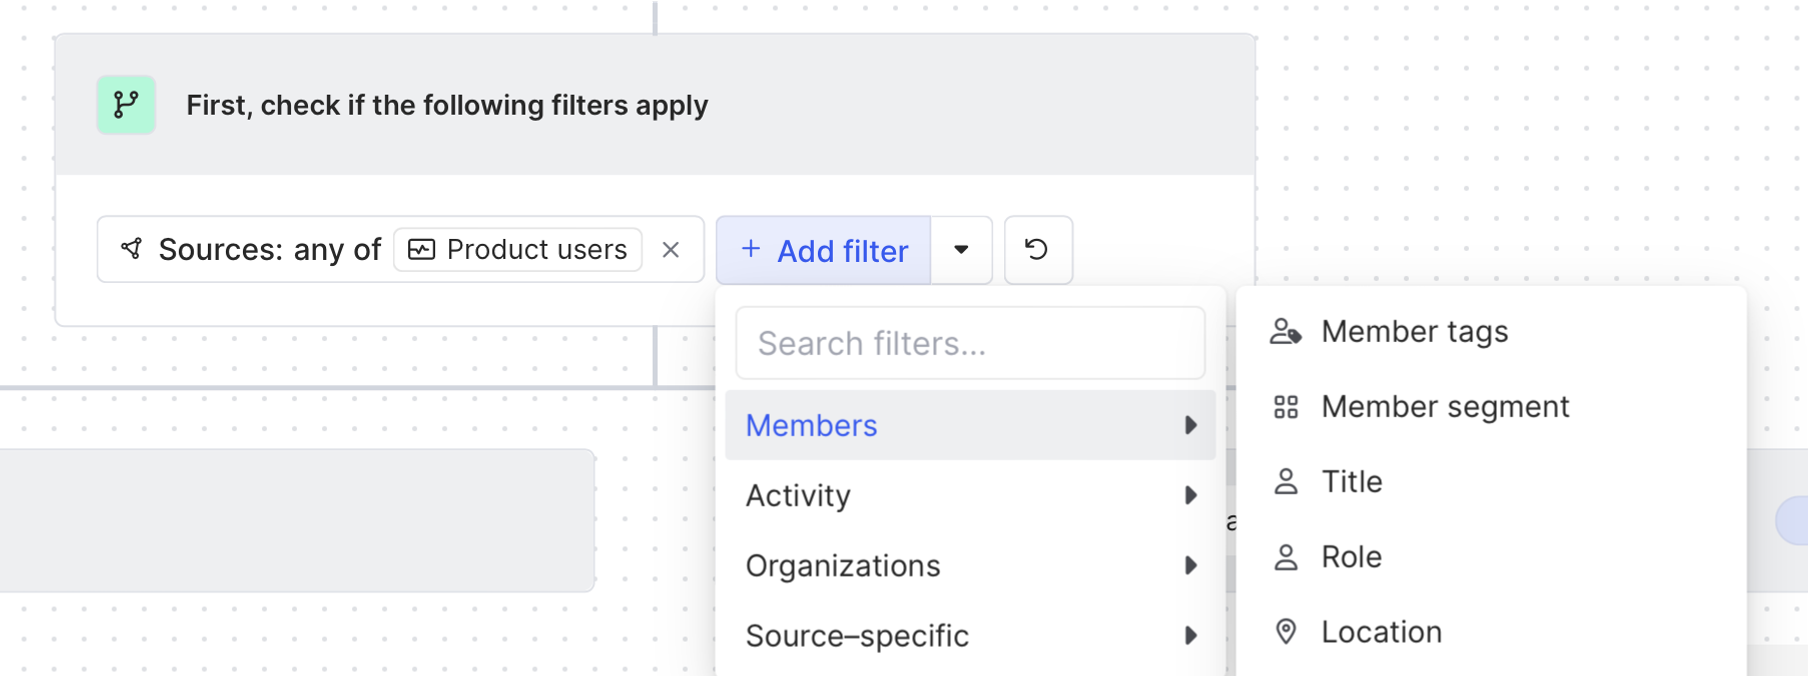
Then select Fields.
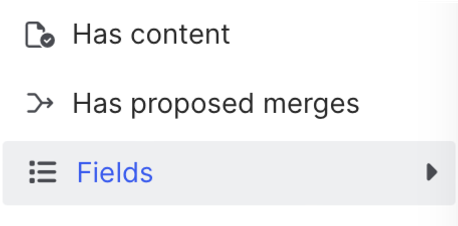
We’ll add filters for users who were seen in the product in the past 28 days and who have five or more document edits.
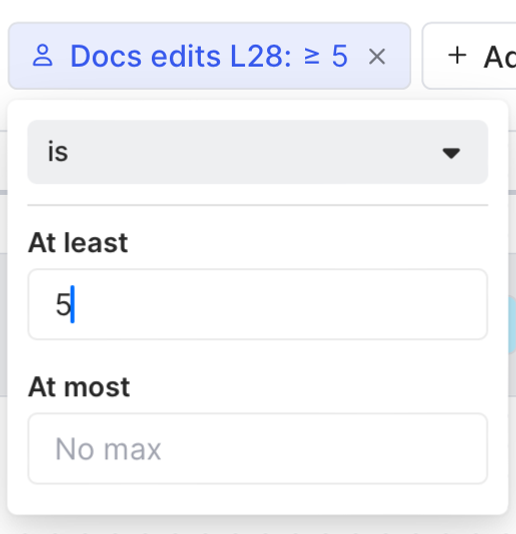
Then we’ll click Add filter again and choose Organizations.
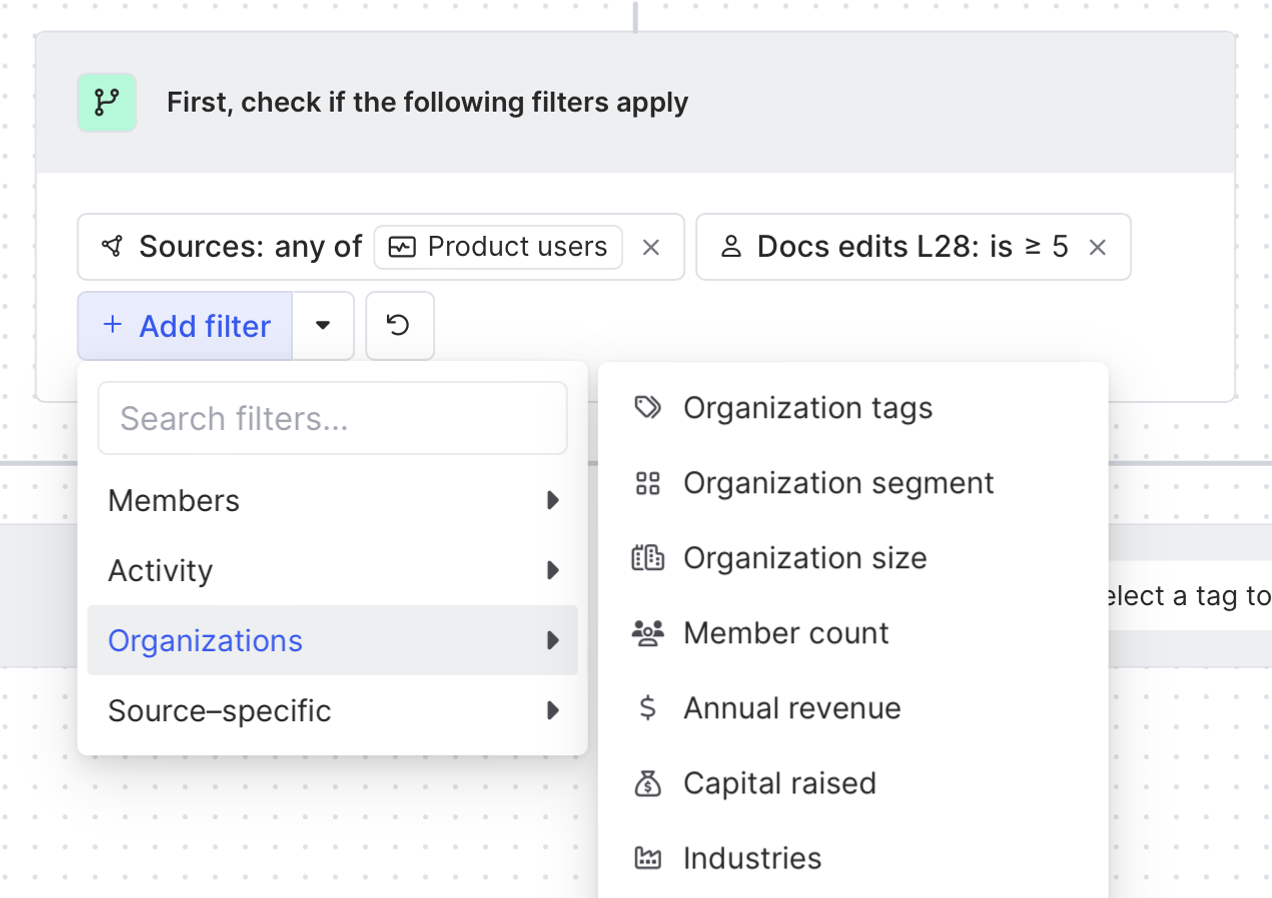
We want to focus on accounts where multiple people are using our product, so we’ll select Fields again and add a filter for organizations where there are three or more document editors.
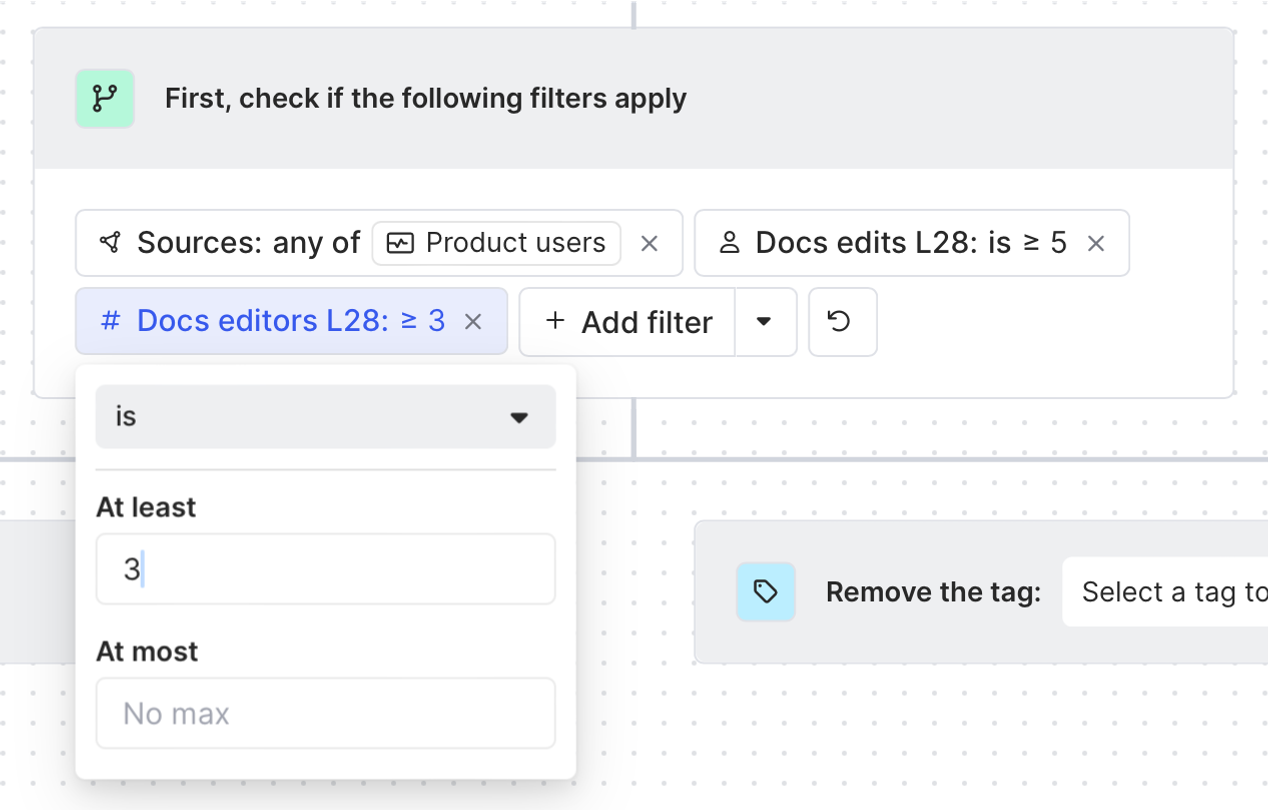
Next, we’ll click Select tag and choose our tag from the dropdown list.
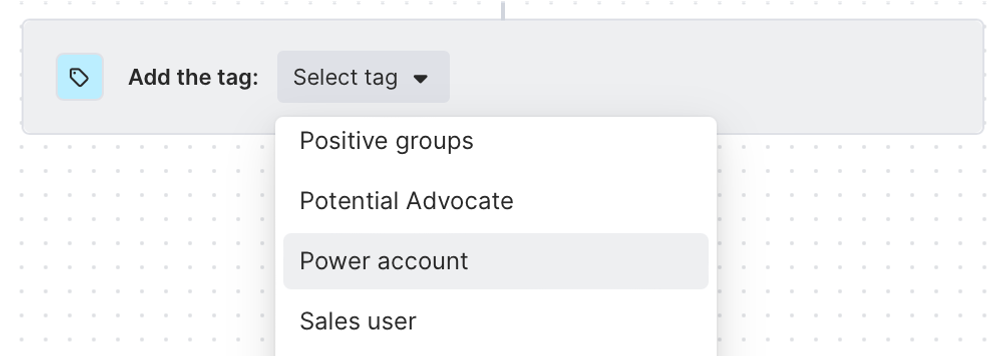
Now any organization that meets our criteria will be tagged as a power account.
We can also toggle on the option to automatically remove this tag from organizations that stop fulfilling our criteria.

We’ll hit Save, confirm we’re happy with our automated workflow, toggle it on, and click Save changes.
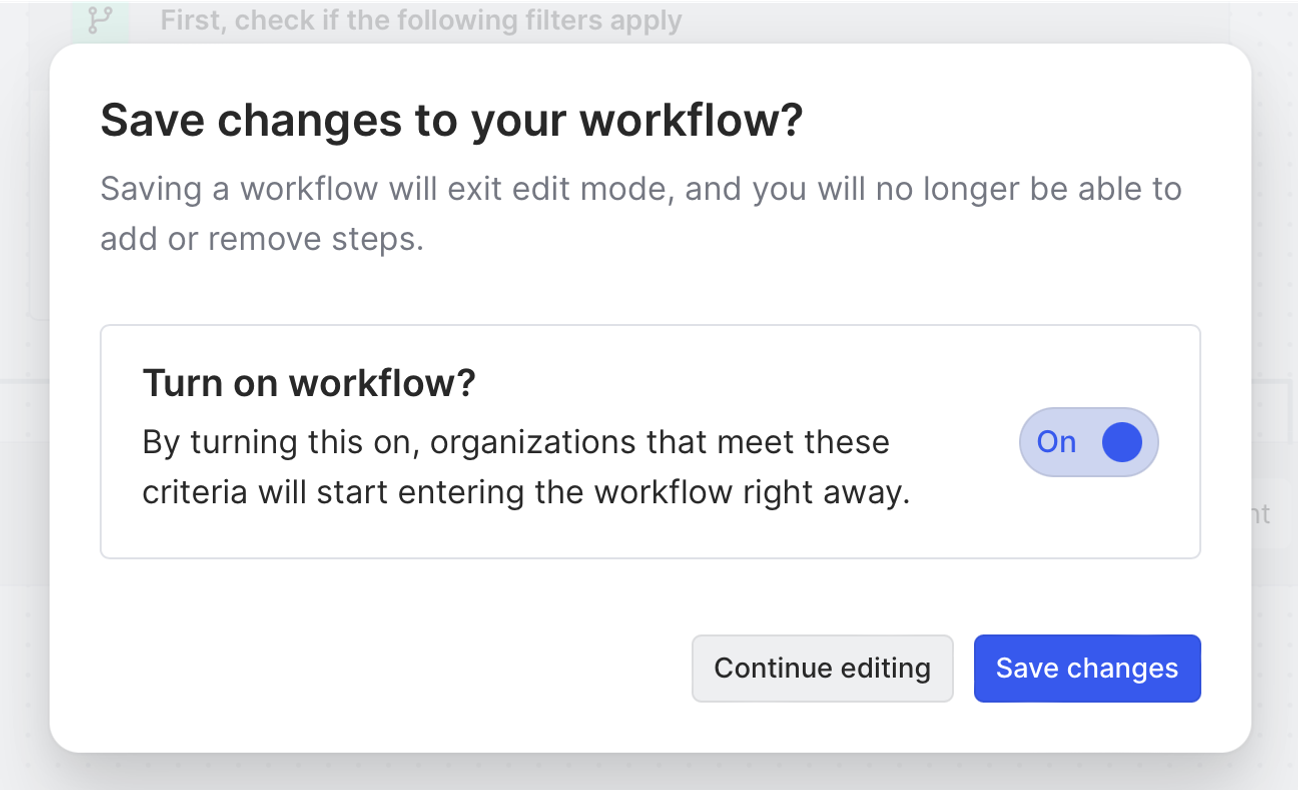
This workflow will automatically check for qualified organizations and tag them daily 🙌
Now let’s make it easy to track our power accounts and dig deeper into specific users.
Step 5: Create segment
Click Segments in the left sidebar.
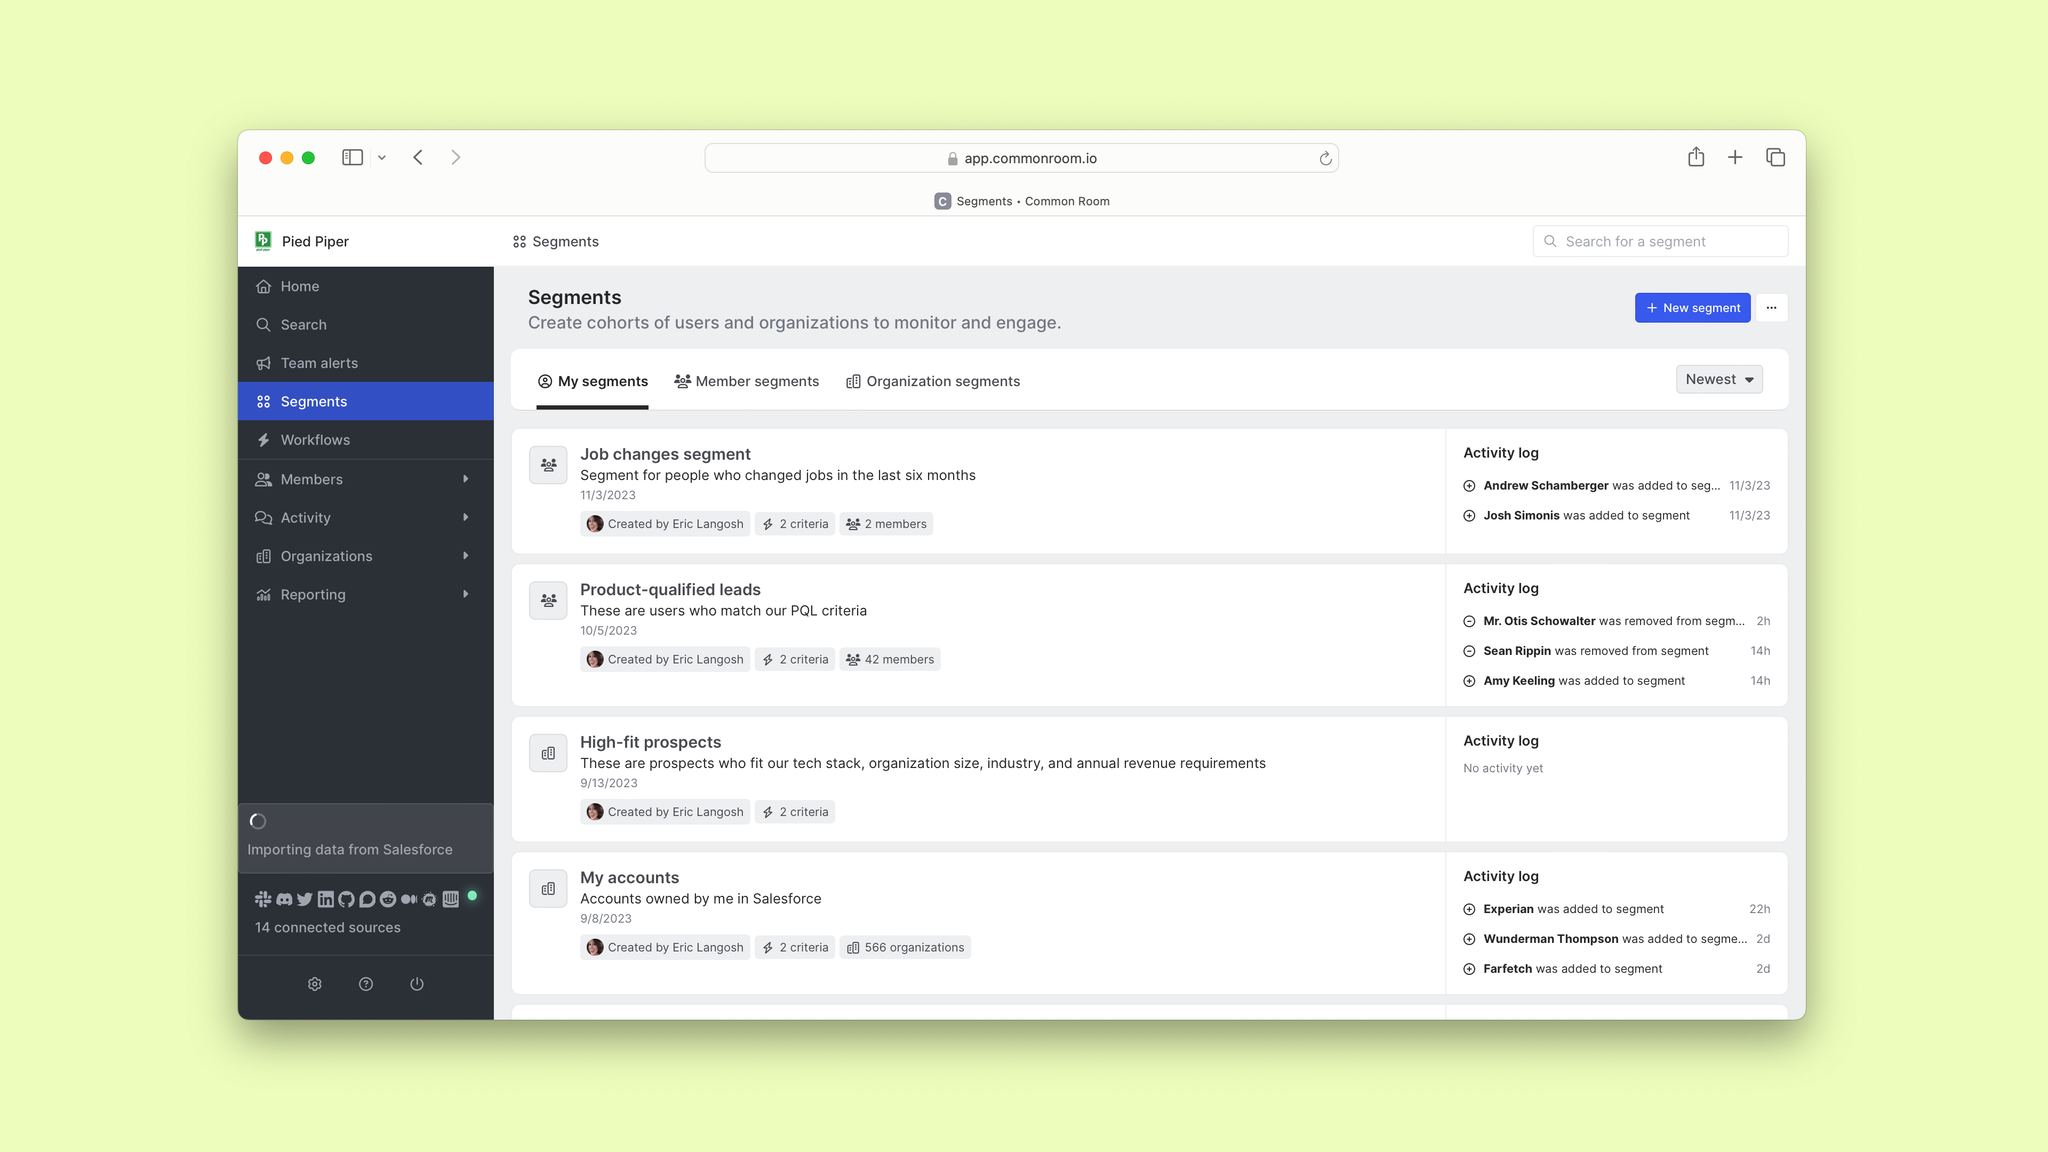
Then select New segment and choose Create new segment for organizations.

After we give our segment a name and description, we’ll hit Create segment and select Set up management rules. Then we’ll click Set criteria.
This is where we’ll configure how organizations are added to our segment.
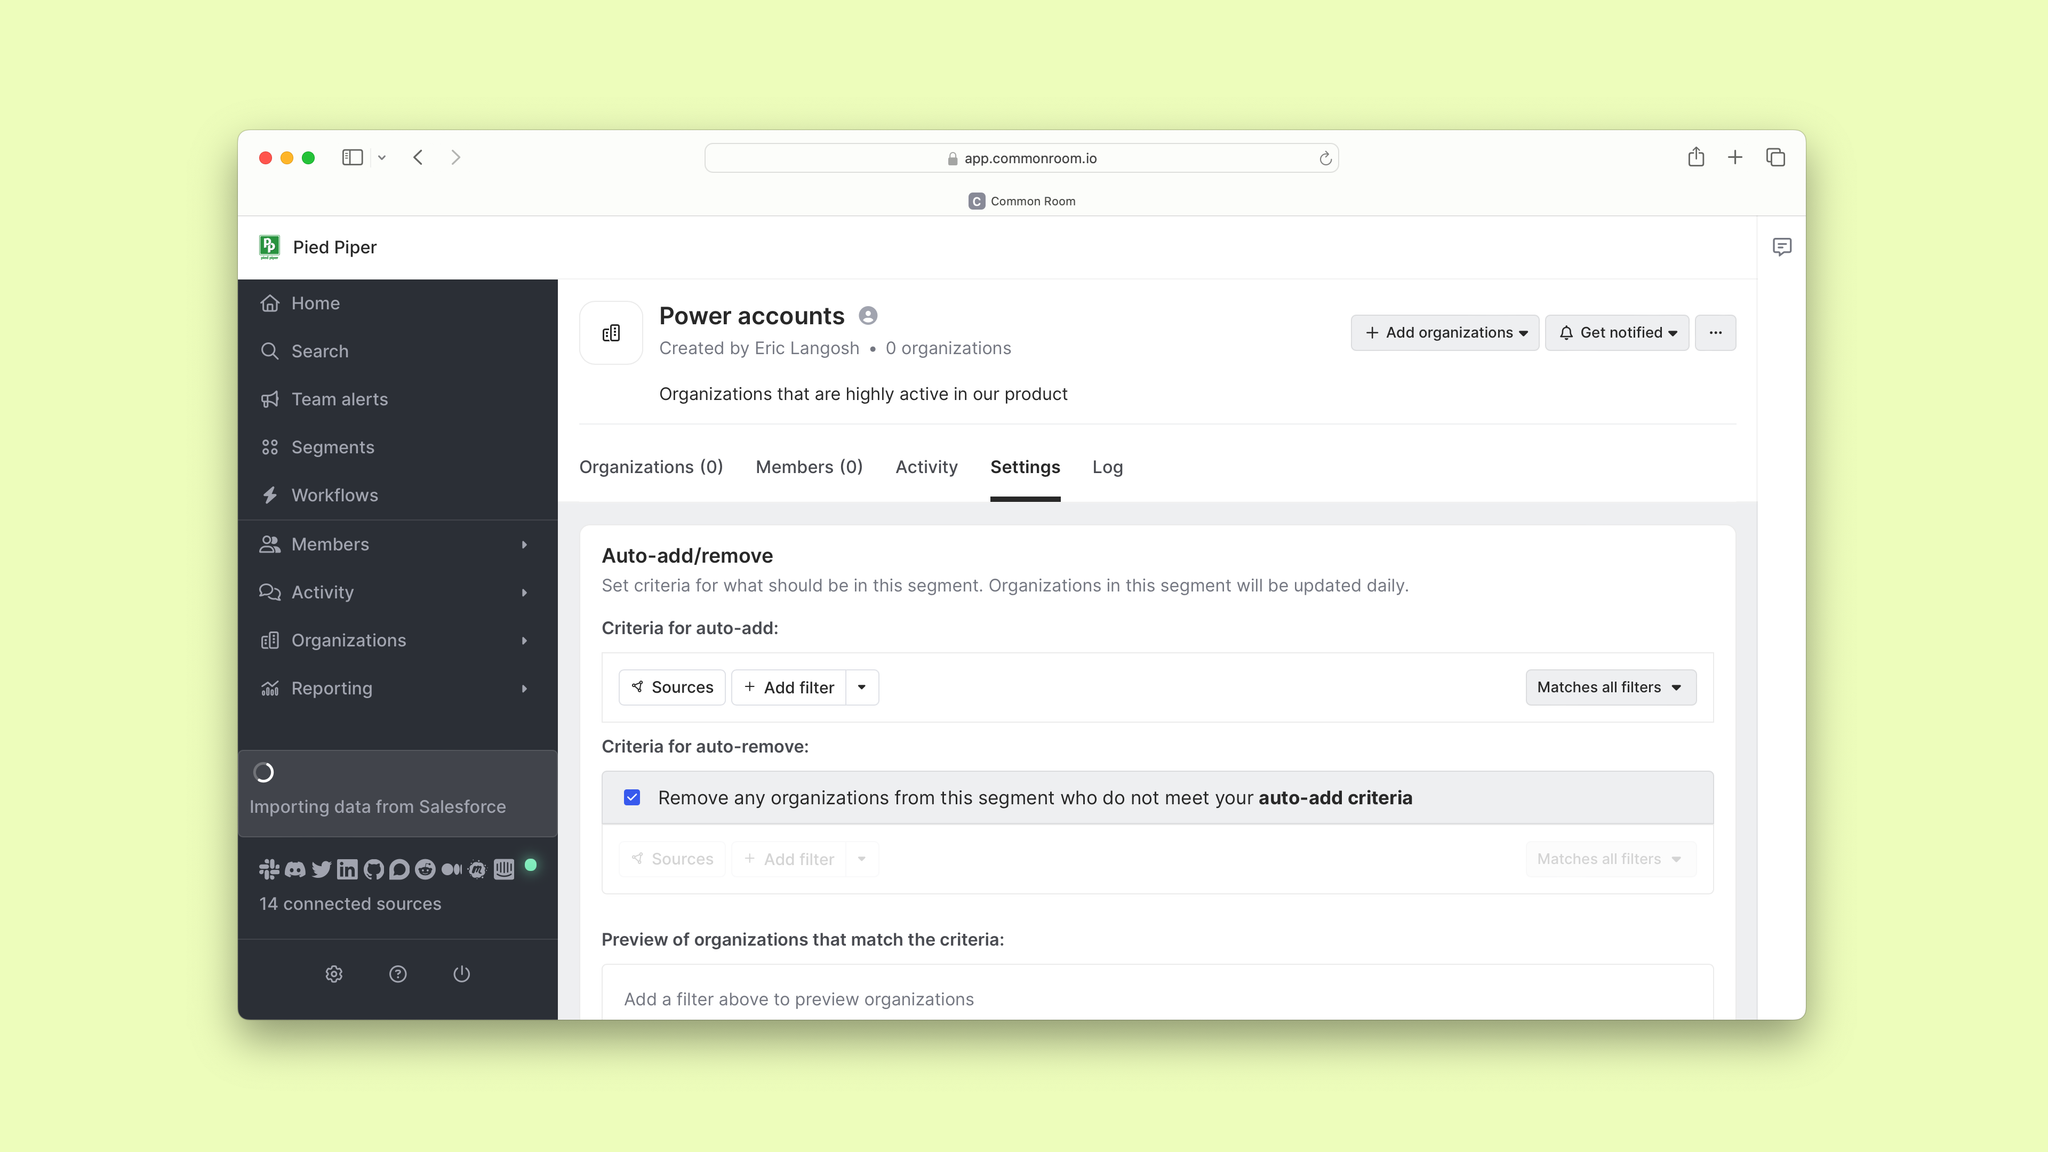
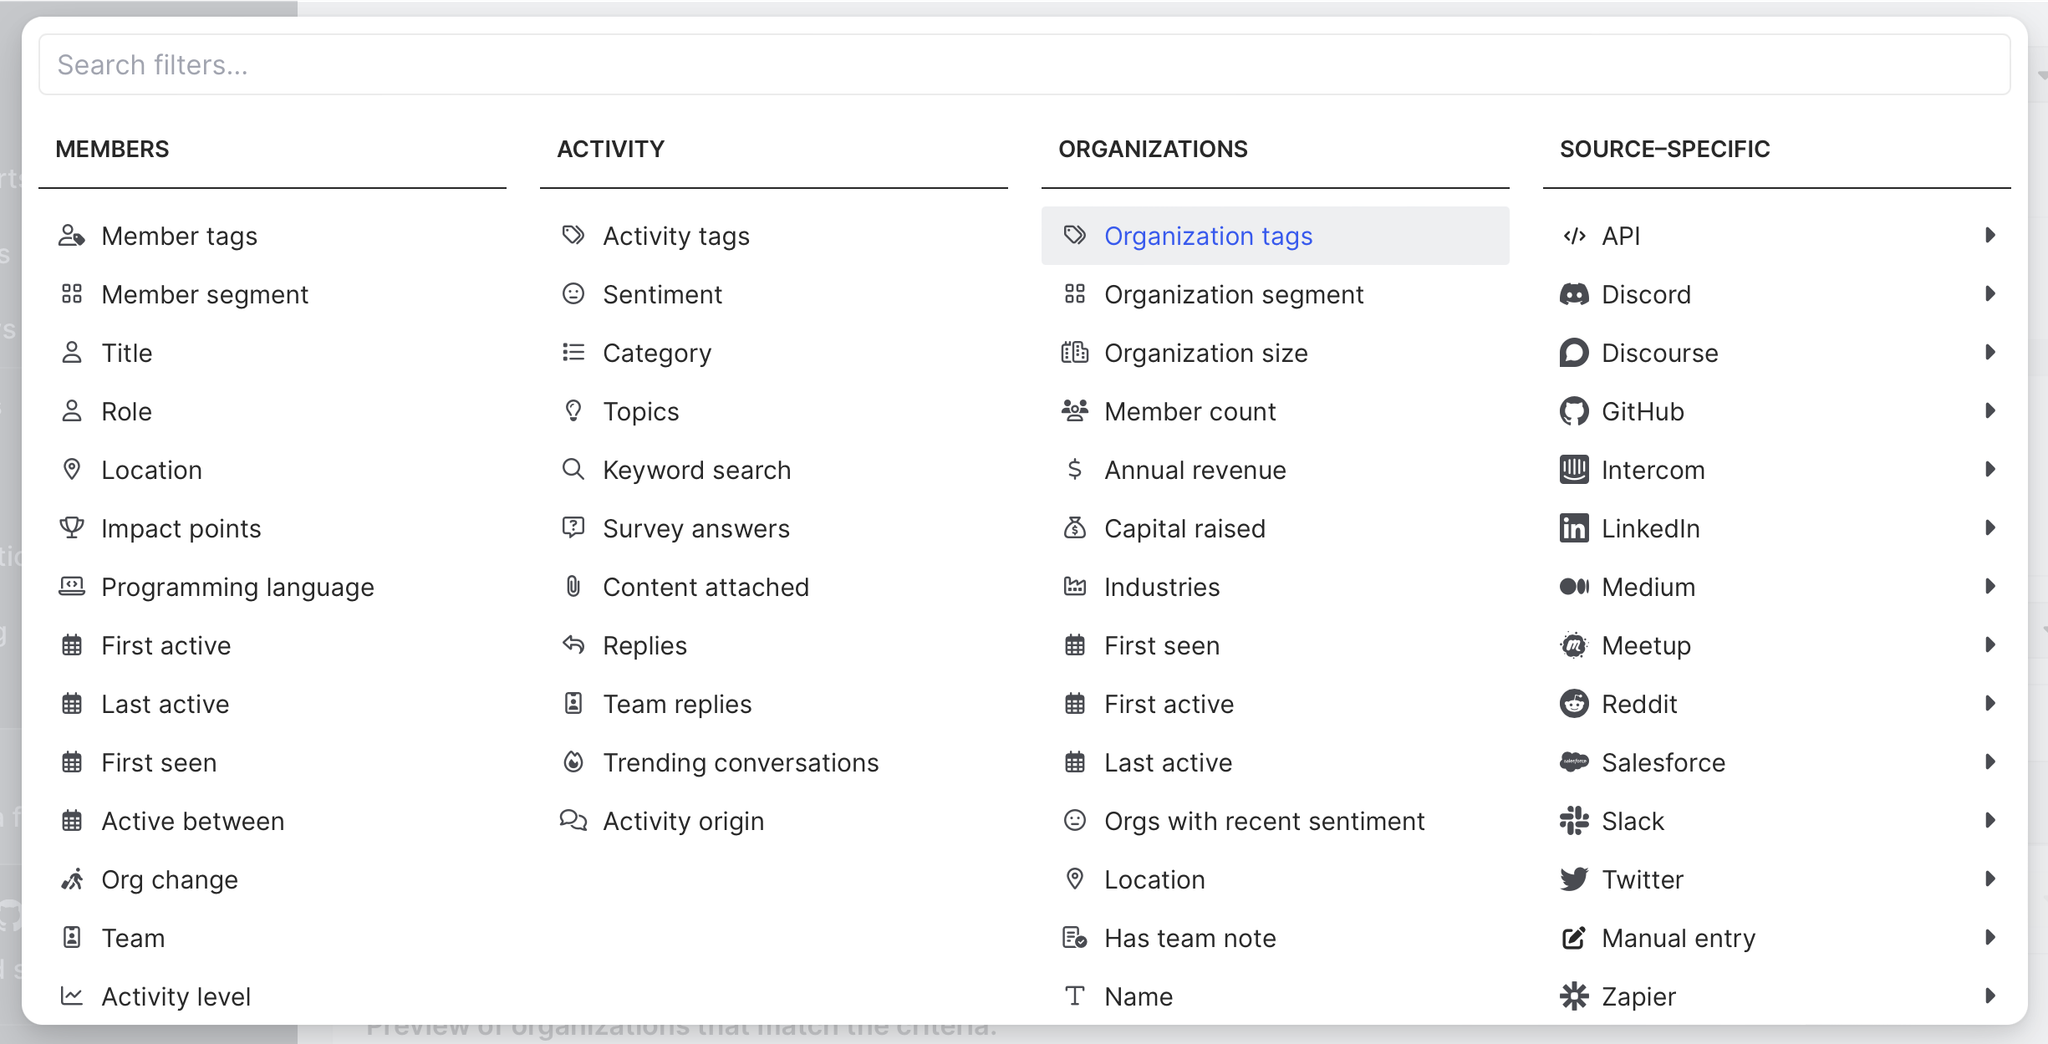
Click add filter and choose Organization tags.
We’ll select our power account tag from the dropdown list.
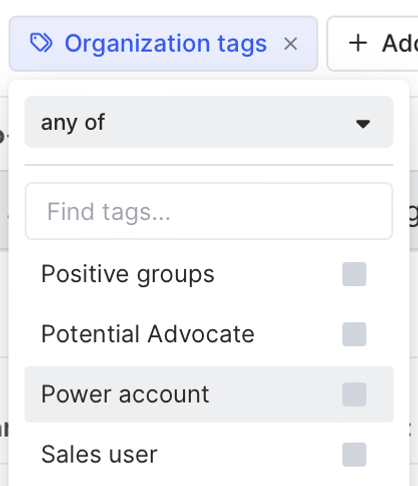
Click Save and now any organization that receives this tag—as well as all the individuals associated with that organization—will automatically be added to this segment 🪄
We can drill down into organizations within our segment to see all the individuals associated with a particular account. Simply click on an organization’s name and scroll down to the contacts section.
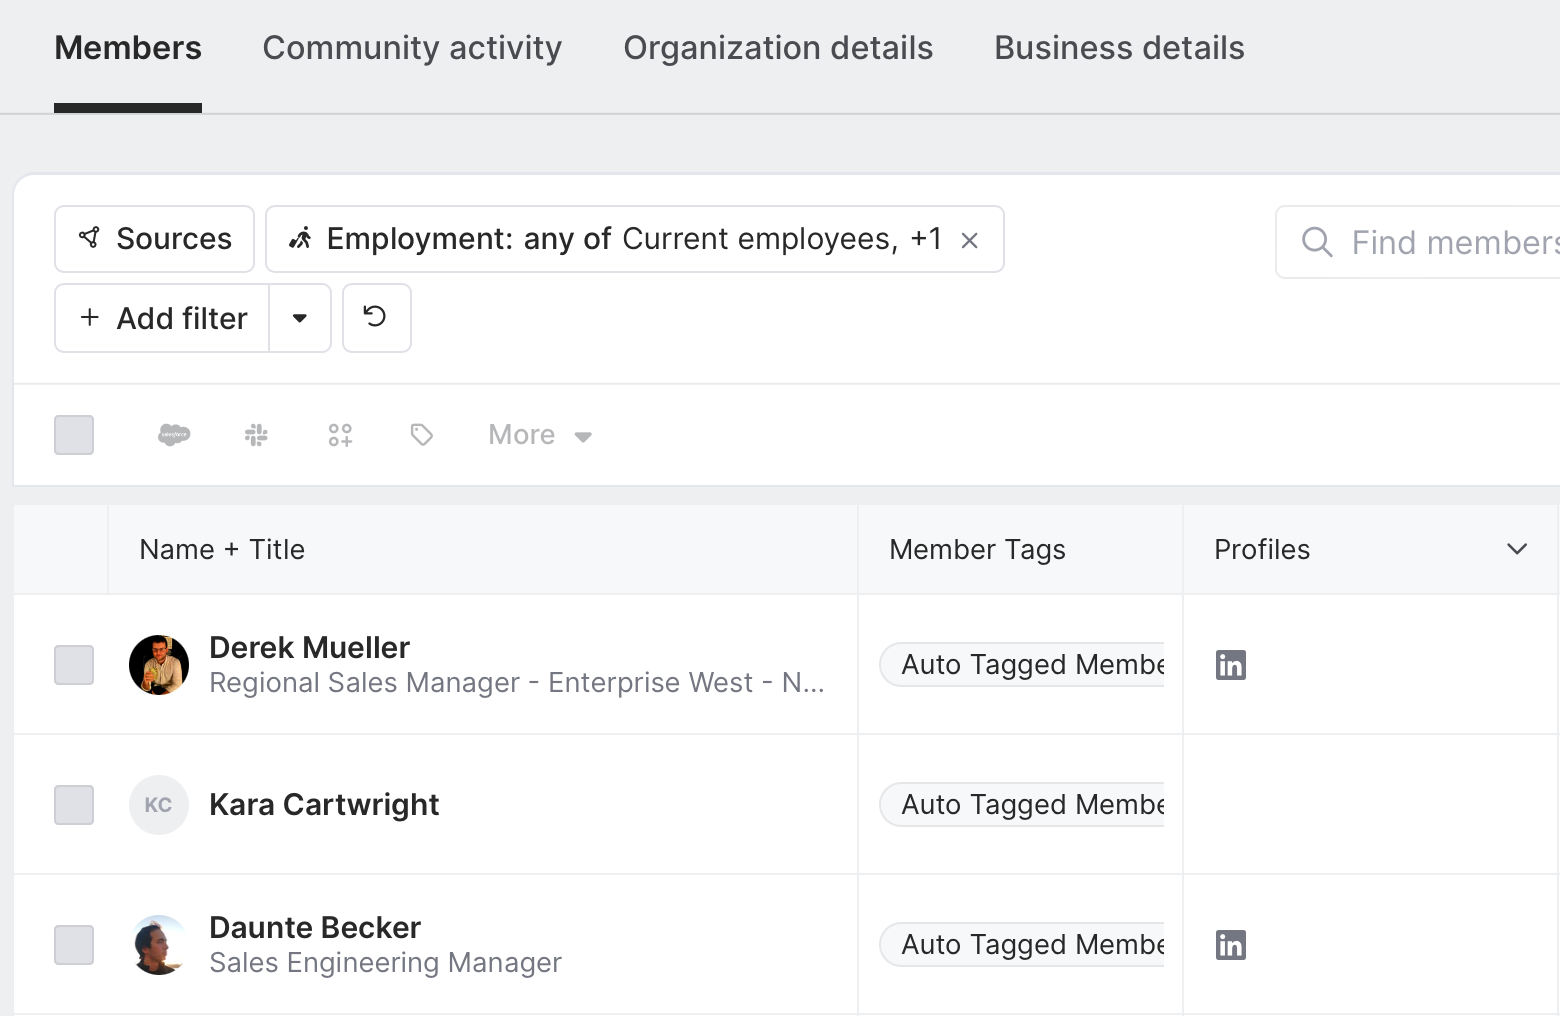
We can click into individual contacts to see their information, employment history, and other key details.
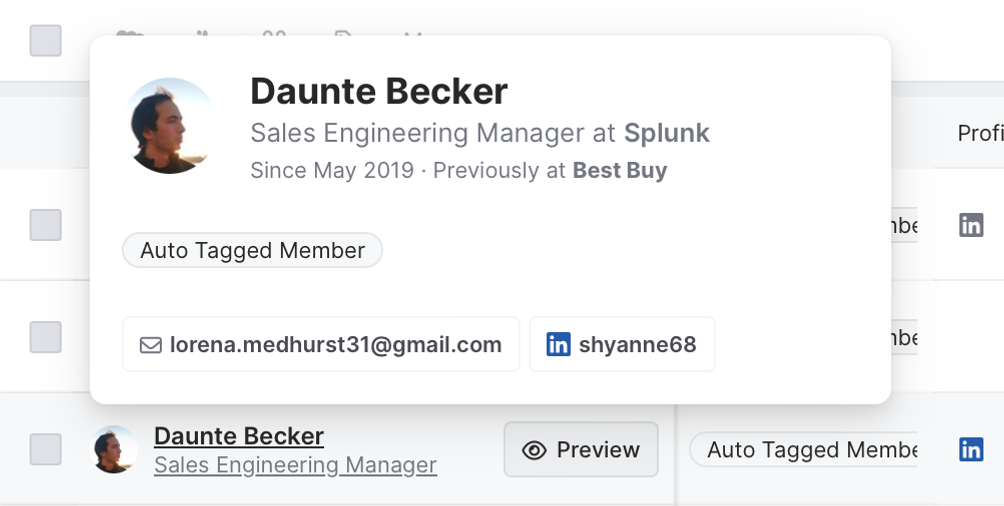
We can also add a column to this view to better see how different people are using our product. This will reveal which people are our power users.
Click Edit columns, choose Add table column, select Contacts, and hit Fields.
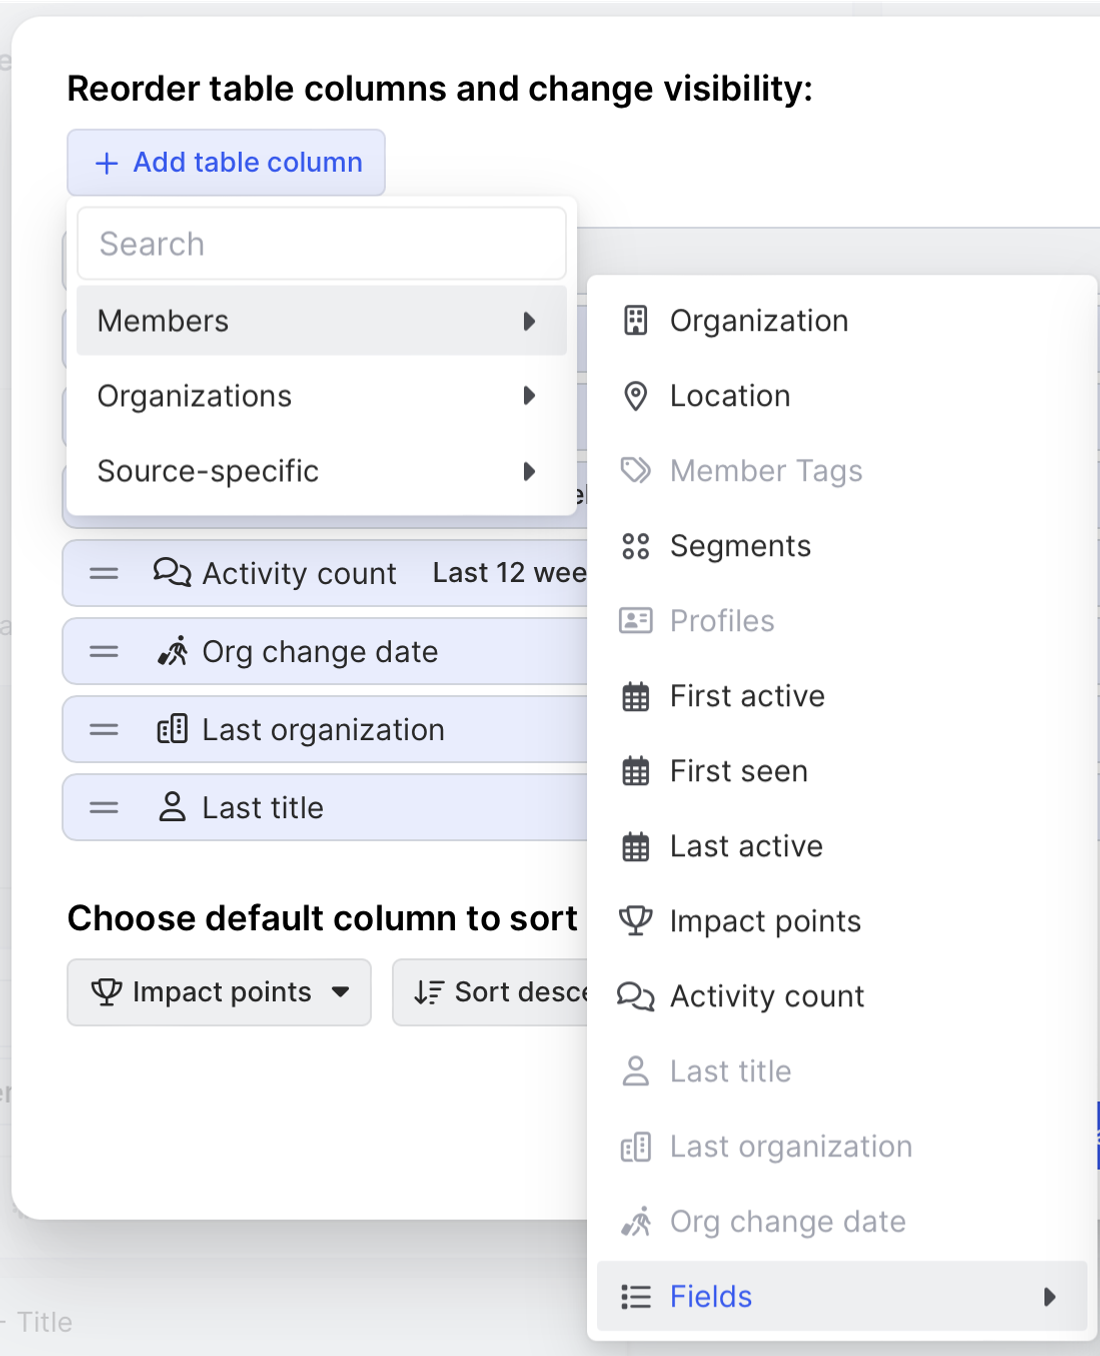
We can dig deeper into whatever product activity is mapped to Common Room in order to understand who our power users are.
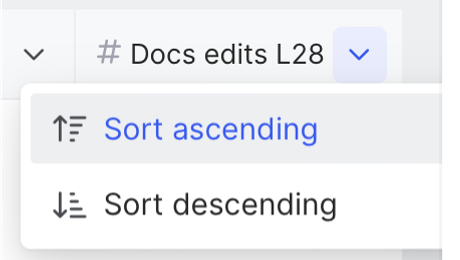
Even better, we can drill down into these individuals to see which ones are economic buyers.
Just click Add filter, choose Contact tags, and select Economic buyers.
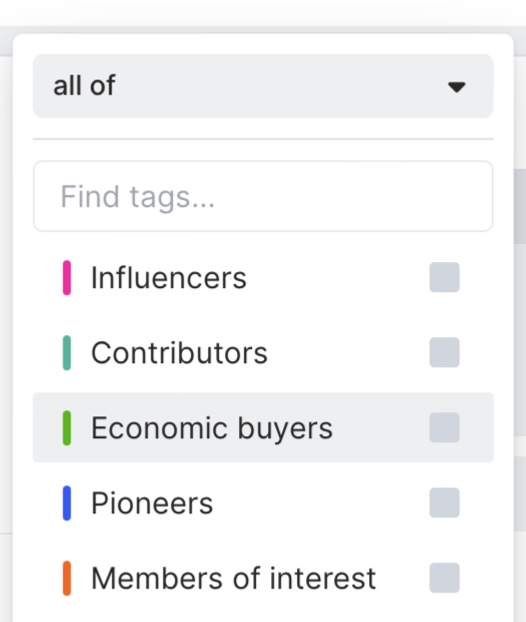
This will focus our view on anyone at the organization with the following words in their job title: head of, director, VP, president, chief, CFO, CTO, CPO, CMO, COO, CEO.
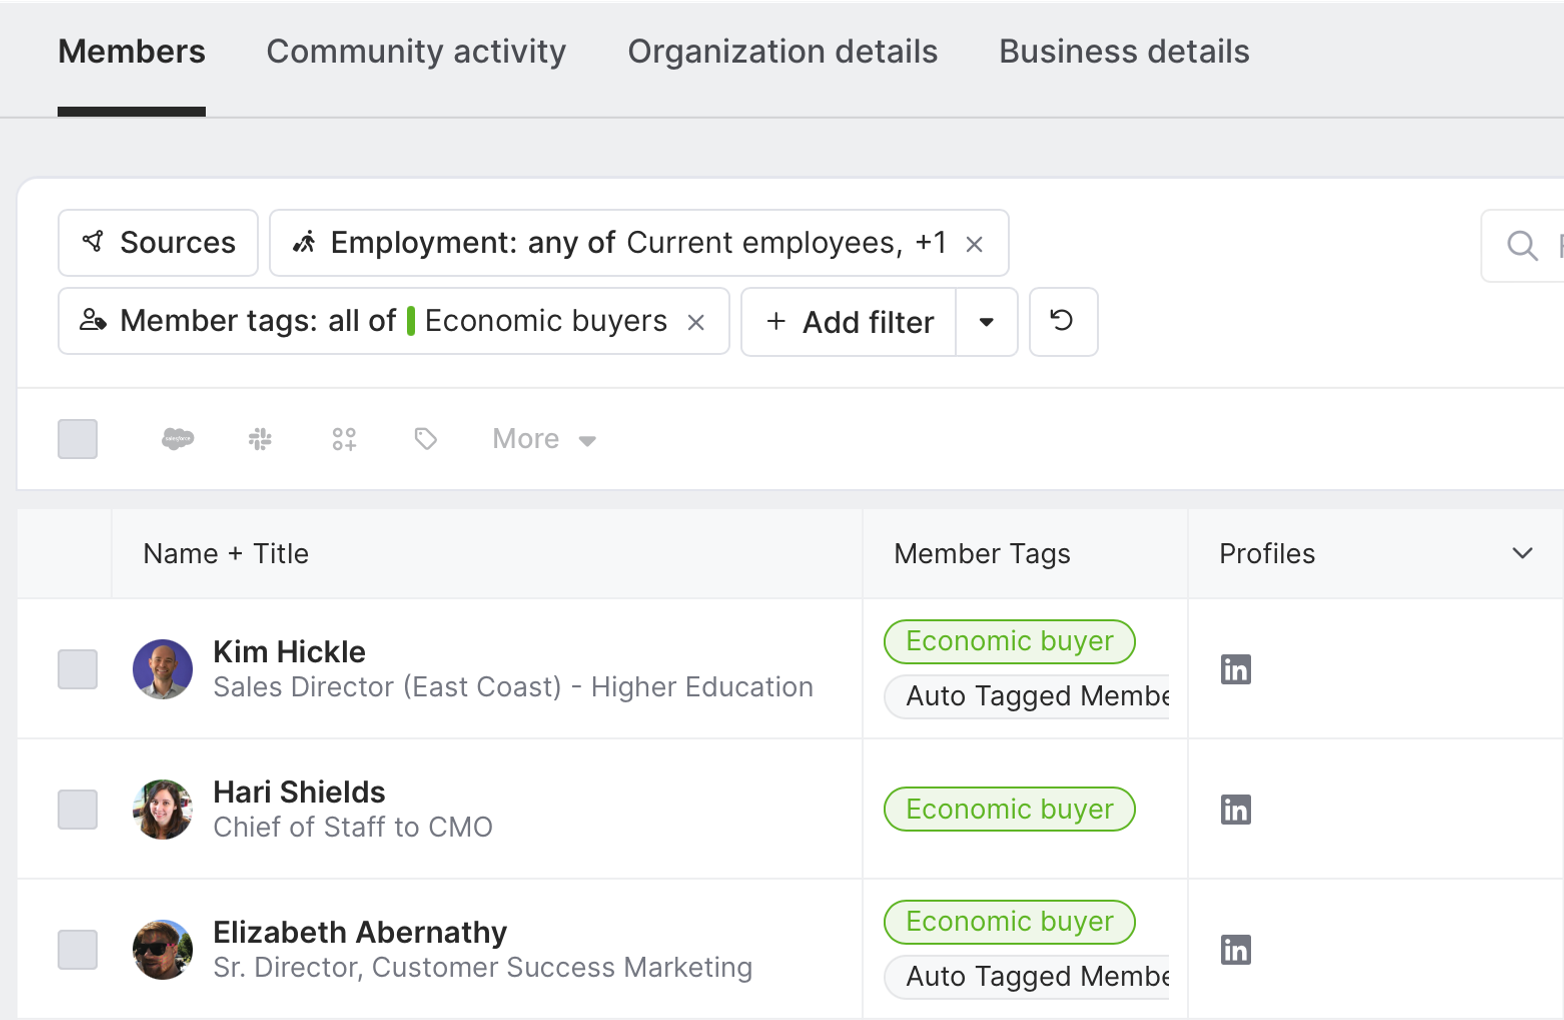
They may not be the biggest power user in the group, but they’re likely the person we need to win over to complete a sale.
From here we can work down this list and sync these records with our CRM, message individuals, and more—all from the same location.
We can also make sure we’re the first to know whenever a new organization gets added to our segment.
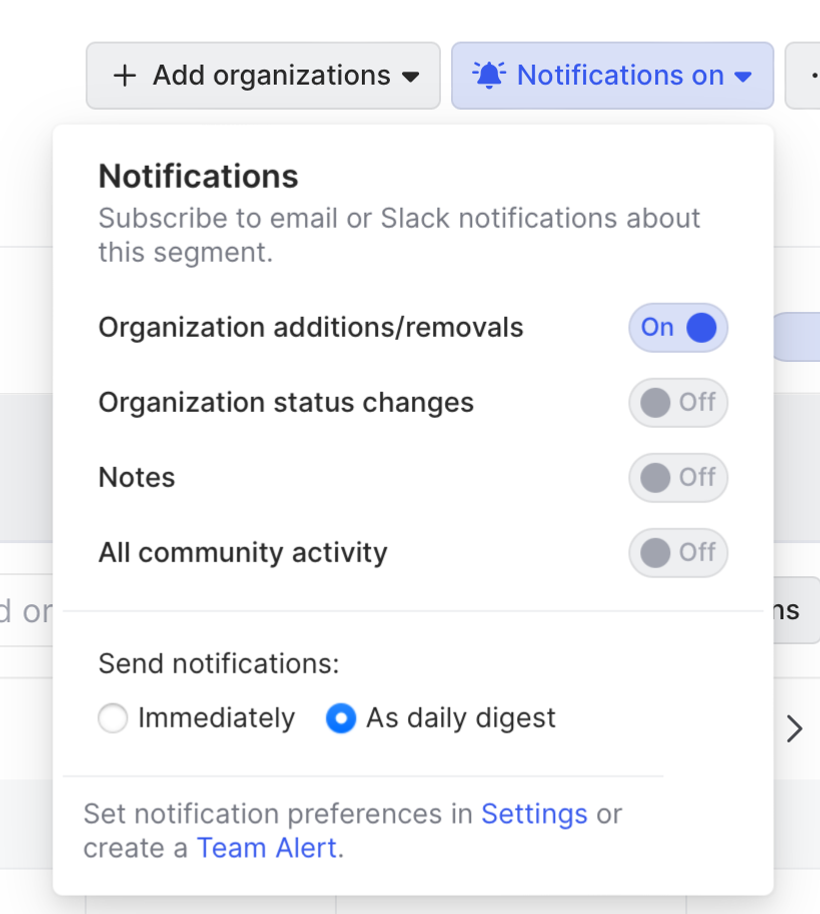
Simply return to the organization view of the segment and click Get notified.

From here we can decide exactly what we want to get updates on, when, and how.
We’ll toggle on Organizations additions/removals and choose to receive it as a daily digest. We can always change where we receive notifications from the Settings menu.
Seeing the people who are active in our product—and reaching out to the right ones—just became a breeze.
Wrapping up
That’s all she wrote ✍️
Now we can identify the people in our product, nurture power users, and focus on purchase decision-makers lickety-split.
Have a different playbook in mind? Let us know. And if you haven’t already, try Common Room yourself for free.
