Identify ideal customers (ICP) in your community
Alert your team when an ideal customer profile (ICP) is active in the dark funnel.
Gartner reports that you have roughly 5% of a customer’s time during the buying journey.
The other 95%? It’s spent asking peers for guidance. It’s spent on self-serve evaluation of your product. It’s spent reading about others' experience through review sites and support forums.
Buyers are turning to your broader community for product discovery and evaluation far before you know it. A lot of this activity occurs on “dark social” channels like GitHub, Slack, Discord, Stack Overflow, LinkedIn, Twitter, etc.
While it’s not as easy to identify intent from your ideal customers as it was ten years ago (for example, buyers no longer need to sign up for a sales discovery call to see how your product works), it’s still very doable. This playbook shows you how.
What you’ll need
Step 1: Connect to community sources
We’ll first want to connect data from the channels where your broader community is active.
We suggest starting with owned channels first (if you have those). This would be channels like your Slack or Discord community, your GitHub repos, or a support forum like Discourse.
To connect a community source to Common Room (let’s use Slack as an example), just head over to the Settings menu, identify a source, and connect.
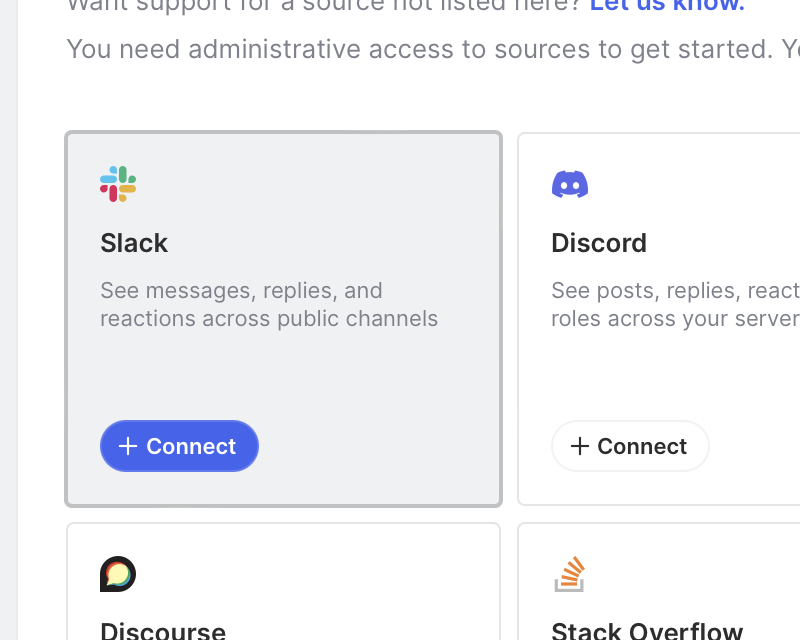
After clicking + Connect Slack, you’ll run through a few prompts to pull in data and authenticate.
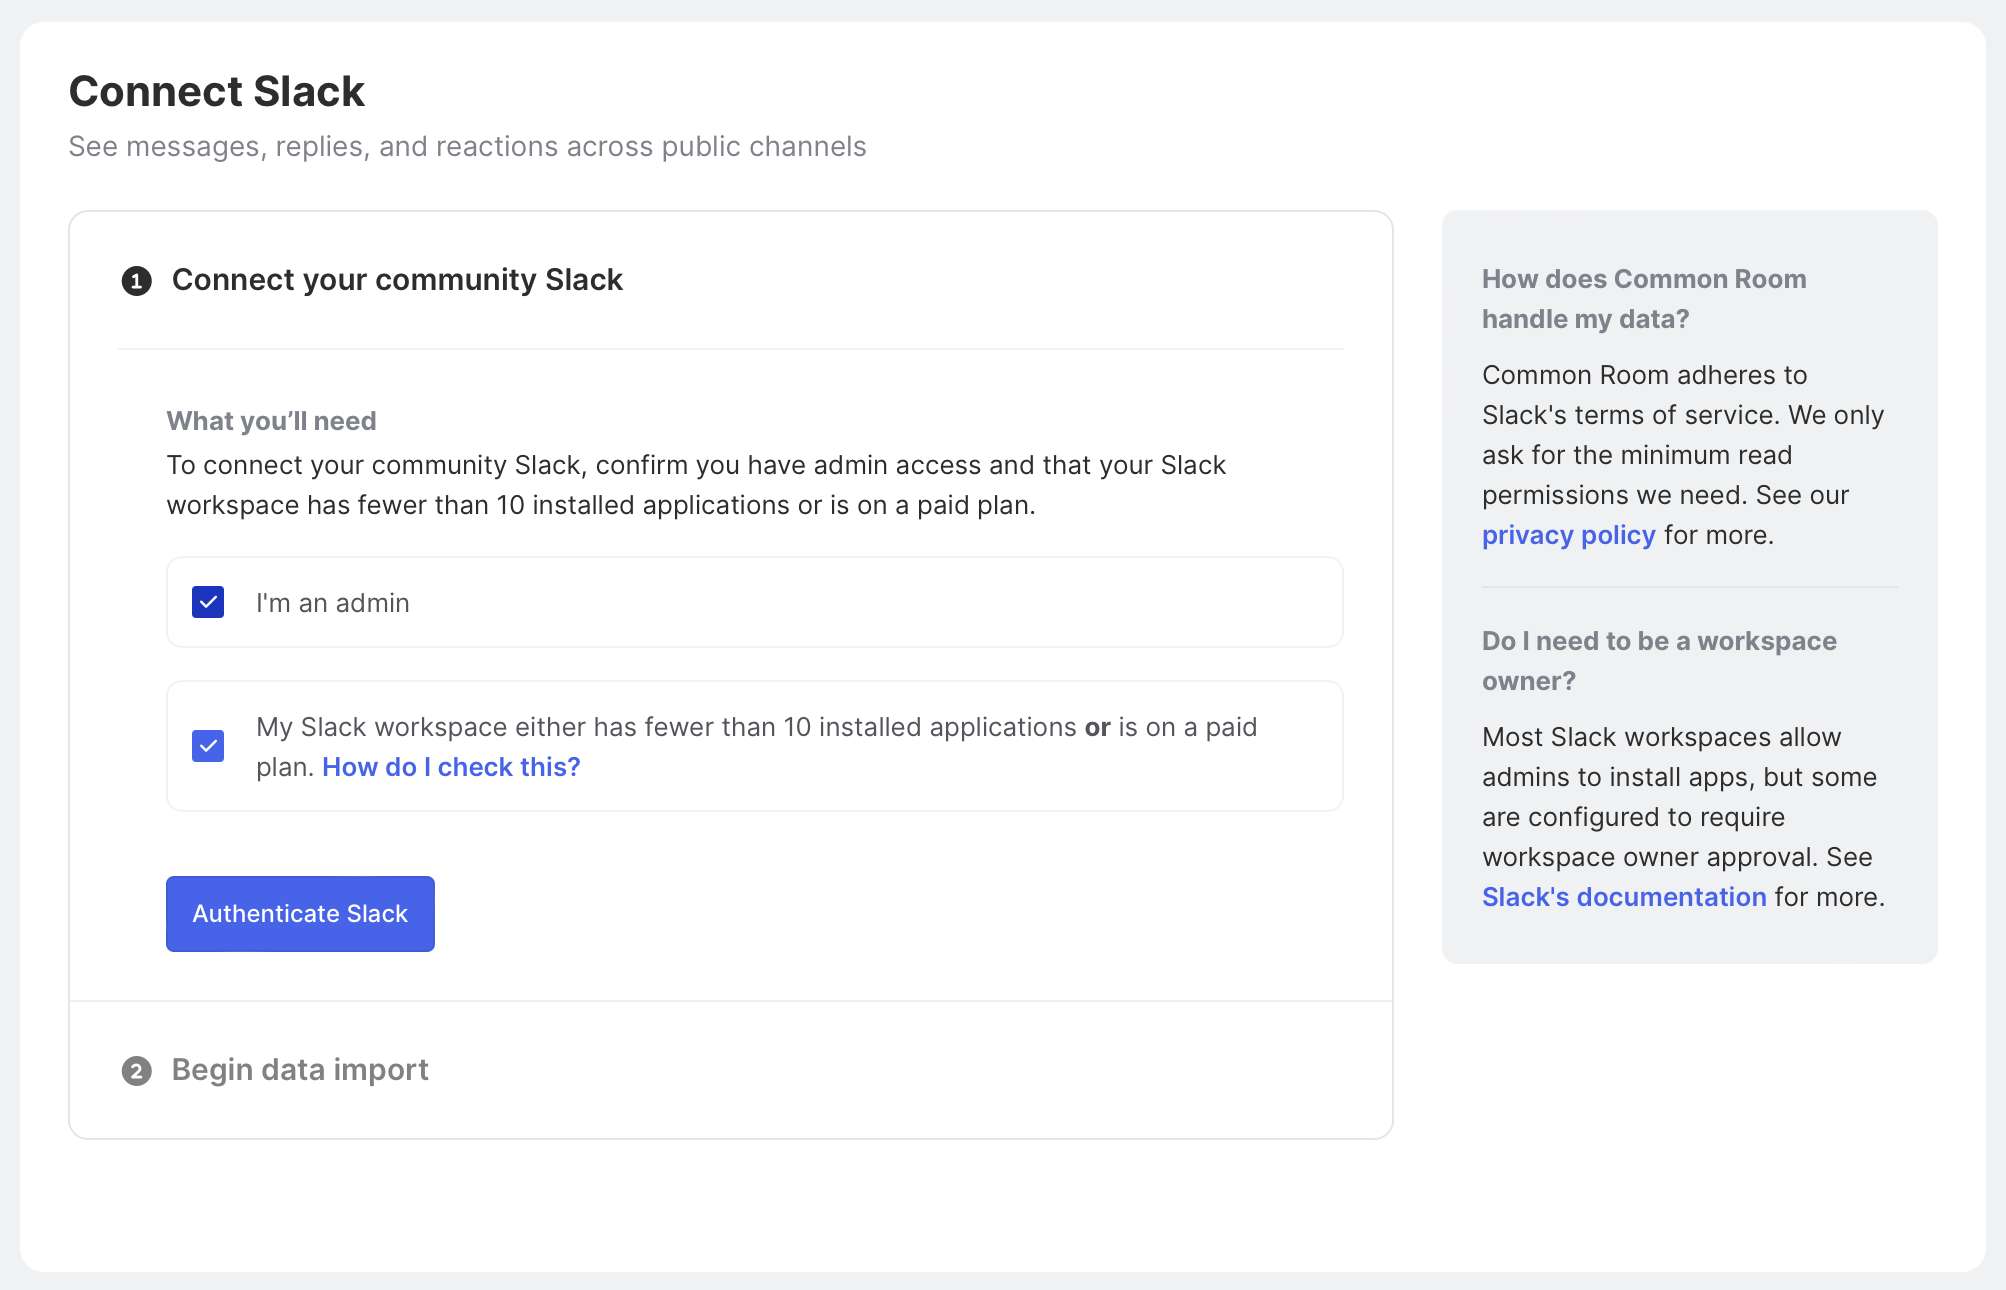
Once authenticated, member data and activity will begin importing into Common Room. This whole process should take just a few minutes.
Next, we’ll want to connect to more sources and keep repeating the process above until we’ve connected the major channels where our ideal customers reside.
Let’s walk through connecting to GitHub.
After selecting + Connect to GitHub, you’ll see an authentication and repo selection step.
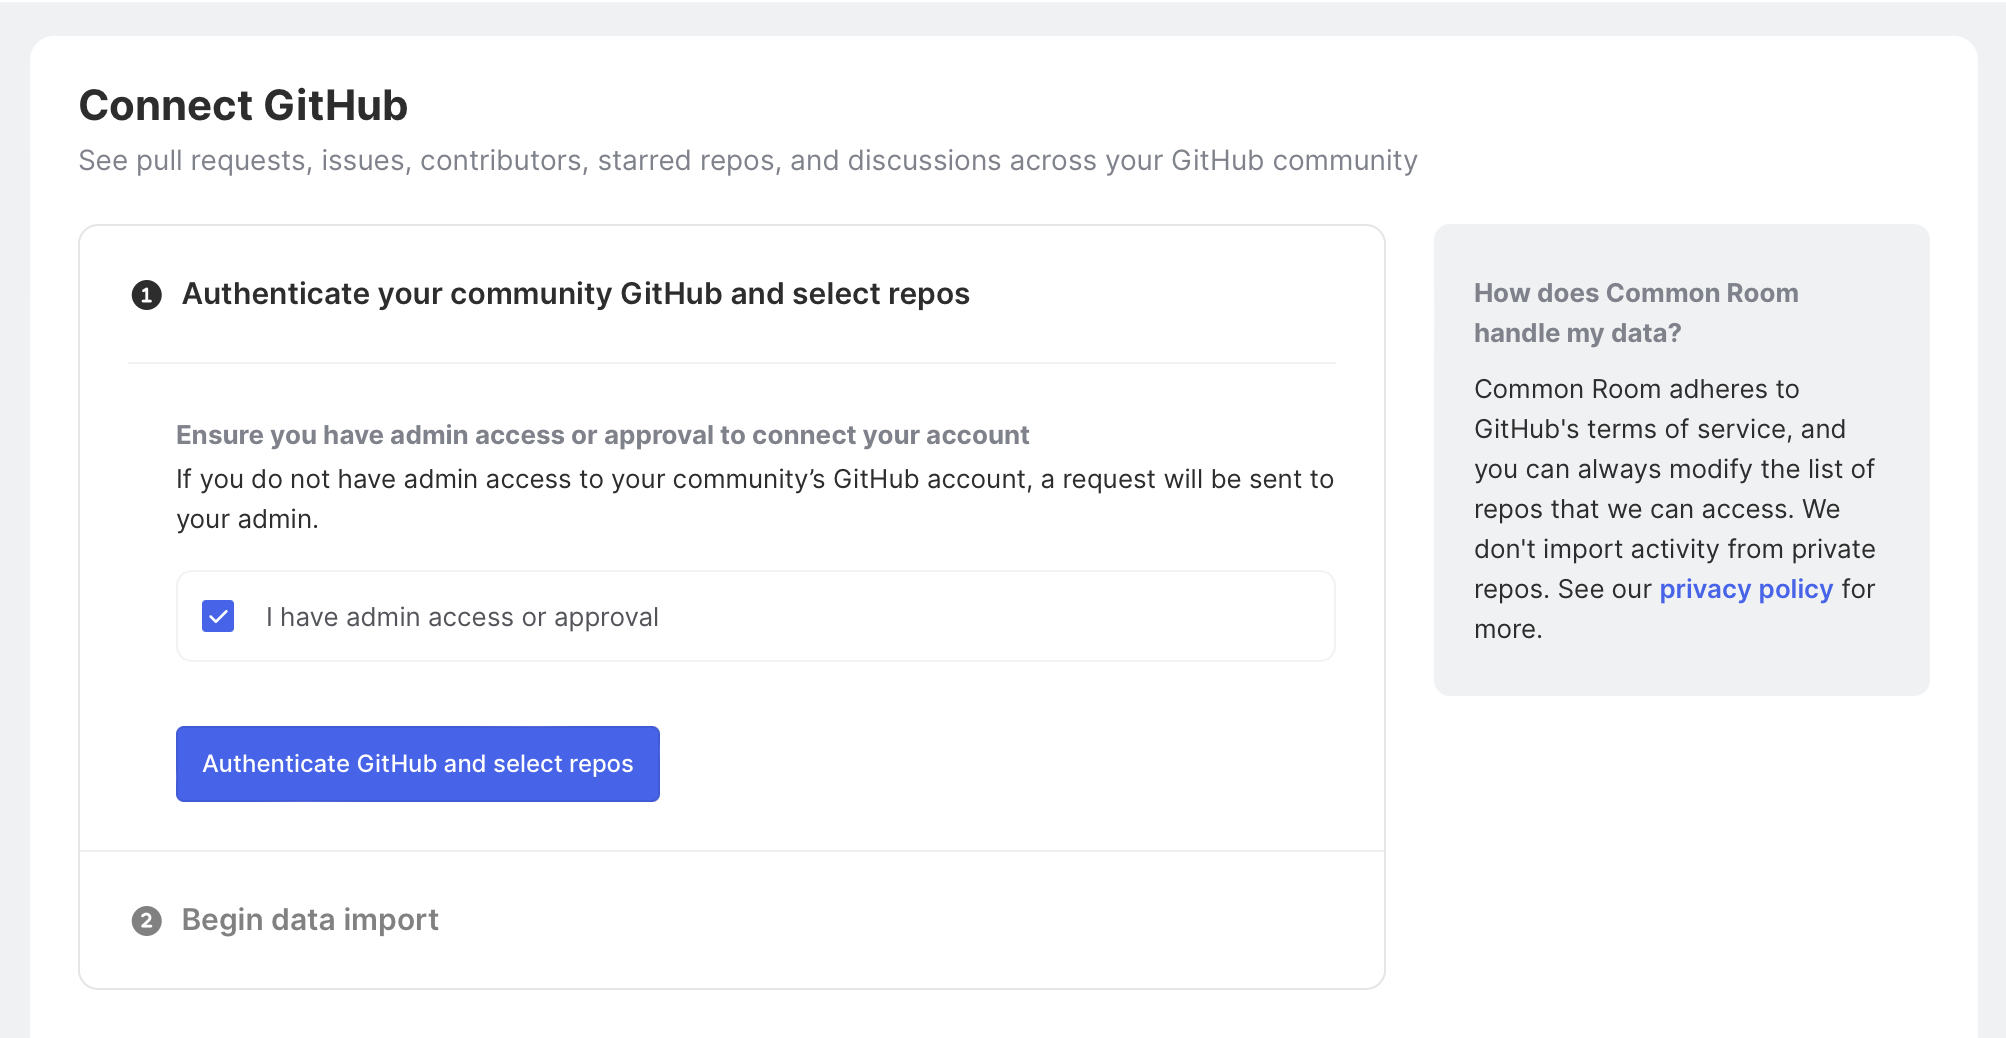
And here’s what it looks like after you’ve authenticated repos:
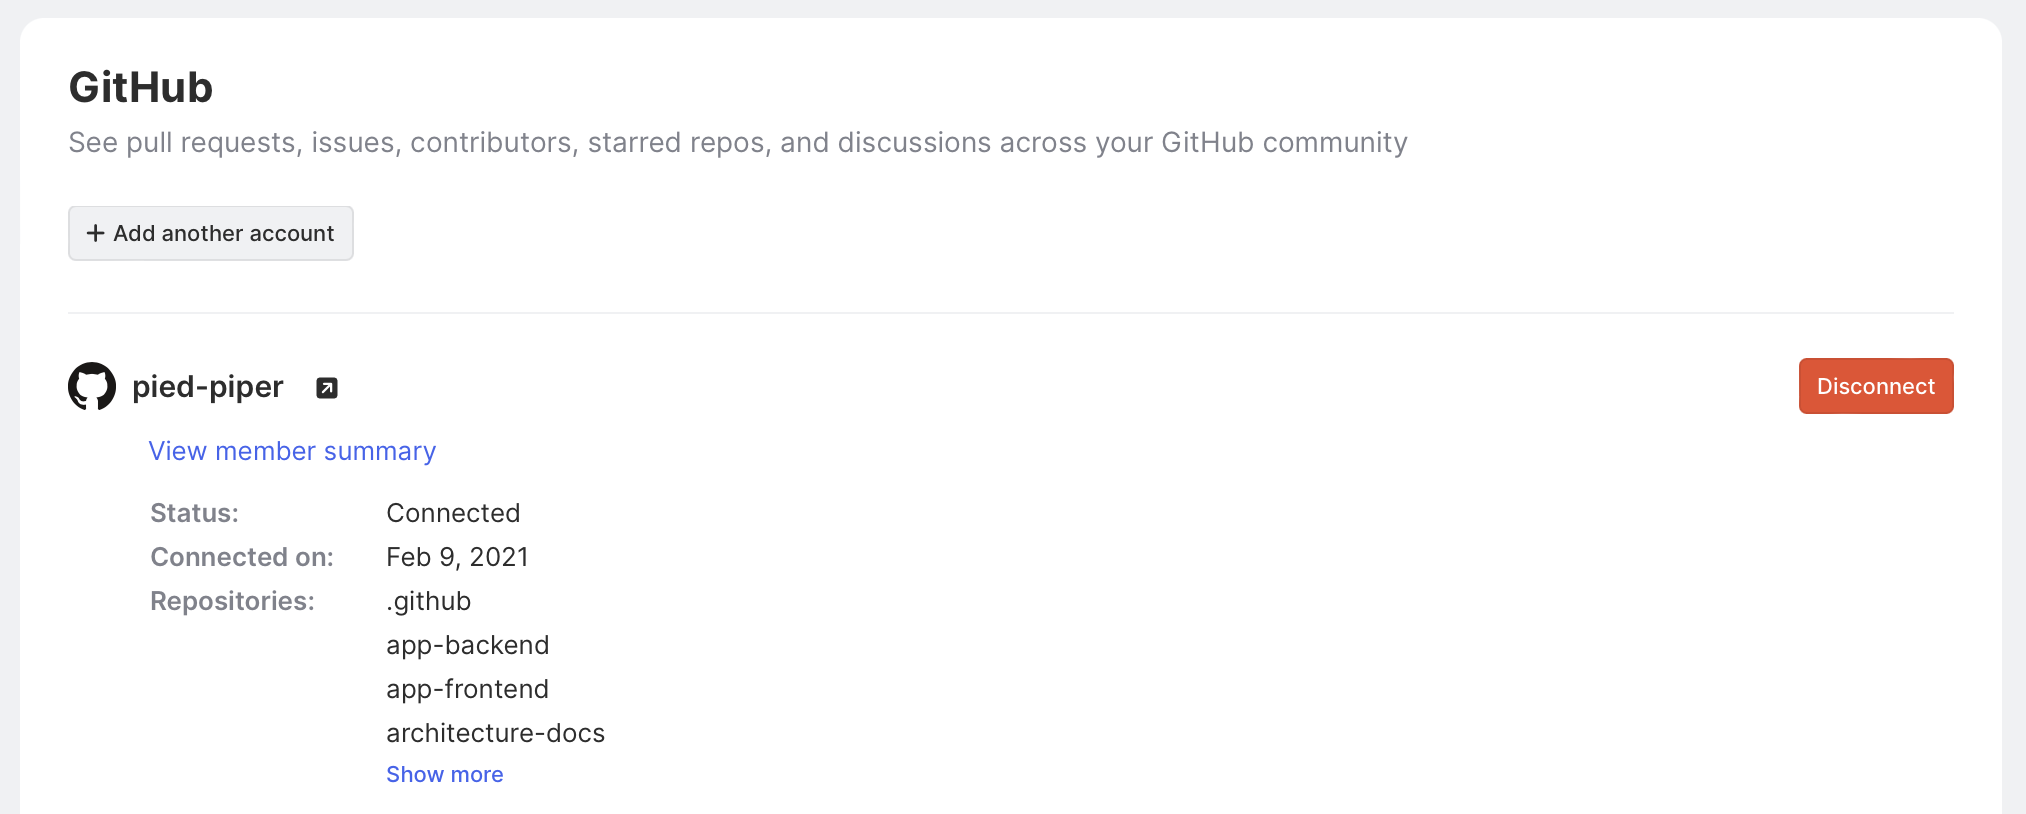
Once authentication is verified, you’ll see activity data from GitHub in your Common Room instance after a few minutes.
Let’s move to the next step.
Step 2: Define your ideal customer criteria
After hooking up your community and product sources in Common Room, you’ll see all the matched members along with firmographics, like where they work and their roles.
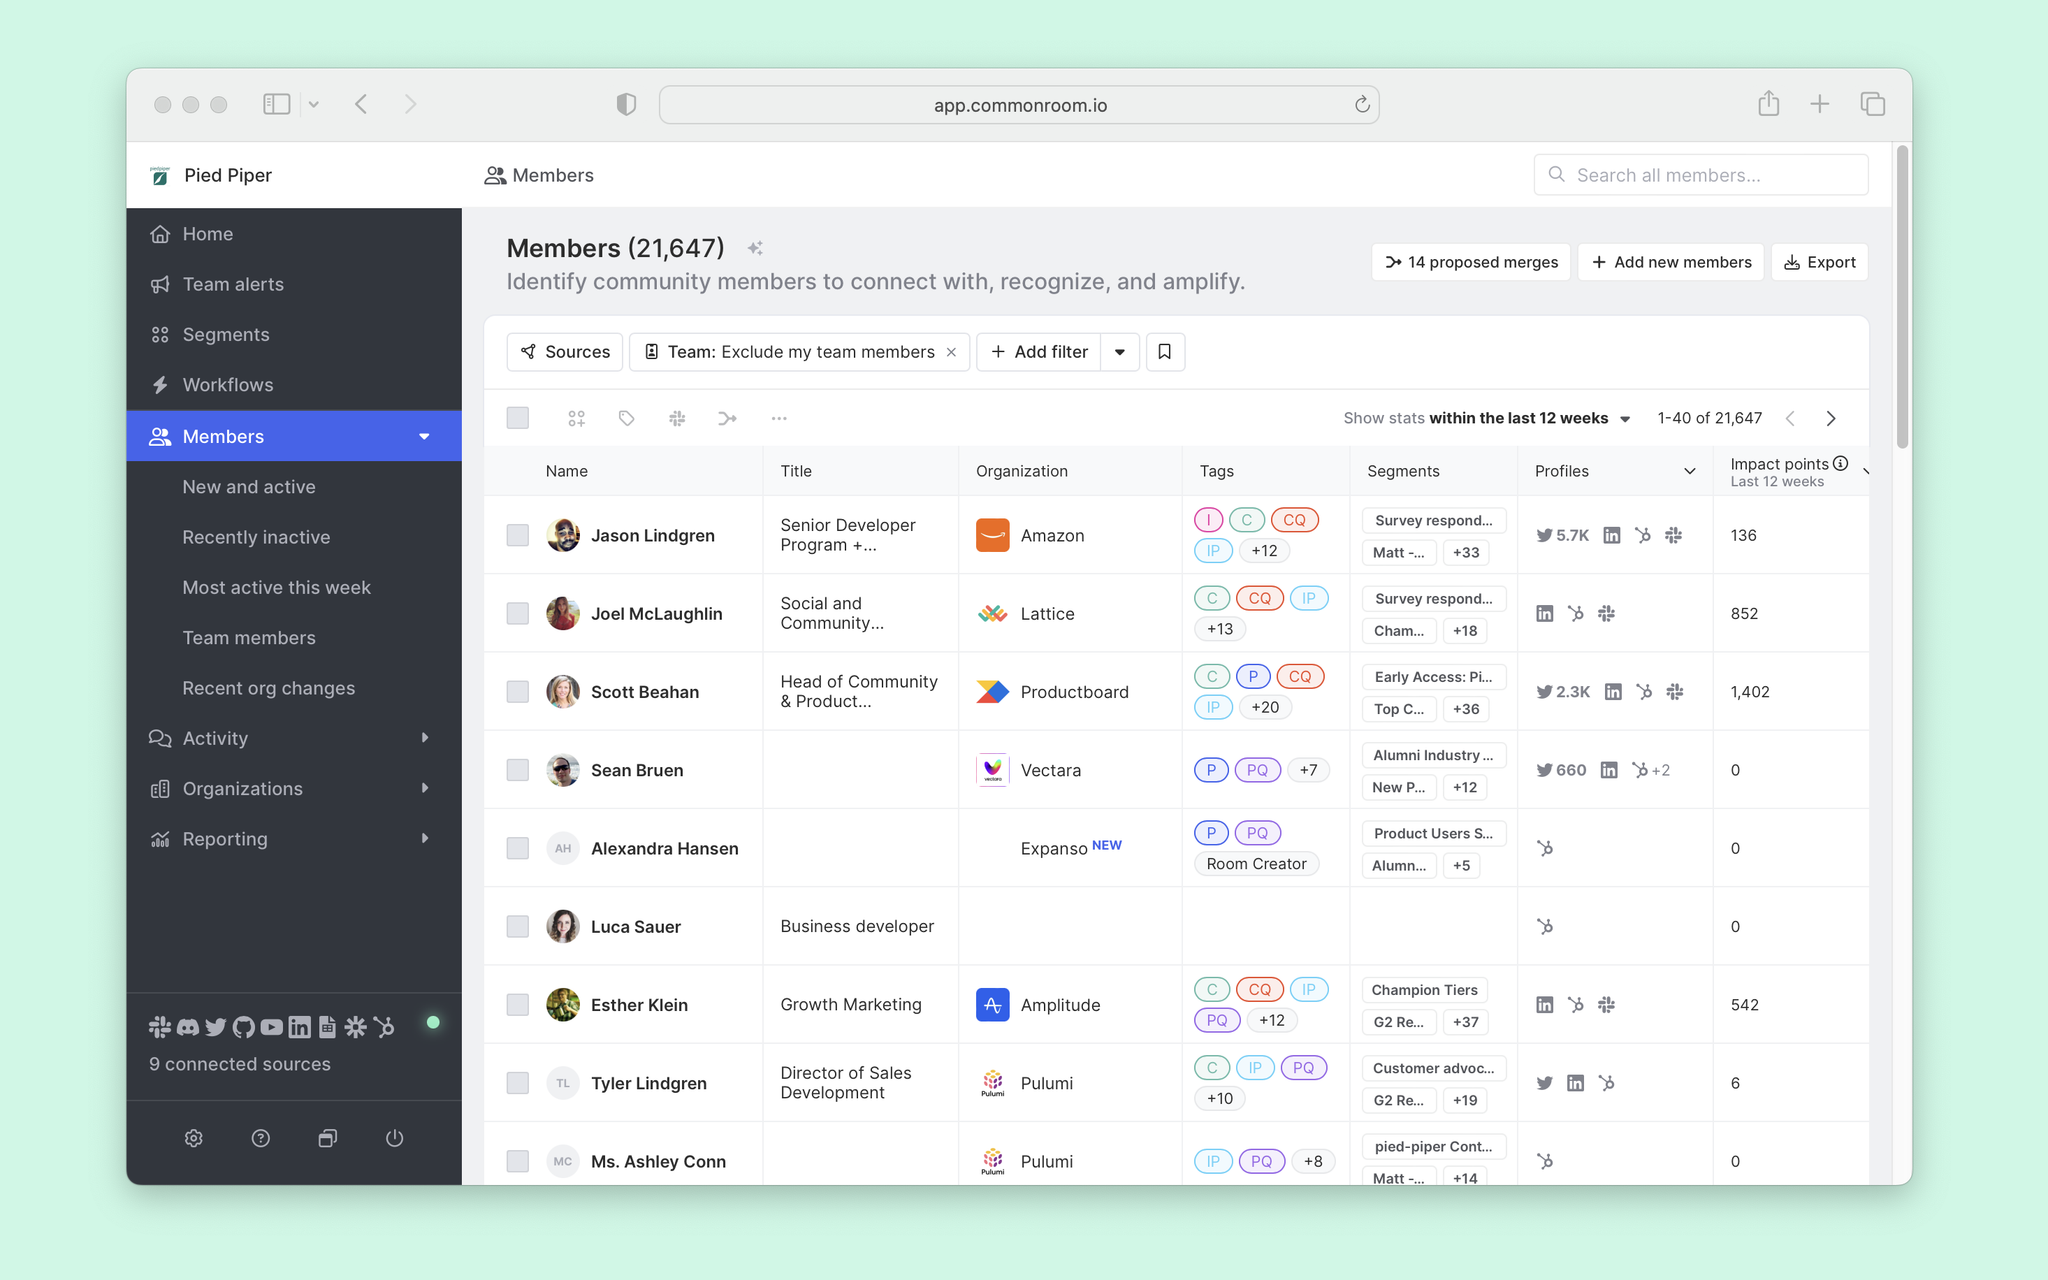
With these details on matched members and the organizations where they work, we can start to apply tags for those who meet our ICP criteria. For that, we can return to Settings and locate the Tags item in the left sidebar.
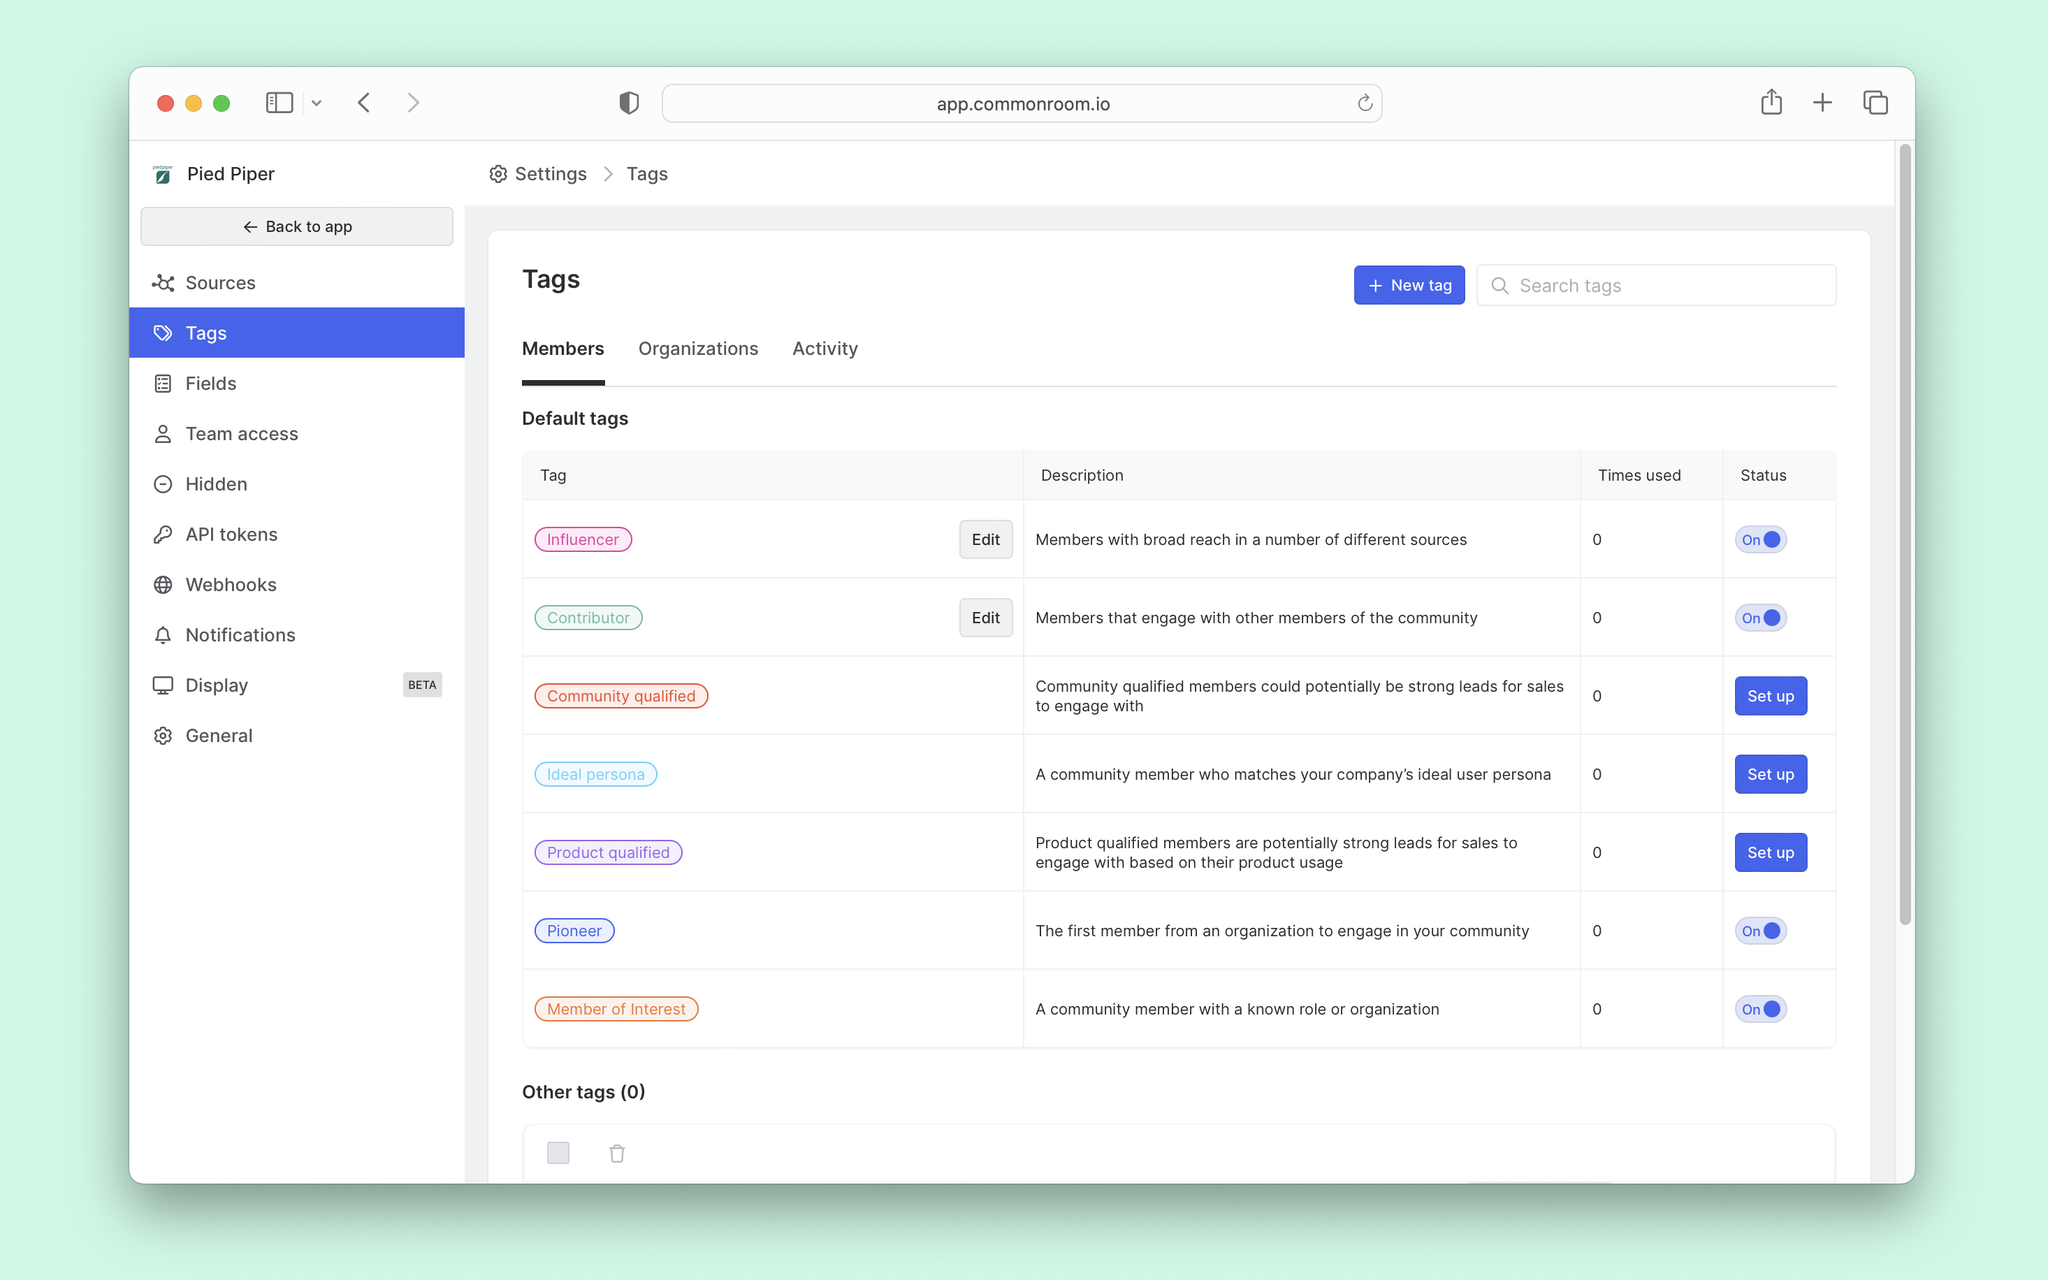
Here we see a handful of default tags like “Influencer” or “Product qualified.” In our case, we want to set rules for the “Ideal persona” tag.
To do that, we’ll click the corresponding Set up button. This takes us to a place to set filters for our ICP. Let’s imagine our criteria for ideal buyers is anyone in a go-to-market role who works at a company with at least $50M in revenue or $100M in raised capital.
We can add filters for this criteria by clicking the + Add filter button.
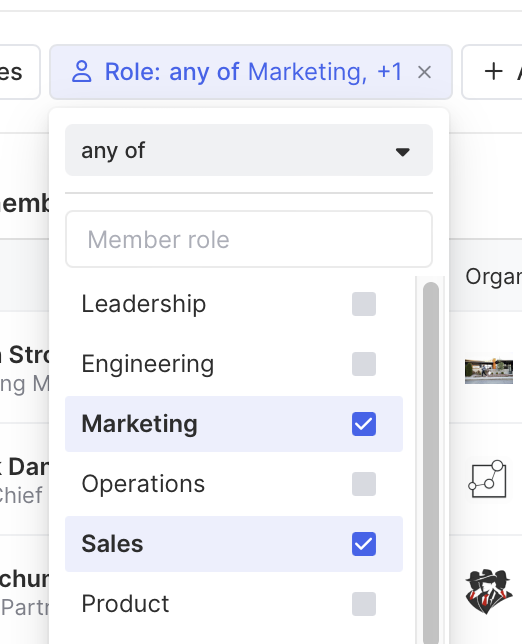
We’ll start with role and select Marketing and Sales options (and any others that apply).
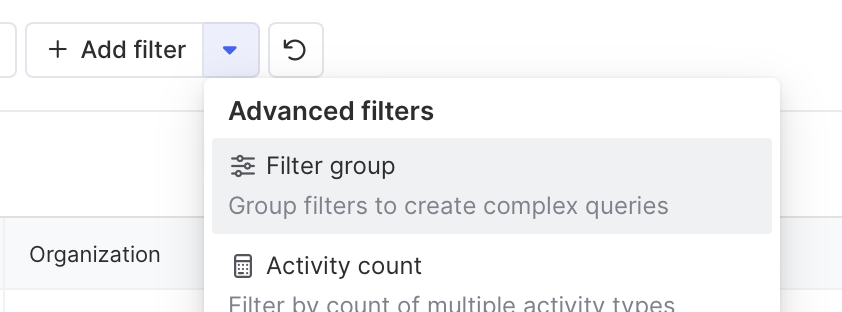
For the next filter, we’ll click the 🔽 arrow and choose a filter group.
And we’ll select our criteria from above of $50M+ in revenue or $100M+ in raised capital by selecting those categories and changing our match type to “any.”
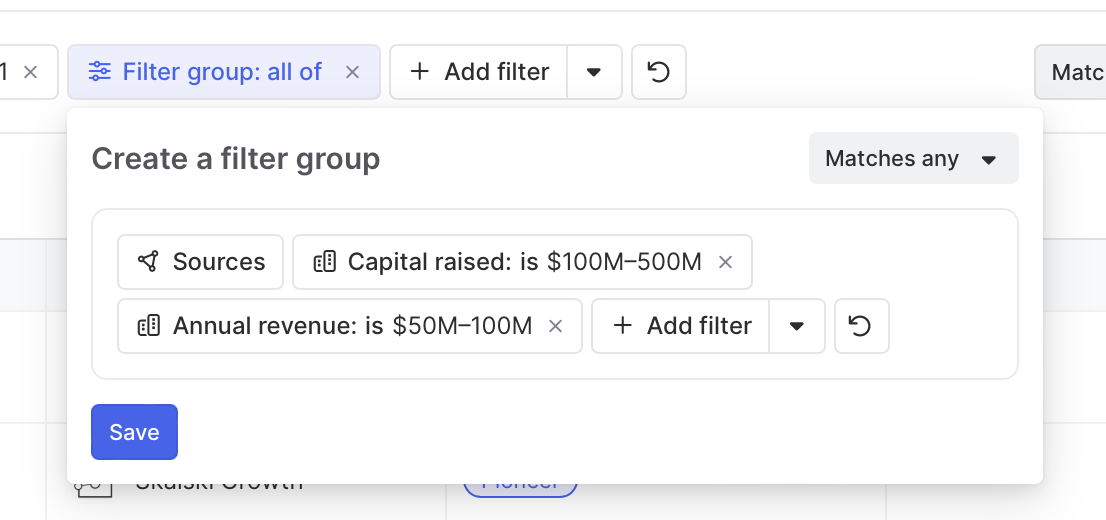
If all looks good, we can click Save, and our members who match this criteria will automatically be updated with the “Ideal persona” tag.
If we also want to add tags to organizations, we can follow a similar process, but this time, select the Organization tab from the Tags menu.
Because organizations don’t have roles, we’ll just add filters for revenue and capital raised.
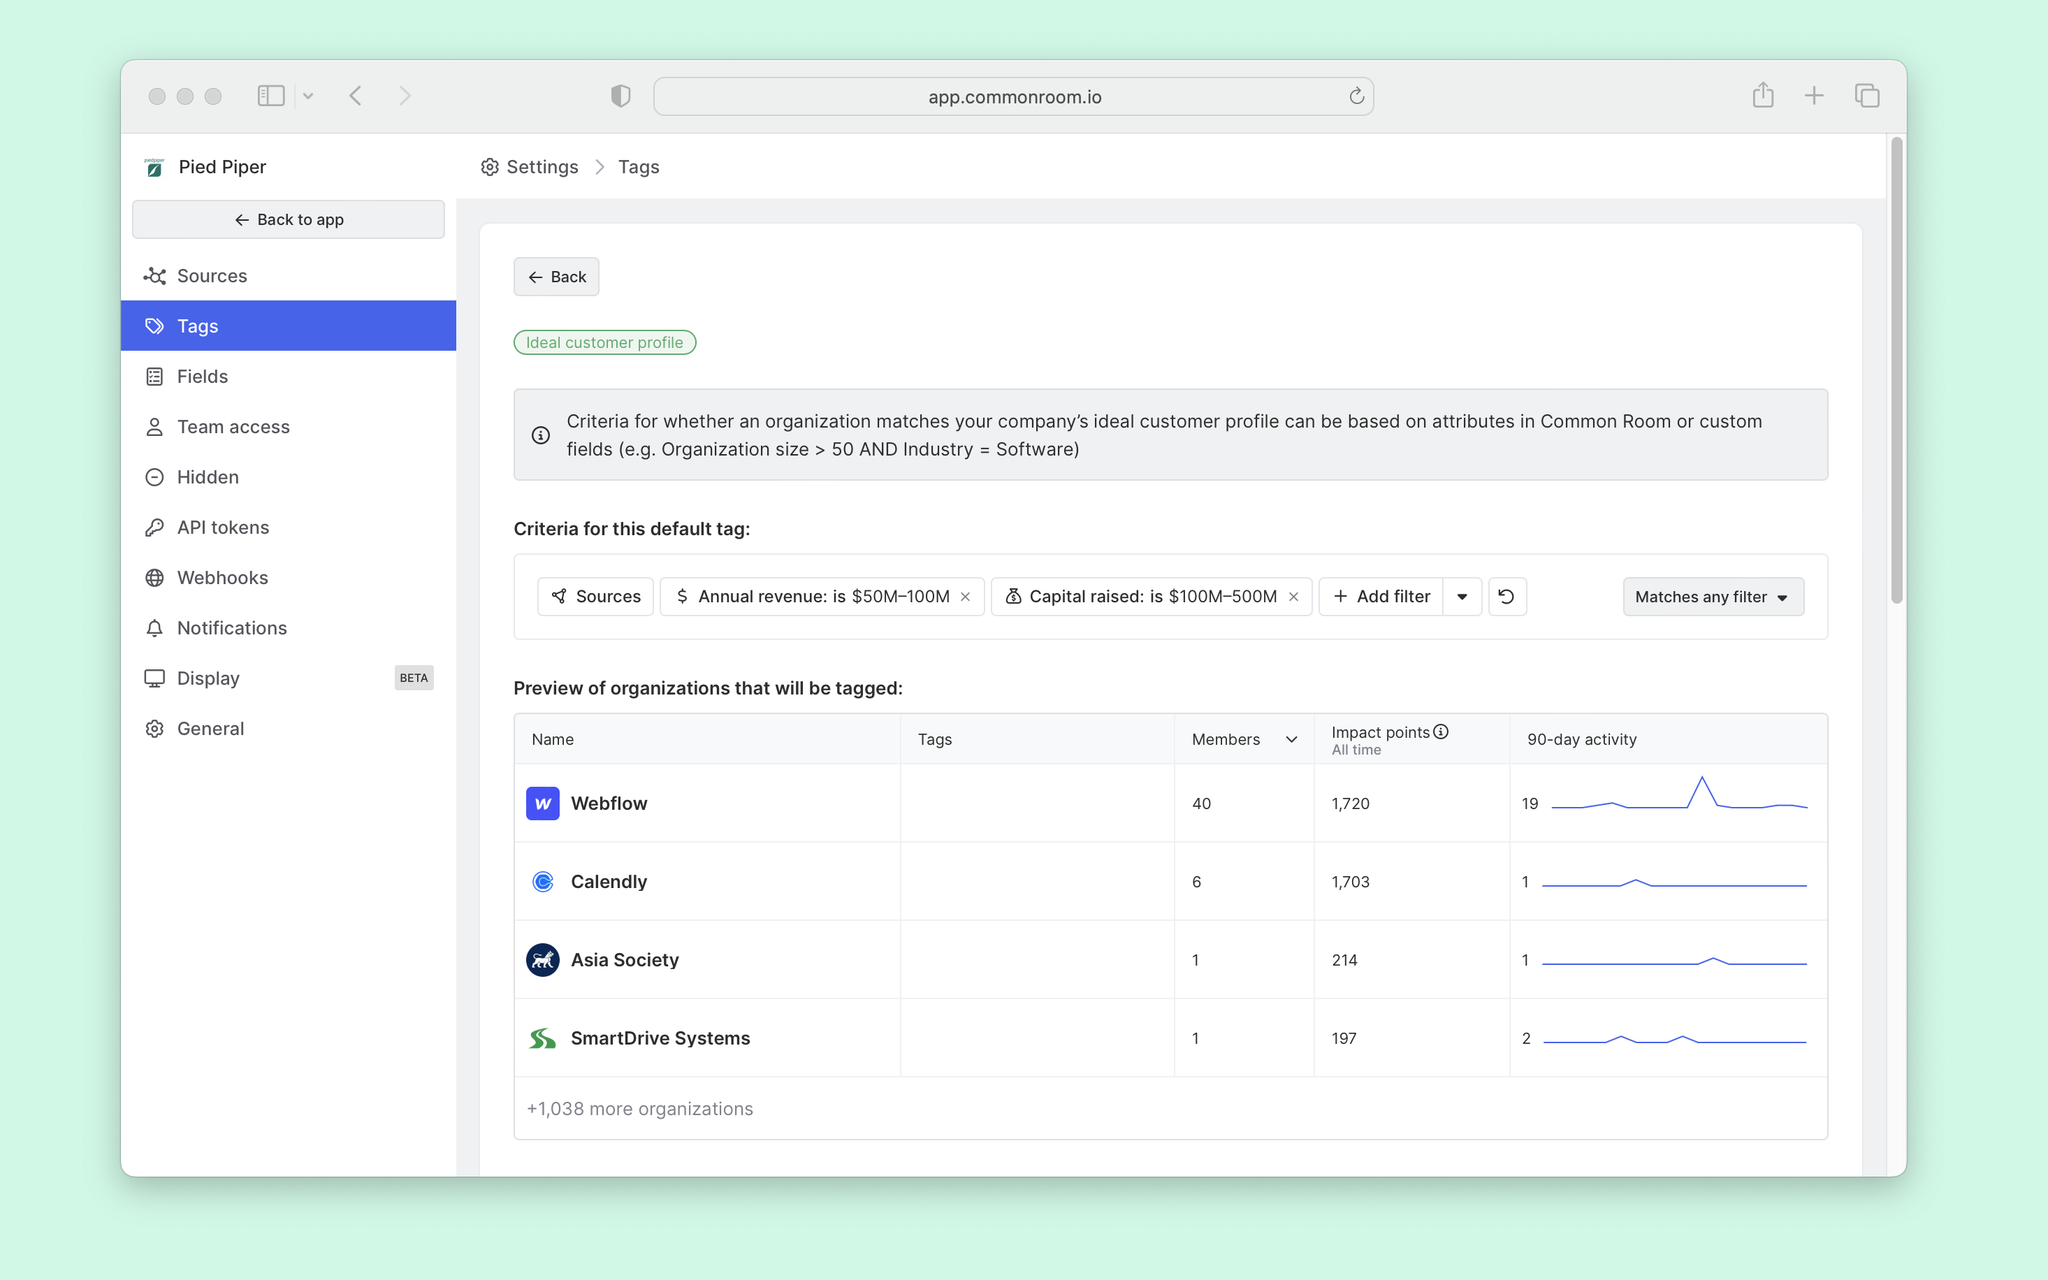
When we add these filters, we’ll also see a preview of the qualifying organizations and the match total.
From here, we can save, and organizations will be tagged with the Ideal customer profile label.
Step 3: Filter members and orgs by ICP tags
Now that the bulk of our work is done, we can incorporate these tags into our automations and workflows.
Let’s start by heading back to the Member view and applying the Member tag filter. We can click the + Add filter and locate the Member tag option to do that. From there, we can select the option next to Ideal persona.
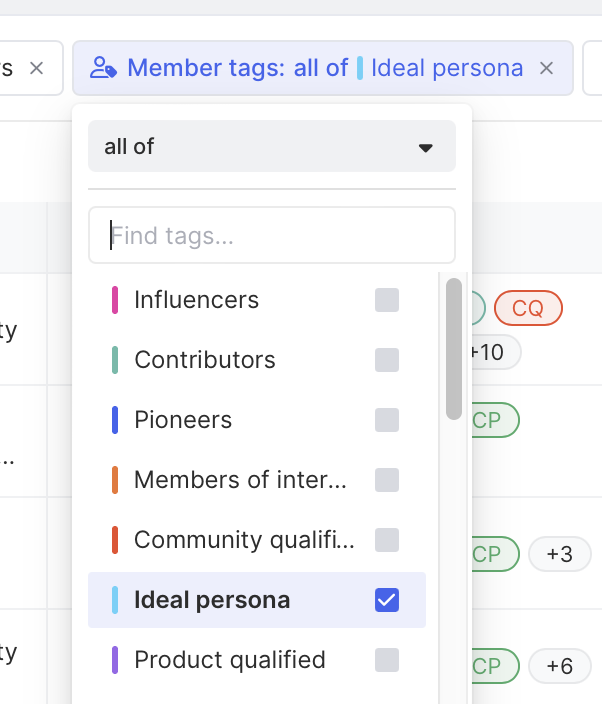
Applying this filter will narrow the number of members we see to just those with the Ideal persona tag.
To take action, we probably want to filter a bit more. So, let’s imagine we want to invite all active, non-paying customers in our community to an upcoming event. For that, we can apply more filters like Last active is within 28 days, and Deal stage is none of Closed won.

With our view now narrowed, we can take all sorts of actions like sending members a bulk Slack message, syncing with our marketing tool to send them an email, or adding them to a Segment for our team to triage outreach.
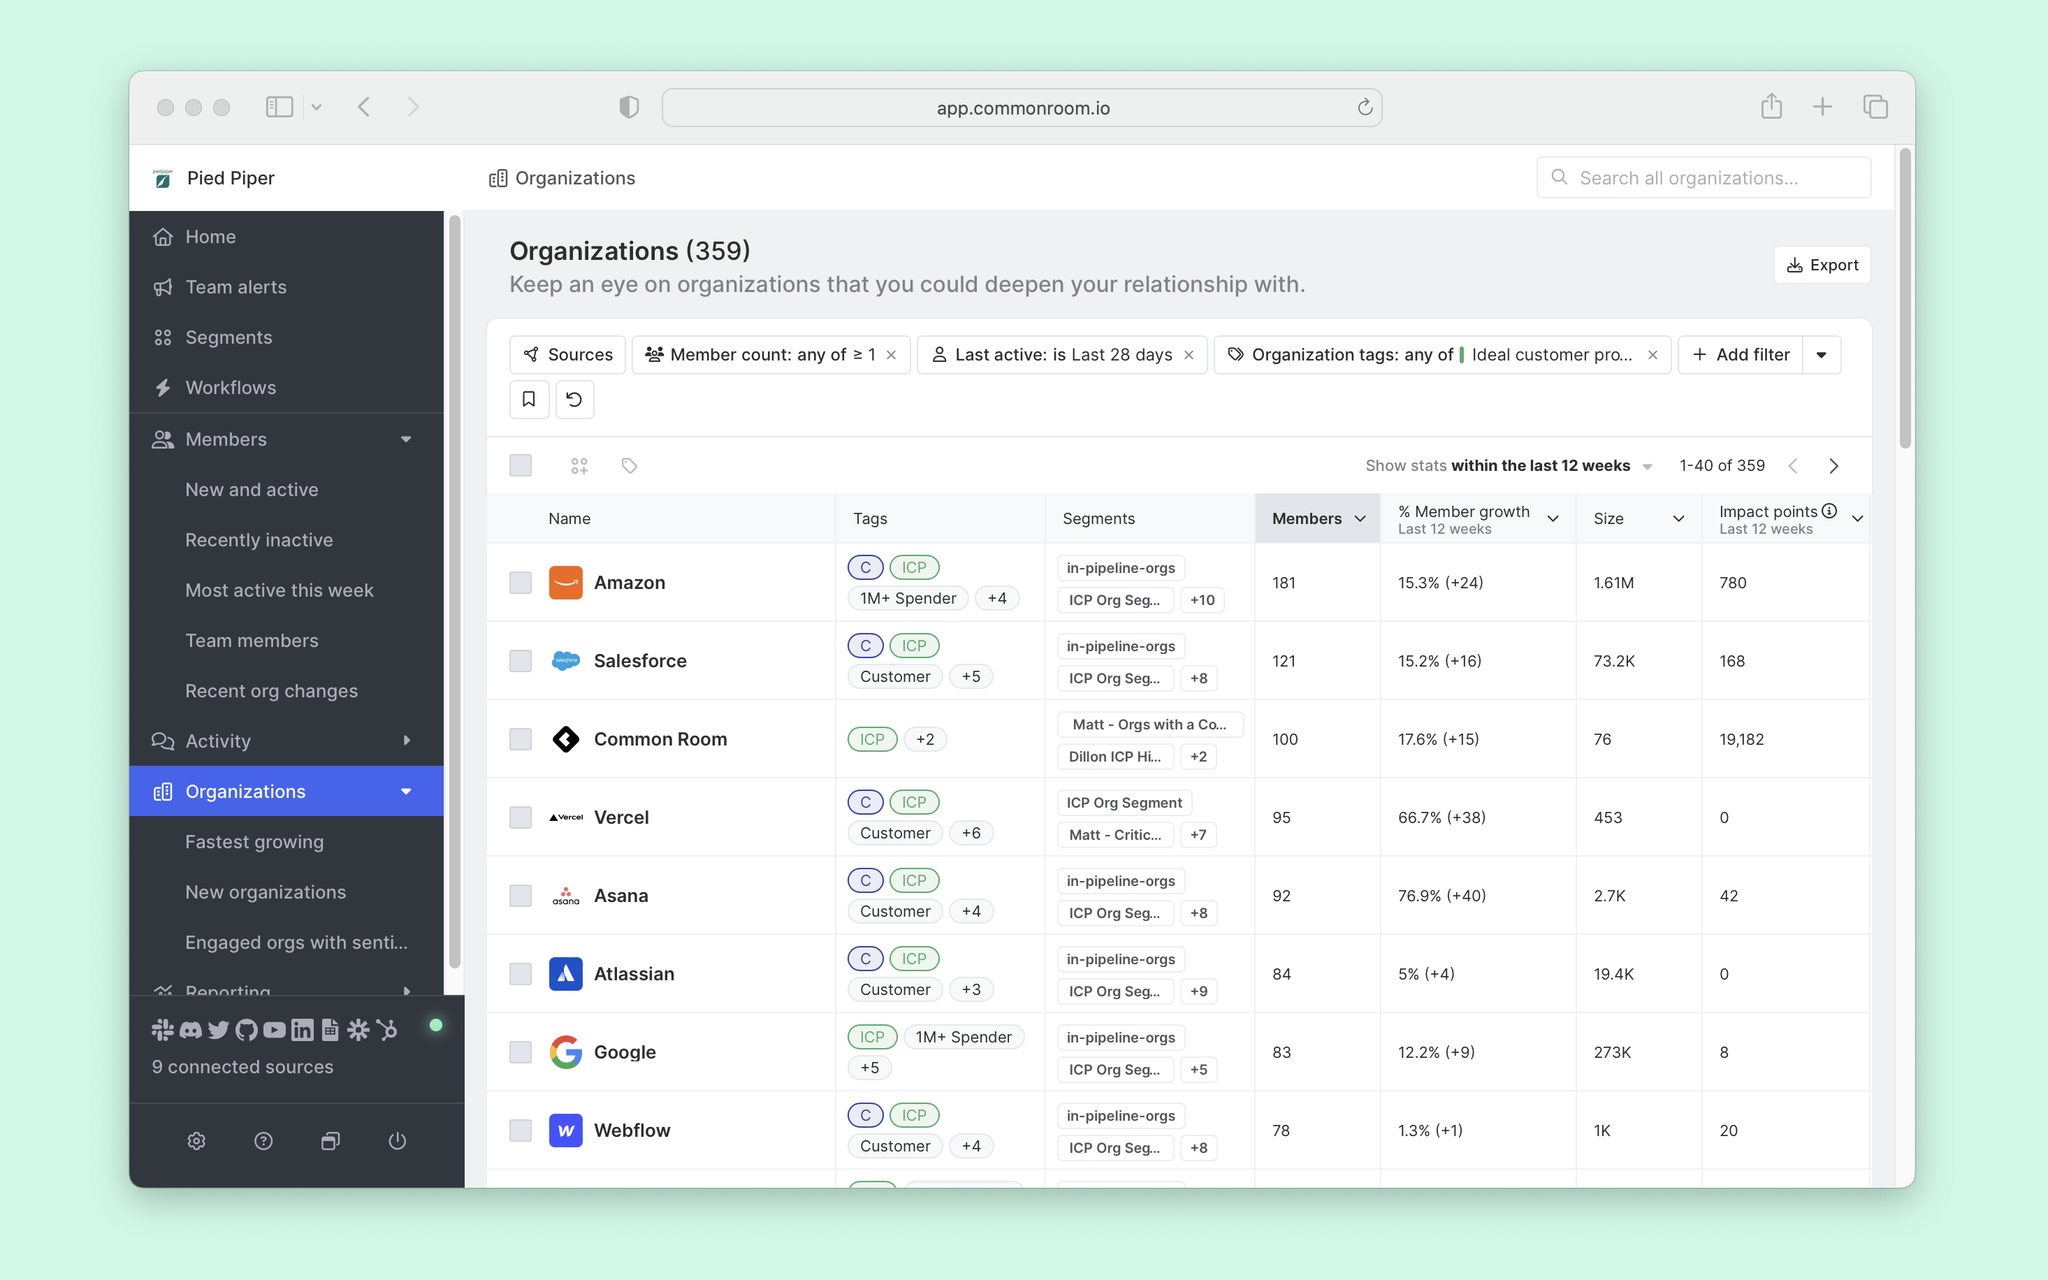
Finally, we could apply similar logic to our organization view. The only difference is this view will show active organizations rather than the members at them. This is a great option for prioritizing what accounts your go-to-market teams should engage with.
Step 4: Send alerts on ICP activity
One last thing we want to show is how to set up alerts when ideal customers are active in your community.
To do that, we can head over to Team alerts area by clicking the corresponding option in the left sidebar. And from here, we’ll click + Create team alert.
Let’s start by setting up a Slack alert when new ICP members are identified in our community. We’ll first add a name and description.
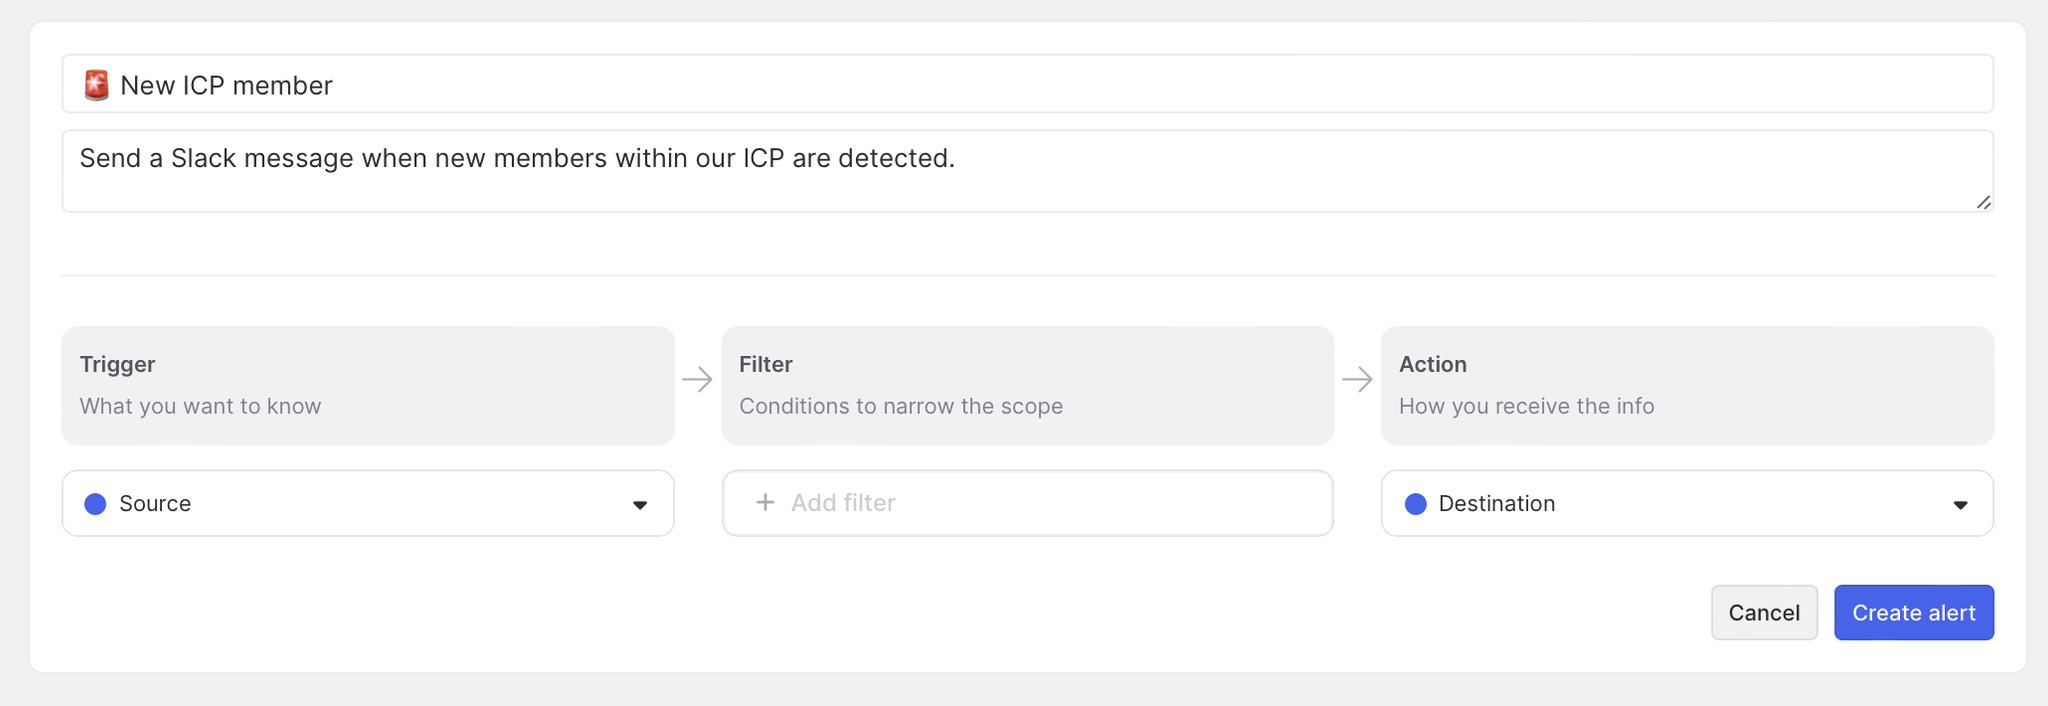
To fire off the alert, we’ll need to setup a trigger, a filter, and an action.
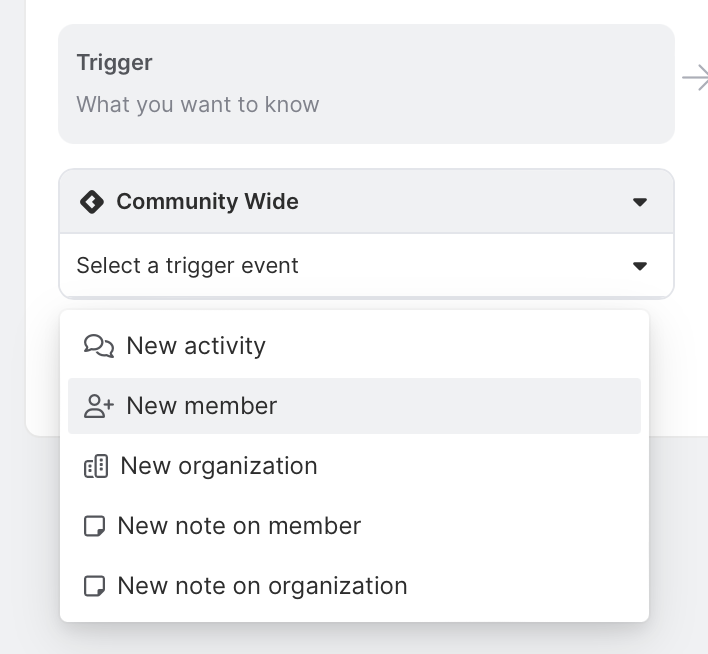
We’ll choose Community Wide (activity across all sources we’ve set up) for our trigger. And we’ll select the option for + New member.
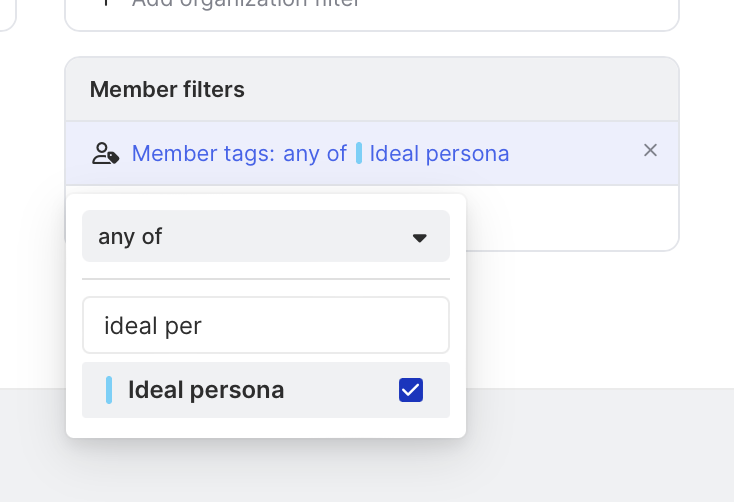
Then, we’ll set a filter using the Ideal persona tag we just set up. Because this is a filter for members, we can select the + Add member filter and locate the ICP tag.
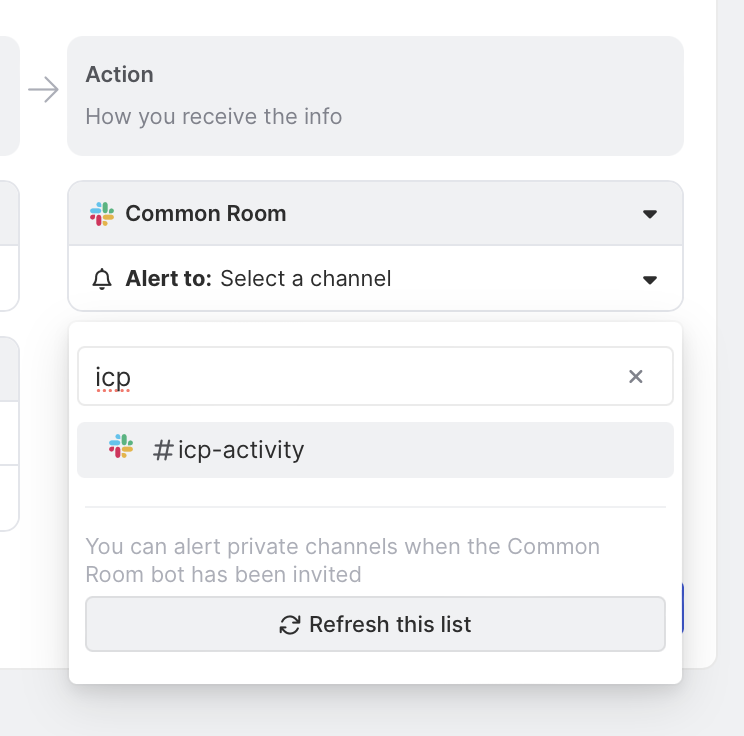
And for our action, we’ll send the alert to an internal Slack channel for #icp-activity.
And for our action, we’ll send the alert to an internal Slack channel for #icp-activity.
Now, when a new member is identified in any of our connected sources AND meets our ICP criteria, your team will know about it in real time.
Wrapping up
This playbook identified members who fit our ICP across our broader community surface areas (think channels like LinkedIn, GitHub, Slack, Discord, Twitter, etc.).
We also explored a few scenarios on operationalizing ICP member tags into your team's day-to-day workflows—alerts and prioritized views.
But we’re really just scratching the surface on what’s possible with Common Room. From here, you could also track when ICP members change jobs, send them personalized Slack or Discord surveys, and add community-qualified leads to your top-of-funnel mix.
