Identify top contributors and ideal customers in your GitHub repo
Lift the veil on your GitHub repo beyond basic data.
- Overview
- Step 1: Connect GitHub repo
- Step 2: Filter for top contributors
- Step 3: Create alerts
- Wrapping up
Turn buyer intelligence into pipeline with AI.
Request demoCongrats. You’re in rarified OSS air. Your repo has thousands of stars, contributors, commits, branches, and so on.
With all this traction, you want to understand basics like: who are your top external contributors? Where do they work? What are their motives? Are they customers of your SaaS offering?
While GitHub gives you a pulse on activity within your repo — top contributors, merge and pull requests activity, new and closed issues — it doesn’t provide specifics like company data from members or connect the dots on who is or isn’t a customer.
In this playbook, we’ll show you how to use Common Room to pull back the veil on your GitHub community beyond the basic info that GitHub provides. We’ll show you how to identify contributions from high-profile accounts, who is behind those accounts, and how to create views to triage issues or prioritize responses.
What you’ll need
Step 1: Connect to your GitHub repo
Our first step is to connect your repo to Common Room. To do that, head over to settings and select to connect GitHub.
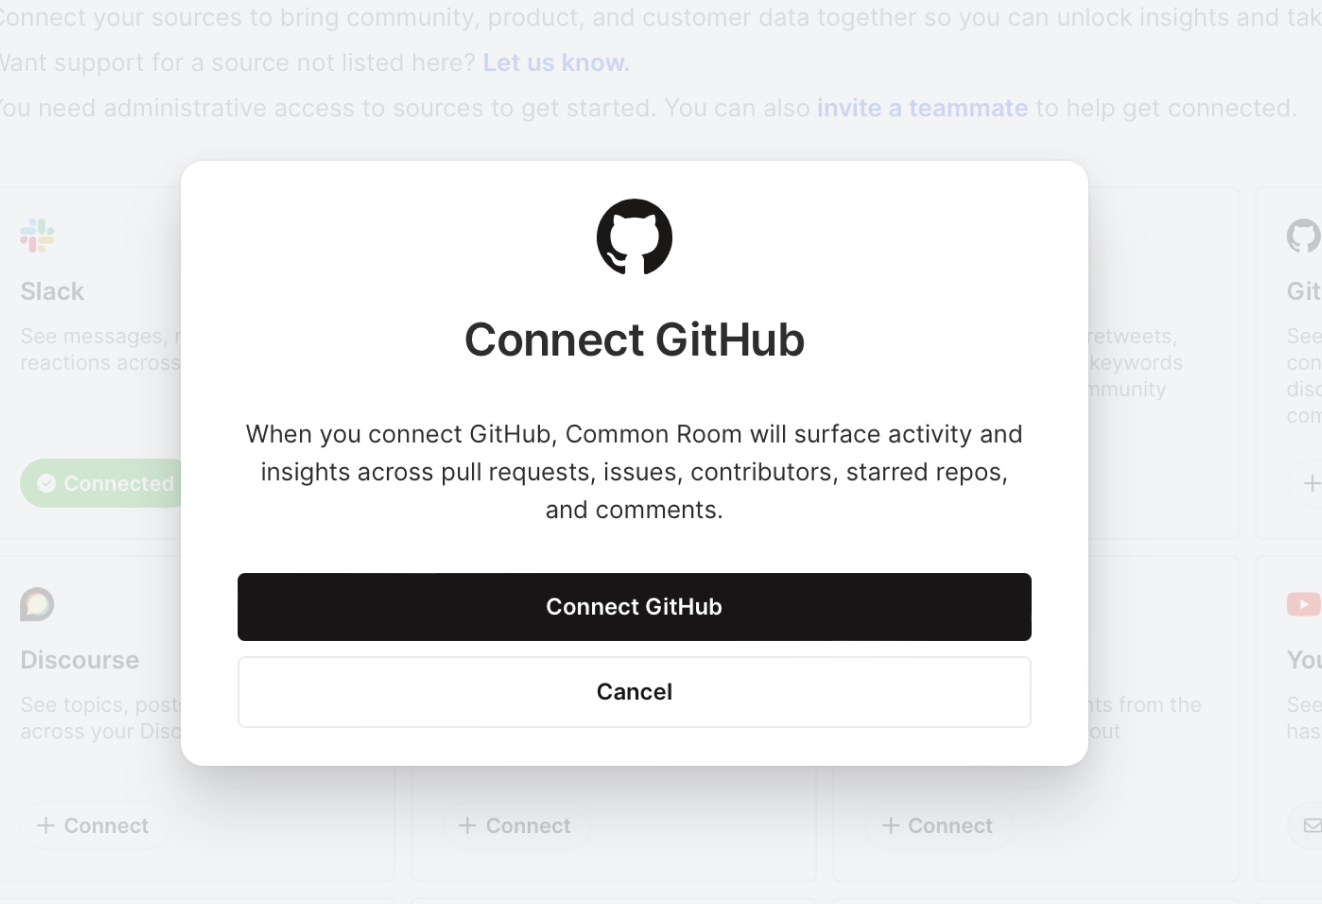
Once approved by an admin (or you if you’re an admin), you’ll see activity data from GitHub in your Common Room instance after a few minutes.
Step 2: Add filters to identify your top contributors
For the next step, we’ll want to filter down our list of GitHub contributors into different cohorts.
In this tutorial, we’ll create a cohort for top contributors and one for recent contributions by high-profile accounts. We can head over to the Members view in Common Room to do that.
From here, we’ll add a filter to limit this view to just the GitHub source.
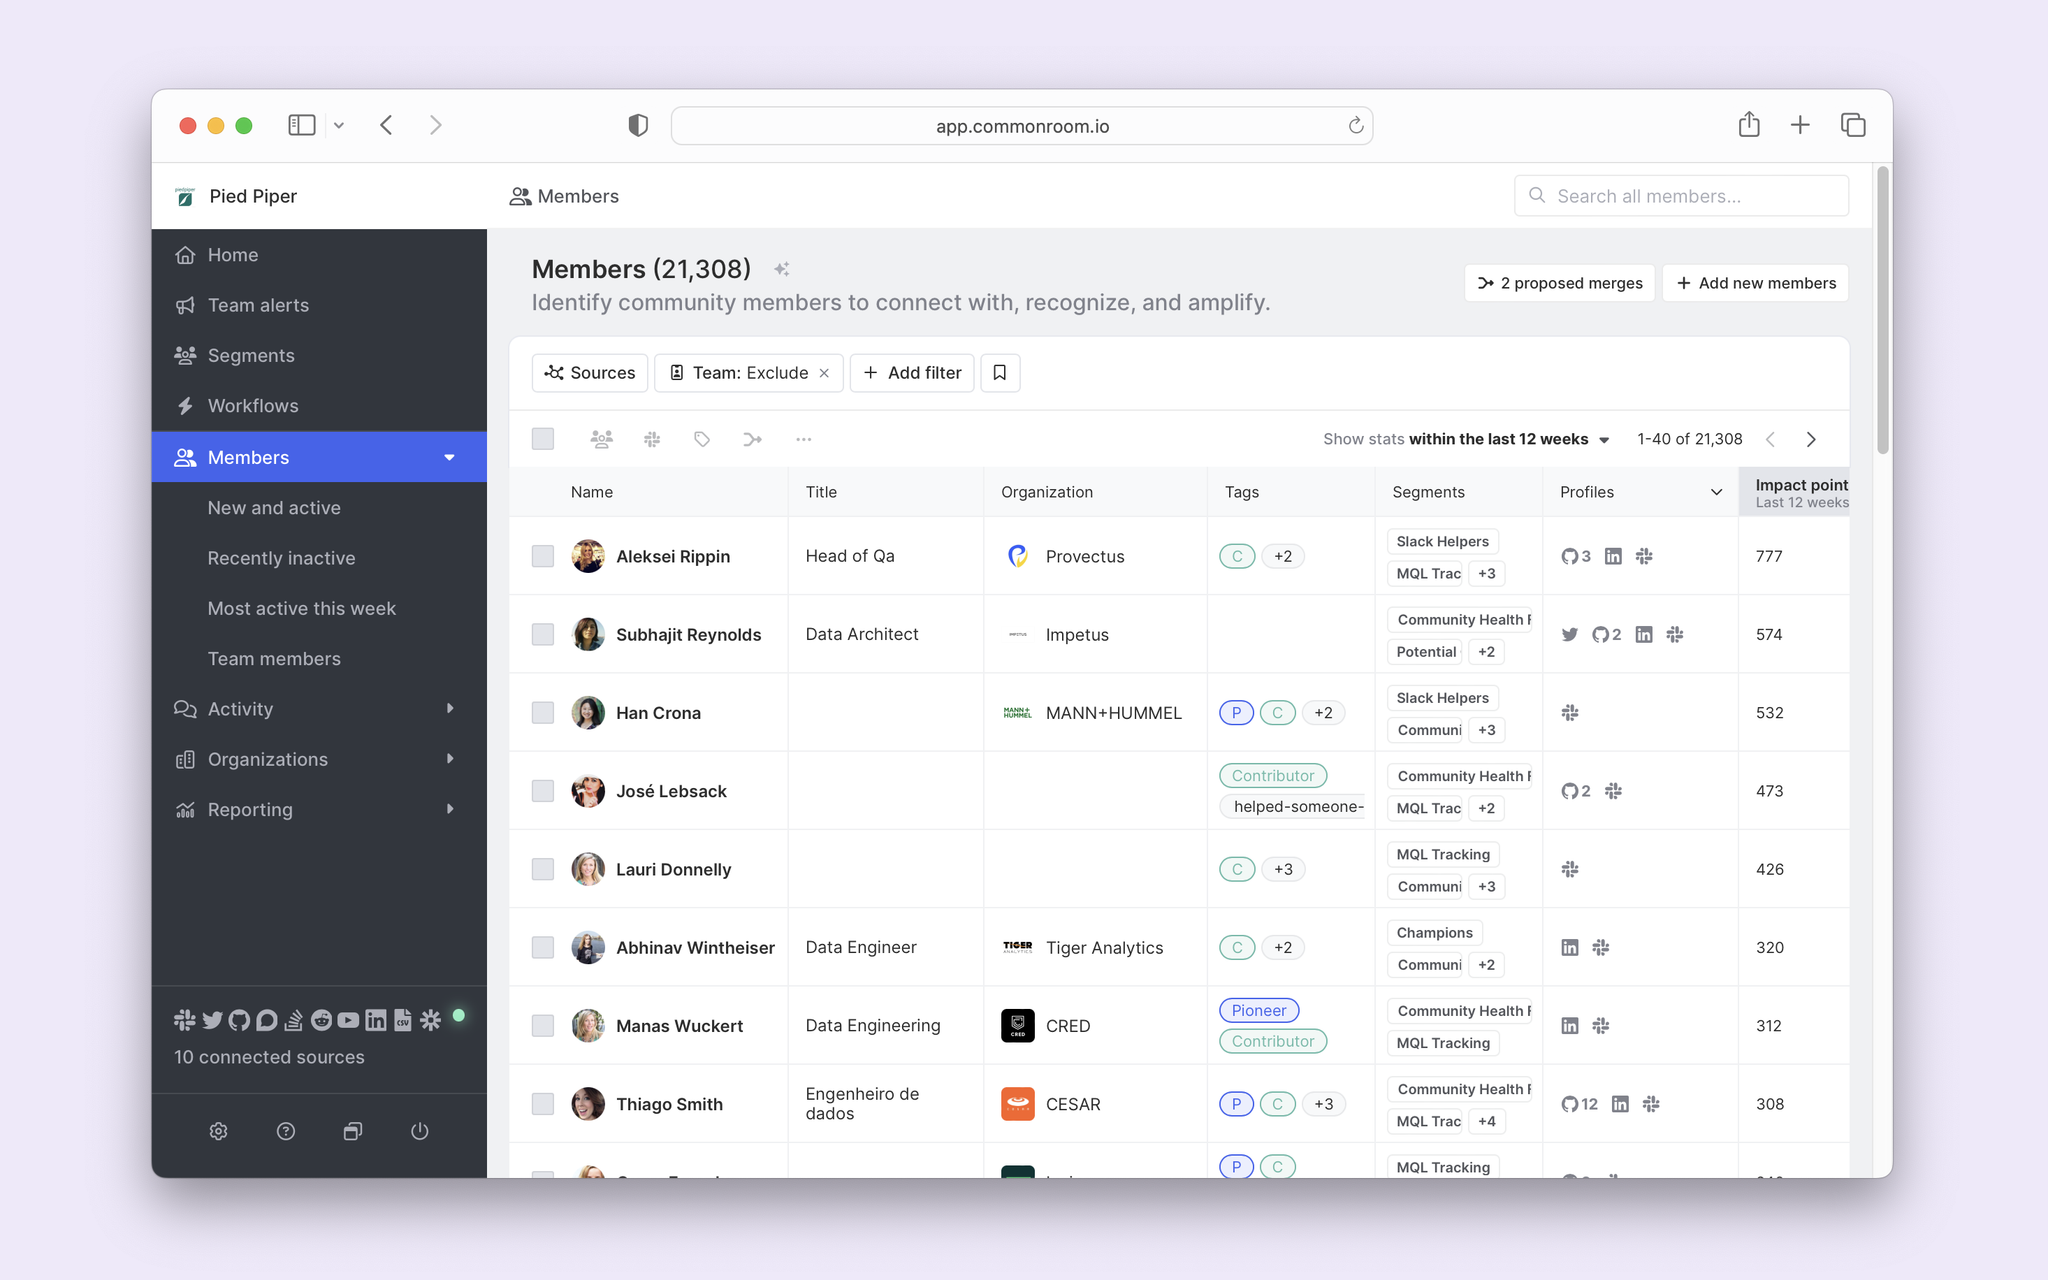
And we can see that gets us to about 18k members. Which is far too much noise for the signal we’re looking for. So we can start narrowing that down by adding more filters.
Let’s start by building our top contributor cohort.
We can click the + Add filter button and select GitHub-specific activity to filter on, like commits, pull requests, comments, issues, stars, etc.
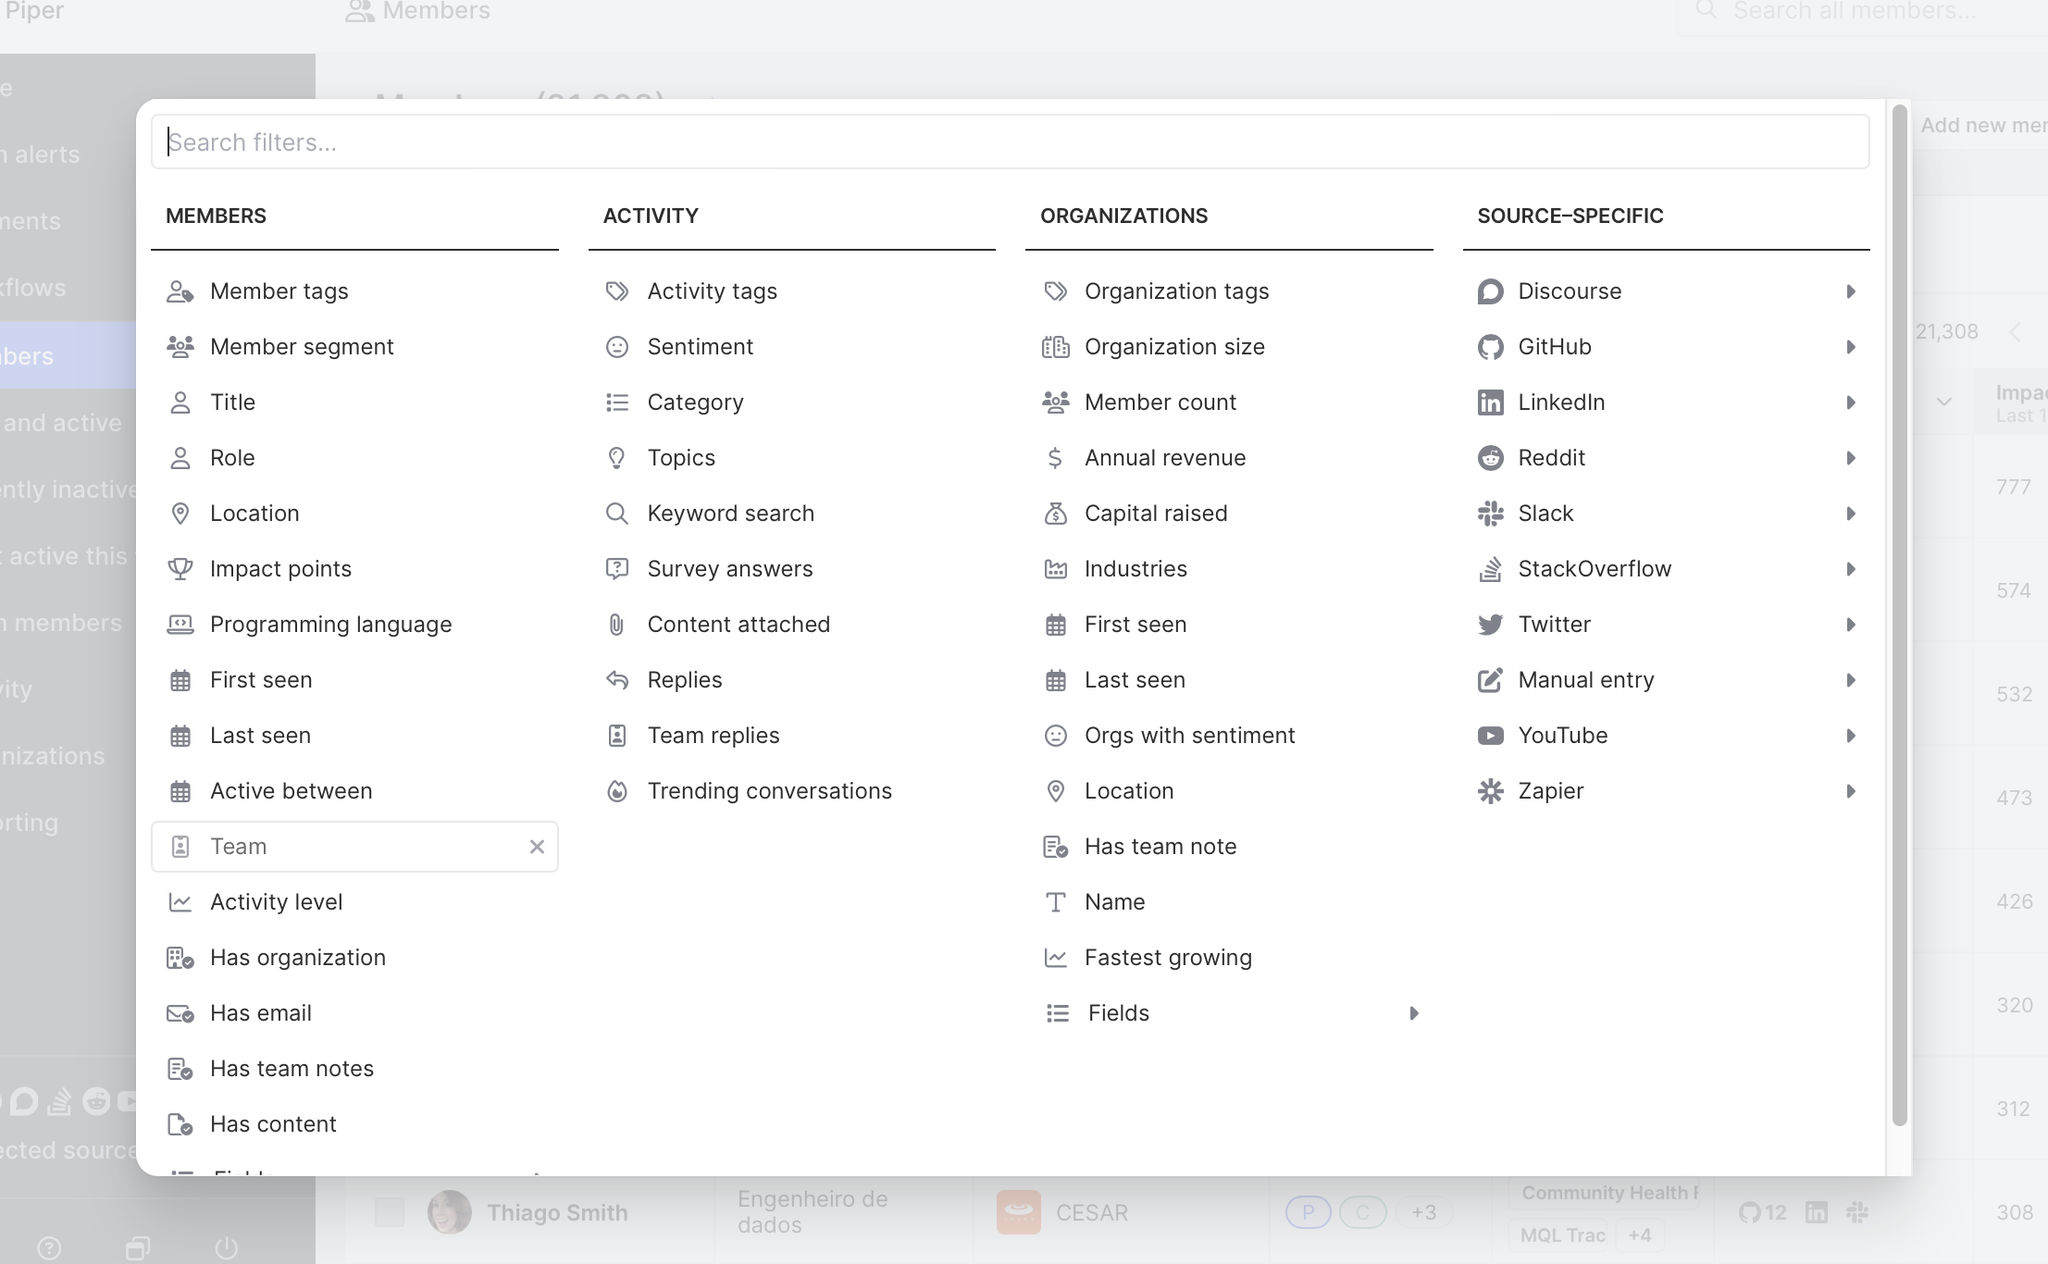
Adding a filter for > 1 commit in the last 28 days narrows our list to a few dozen. This is what we were looking for — our top recently active contributors. We can select all members from here and add them to a new segment.
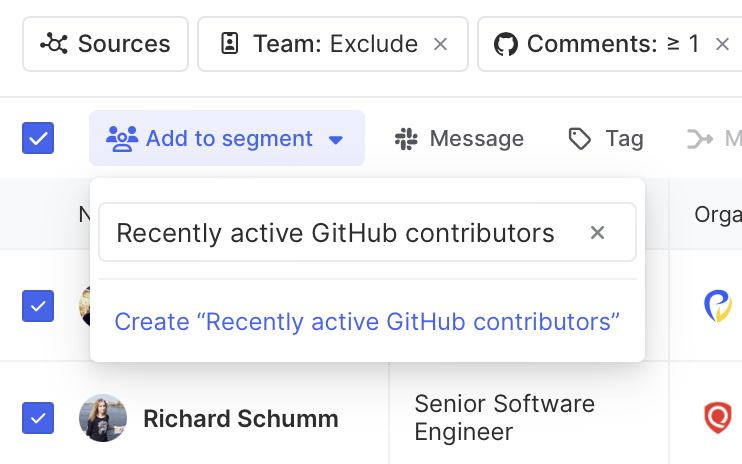
Let’s follow a similar pattern to create a different segment for high-profile GitHub active members in our repo. To do that, we can clear the previous filter and add a new one for organization size > 50, located in North America or Europe, and active in the last 12 weeks.
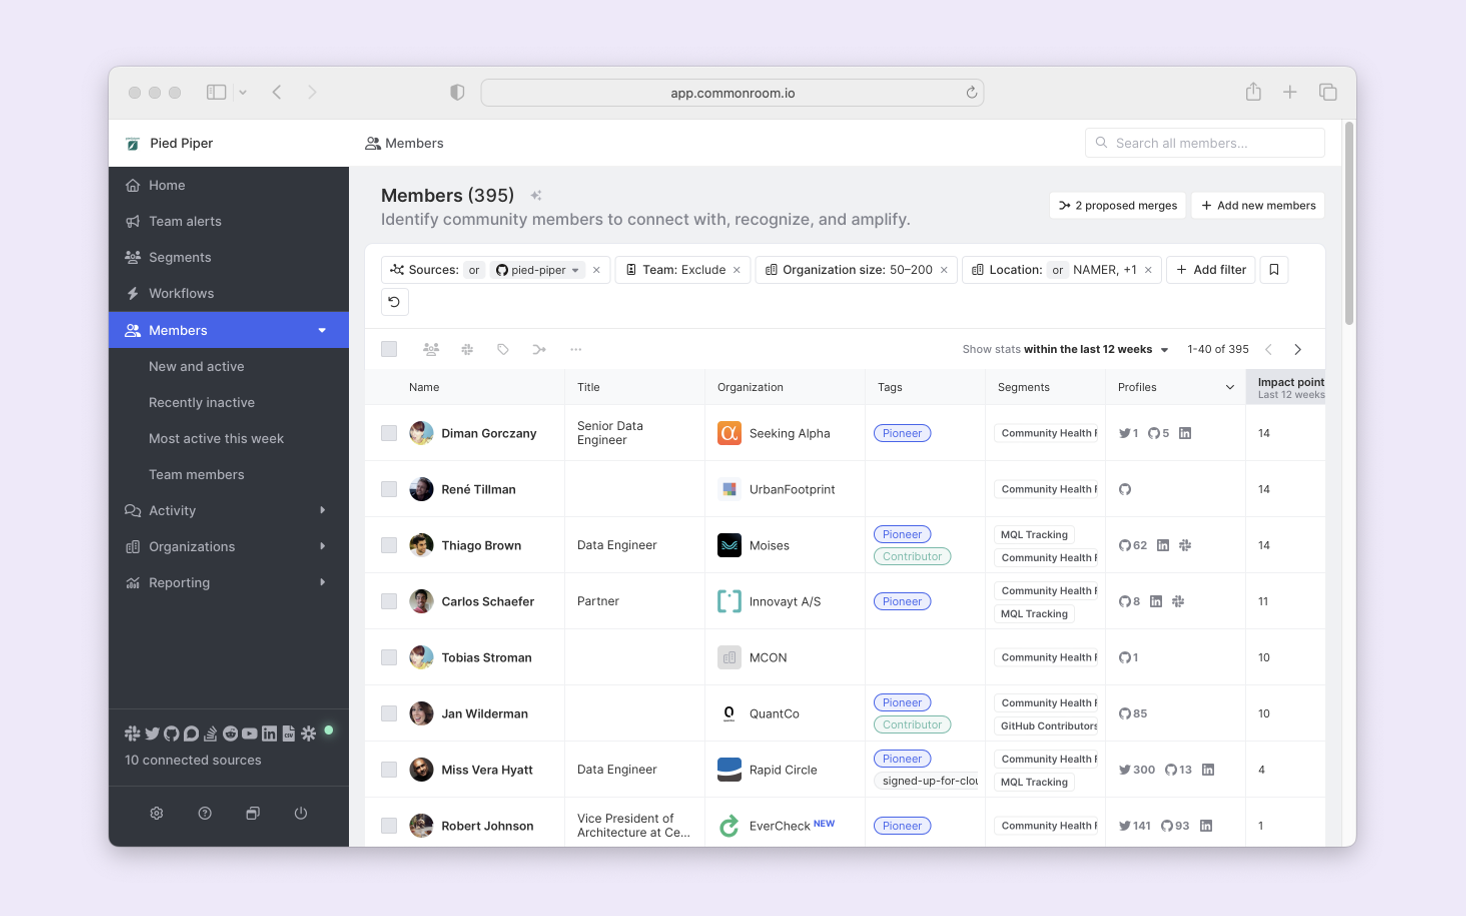
Then we can repeat the step above to add this cohort to a new segment. We’ll select all and name our segment.
We can also add tags (e.g., VIP) from this view to append to a member’s profile. You can also filter by tags when building new segments. More on how tags work in Common Room here →
Step 3: Create alerts to take action
Now that we’ve created a couple of segments, we’ll want to take actions like reaching out to a new contributor or helping out a VIP when an issue arises.
We can do all that by adding some automation to our segment and building a workflow.
Let’s jump into the segment we just created for top active contributors. From here, we can click on the Member management tab and set criteria to auto-add/remove members to/from our segment.
We can match the same criteria for the view we used above — 1 commit merged in the last 28 days — and click Save.
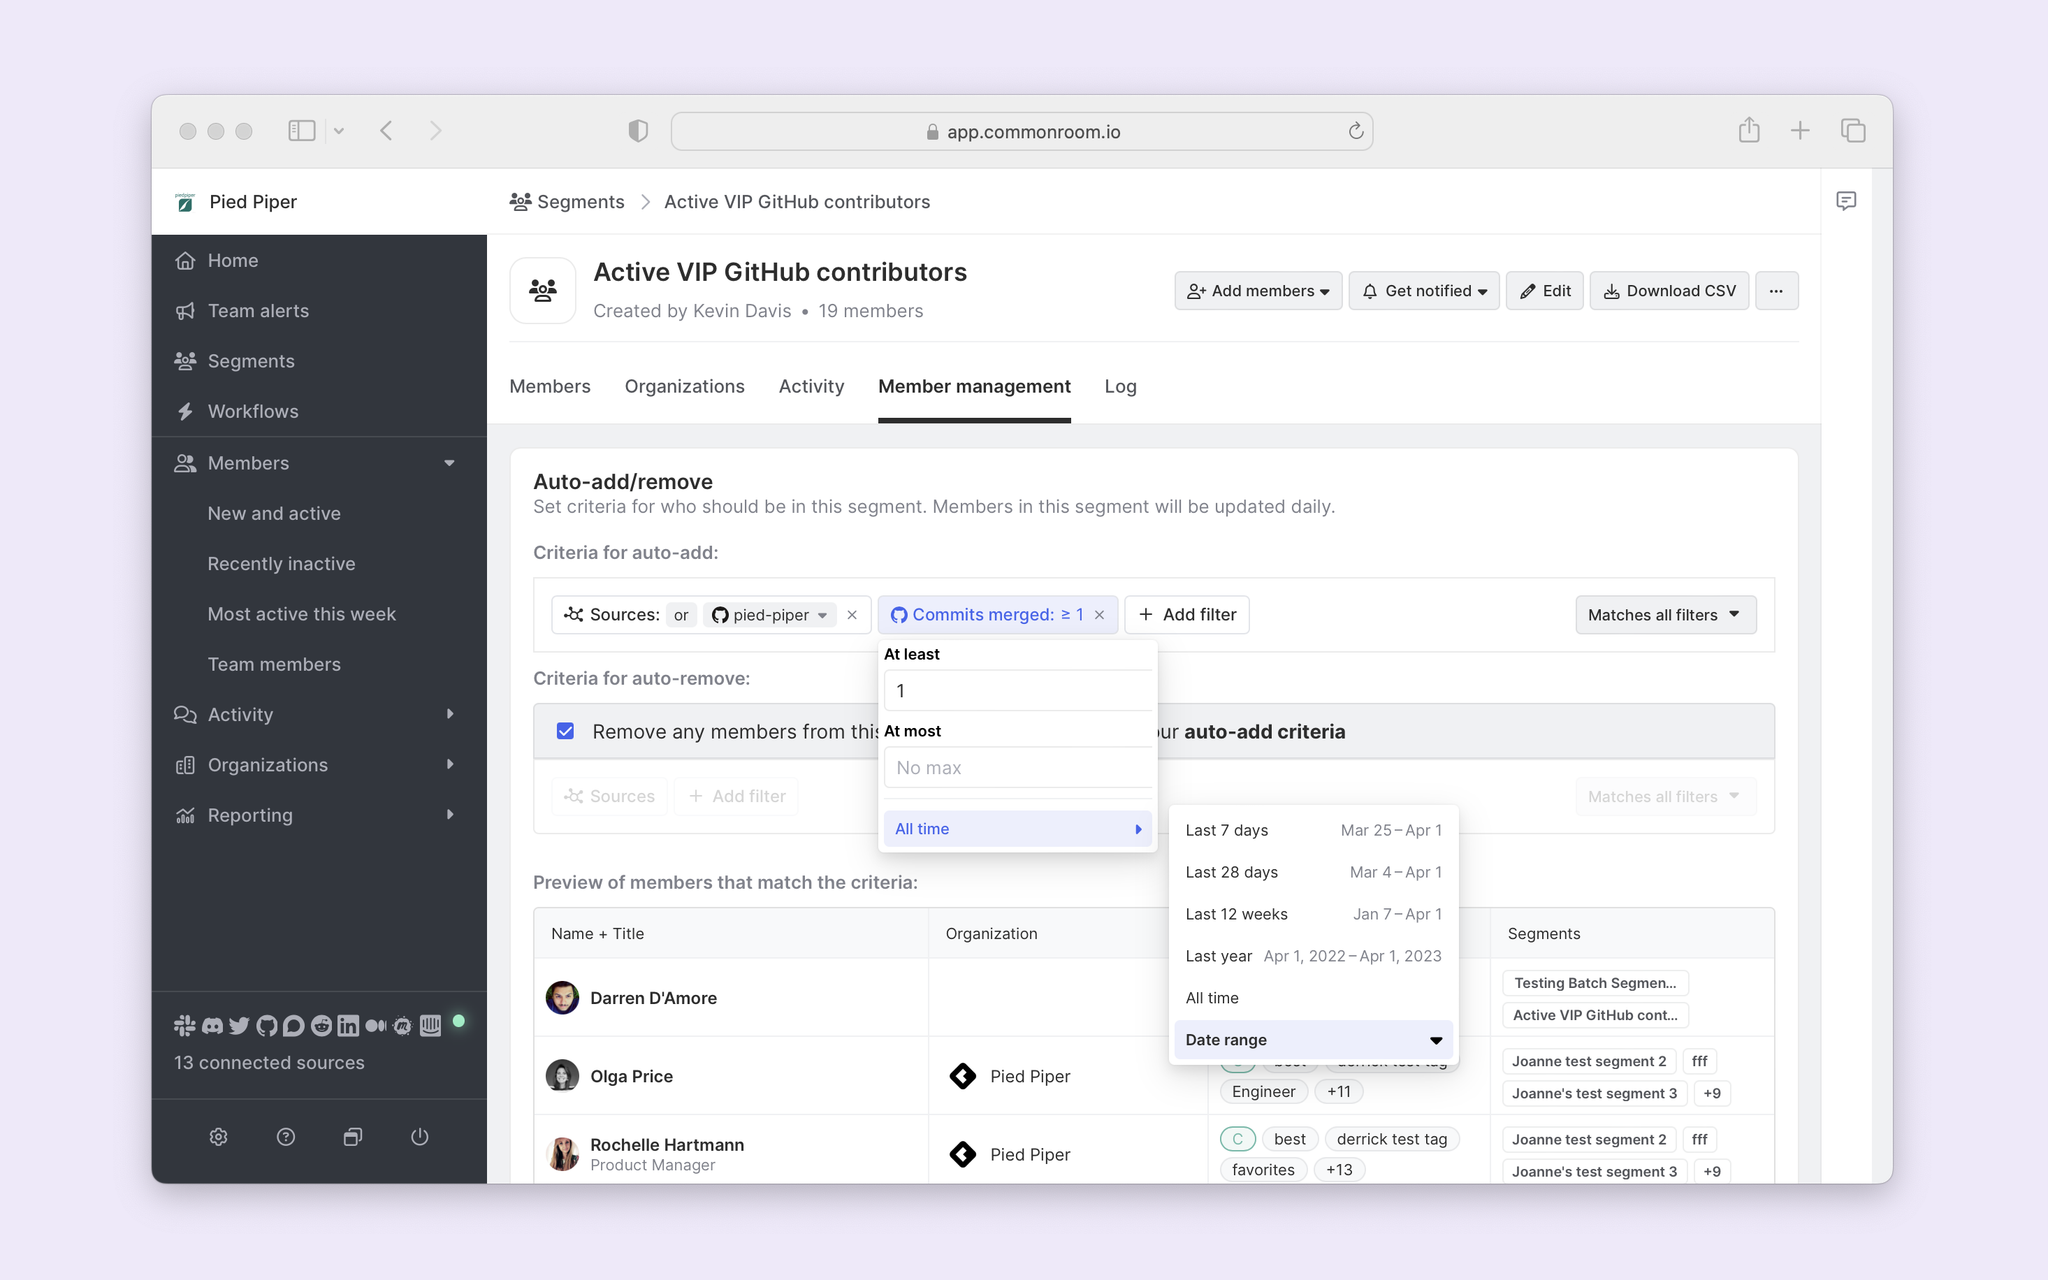
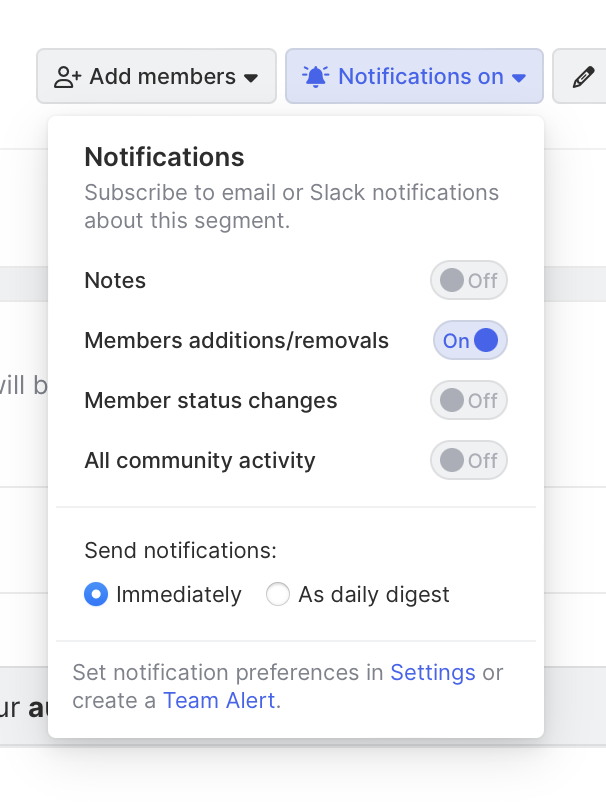
From here, check this segment regularly to take action when new members are added. But that’s a bit tedious, and we want to act faster. To do that, we can click the Notifications dropdown in the upper-right of our segment and toggle on a notification for member additions or removals.
Wrapping up
We’re just scratching the surface of what’s possible with this playbook. With a grasp of core Common Room concepts (members, segments, workflows), you can take even more impactful actions. For example, you could automate Slack messages to community members when their Common Room status changes.
We’d love to show you what’s possible — book a demo here. Or, if you’d like to be more hands-on, sign-up for a free account here.
We think you'd like these
Playbook
Blog post
High-velocity outbound on easy mode: Dial and send smarter with FullEnrich and Smartlead in Common Room
Oct 22nd, 2025·5min readSee how Common Room helps you power precision outbound with premium AI intelligence, phone data, and...Blog post
Reps should eat, not hunt: Scale split-second, zero-prep prospecting with RoomieAI™ Spark
Oct 15th, 2025·7min readSee how RoomieAI Spark helps you automate person-level research with an AI agent and take action fast in Common Room or Slack.Blog post
The future of rep experience: 500+ AI deployments later, this is what actually works for sales
Oct 8th, 2025·14min readSee how Common Room is building the future of rep experience with AI that actually works, where and how reps do.
