Segment Statuses
Last updated Sep 4th, 2025
This section covers how to track and organize Contact cohorts and programs by applying, editing, and creating statuses in a Segment.
Edit a Segment’s statuses
You can edit the statuses associated with a Segment from a few locations within the Segments page.
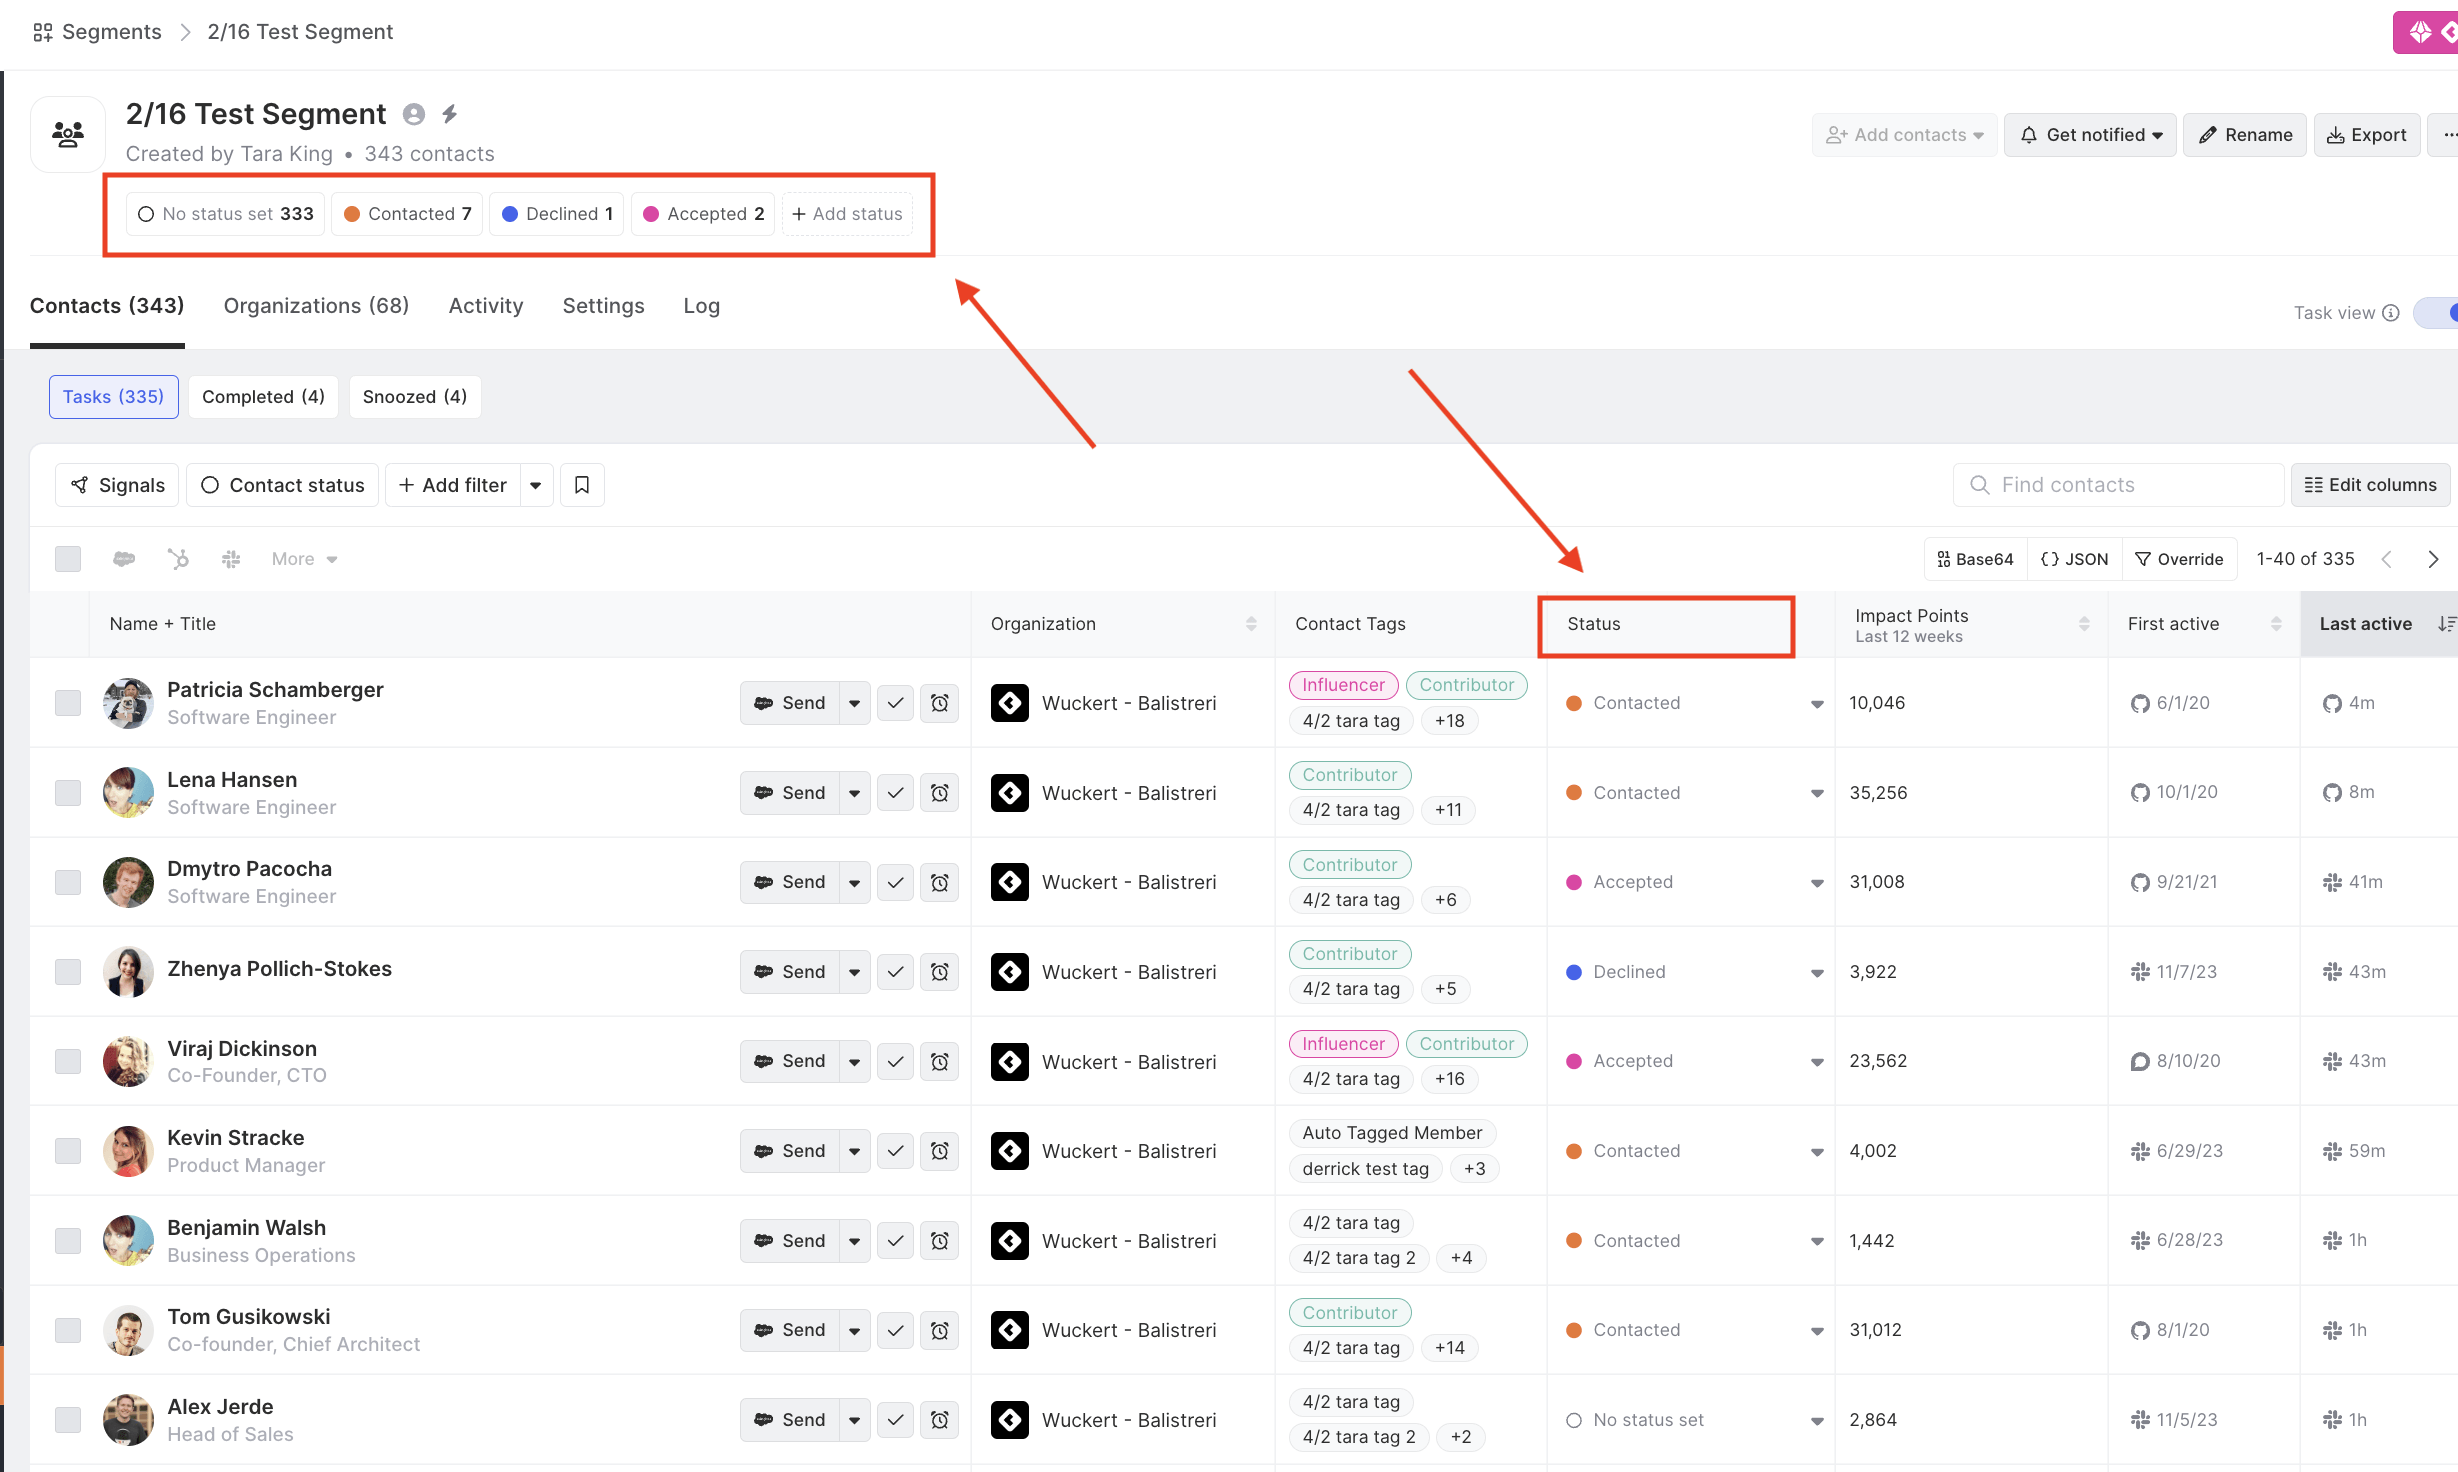
To edit a Segment’s statuses from the Segment overview banner:
- Go to the Segments page.
- Navigate to the Segment you would like to edit.
- Click the Edit button on the Segment you would like to edit.
- Click on an individual status to edit its color and/or its label.
- Click Save changes to save.
To edit the statuses of a newly created Segment, follow steps 4-5 before saving the newly created Segment.
To edit a Segment’s statuses from the Contacts section of the Segment:
- Go to the Segments page.
- Navigate to the Segment which you would like to edit.
- Open the Status dropdown on any Contact.
- Click the ... next to the status you'd like to edit.
- Select a new color and/or enter new text.
- Click Enter to save and apply the status.
You may also delete a status label. Contacts with no status label applied after you delete their existing status label will be assigned a "No status" label by default.
Create a new status within a Segment
- Go to the Segments page.
- Navigate to the Segment you would like to edit.
- Click the Edit button on the Segment you would like to edit.
- Click the Create new status link.
- Enter a label and select a color for the newly added status.
- Click Save changes to save.
To create a new status for a newly created Segment, follow steps 4-6 before saving the newly created Segment.
Apply a status to an individual Contact within a Segment
- Open the Segments page from the left-hand navigation.
- Navigate to the Segment you would like to edit.
- Within the Contacts section of the Segment, identify the Contact you’d like to apply a status update to.
- For that Contact, choose a status label from the Status dropdown menu.
- Once the status is successfully applied to the selected Contacts, the page will reflect the update.
Apply a status to multiple Contacts within a Segment
- Open the Segments page from the left-hand navigation.
- Navigate to the Segment you would like to edit.
- Within the Contacts section of the Segment, find the Contact(s) you’d like to apply a status update to.
- Check the box to select each Contact you want to apply a status to.
- Click the Status button at the bottom of your screen. This opens a dropdown menu with different status options.
- Select the desired status you would like to apply to selected Contacts.
- Once the status is successfully applied to selected Contacts, the page will reflect the update.
Automatically define criteria to update Contact status
Learn how to automatically define criteria to update Contact status.